

Boring hallway. Even though it has beautiful floors, baseboard, trim, and paint, it needed a little excitement!

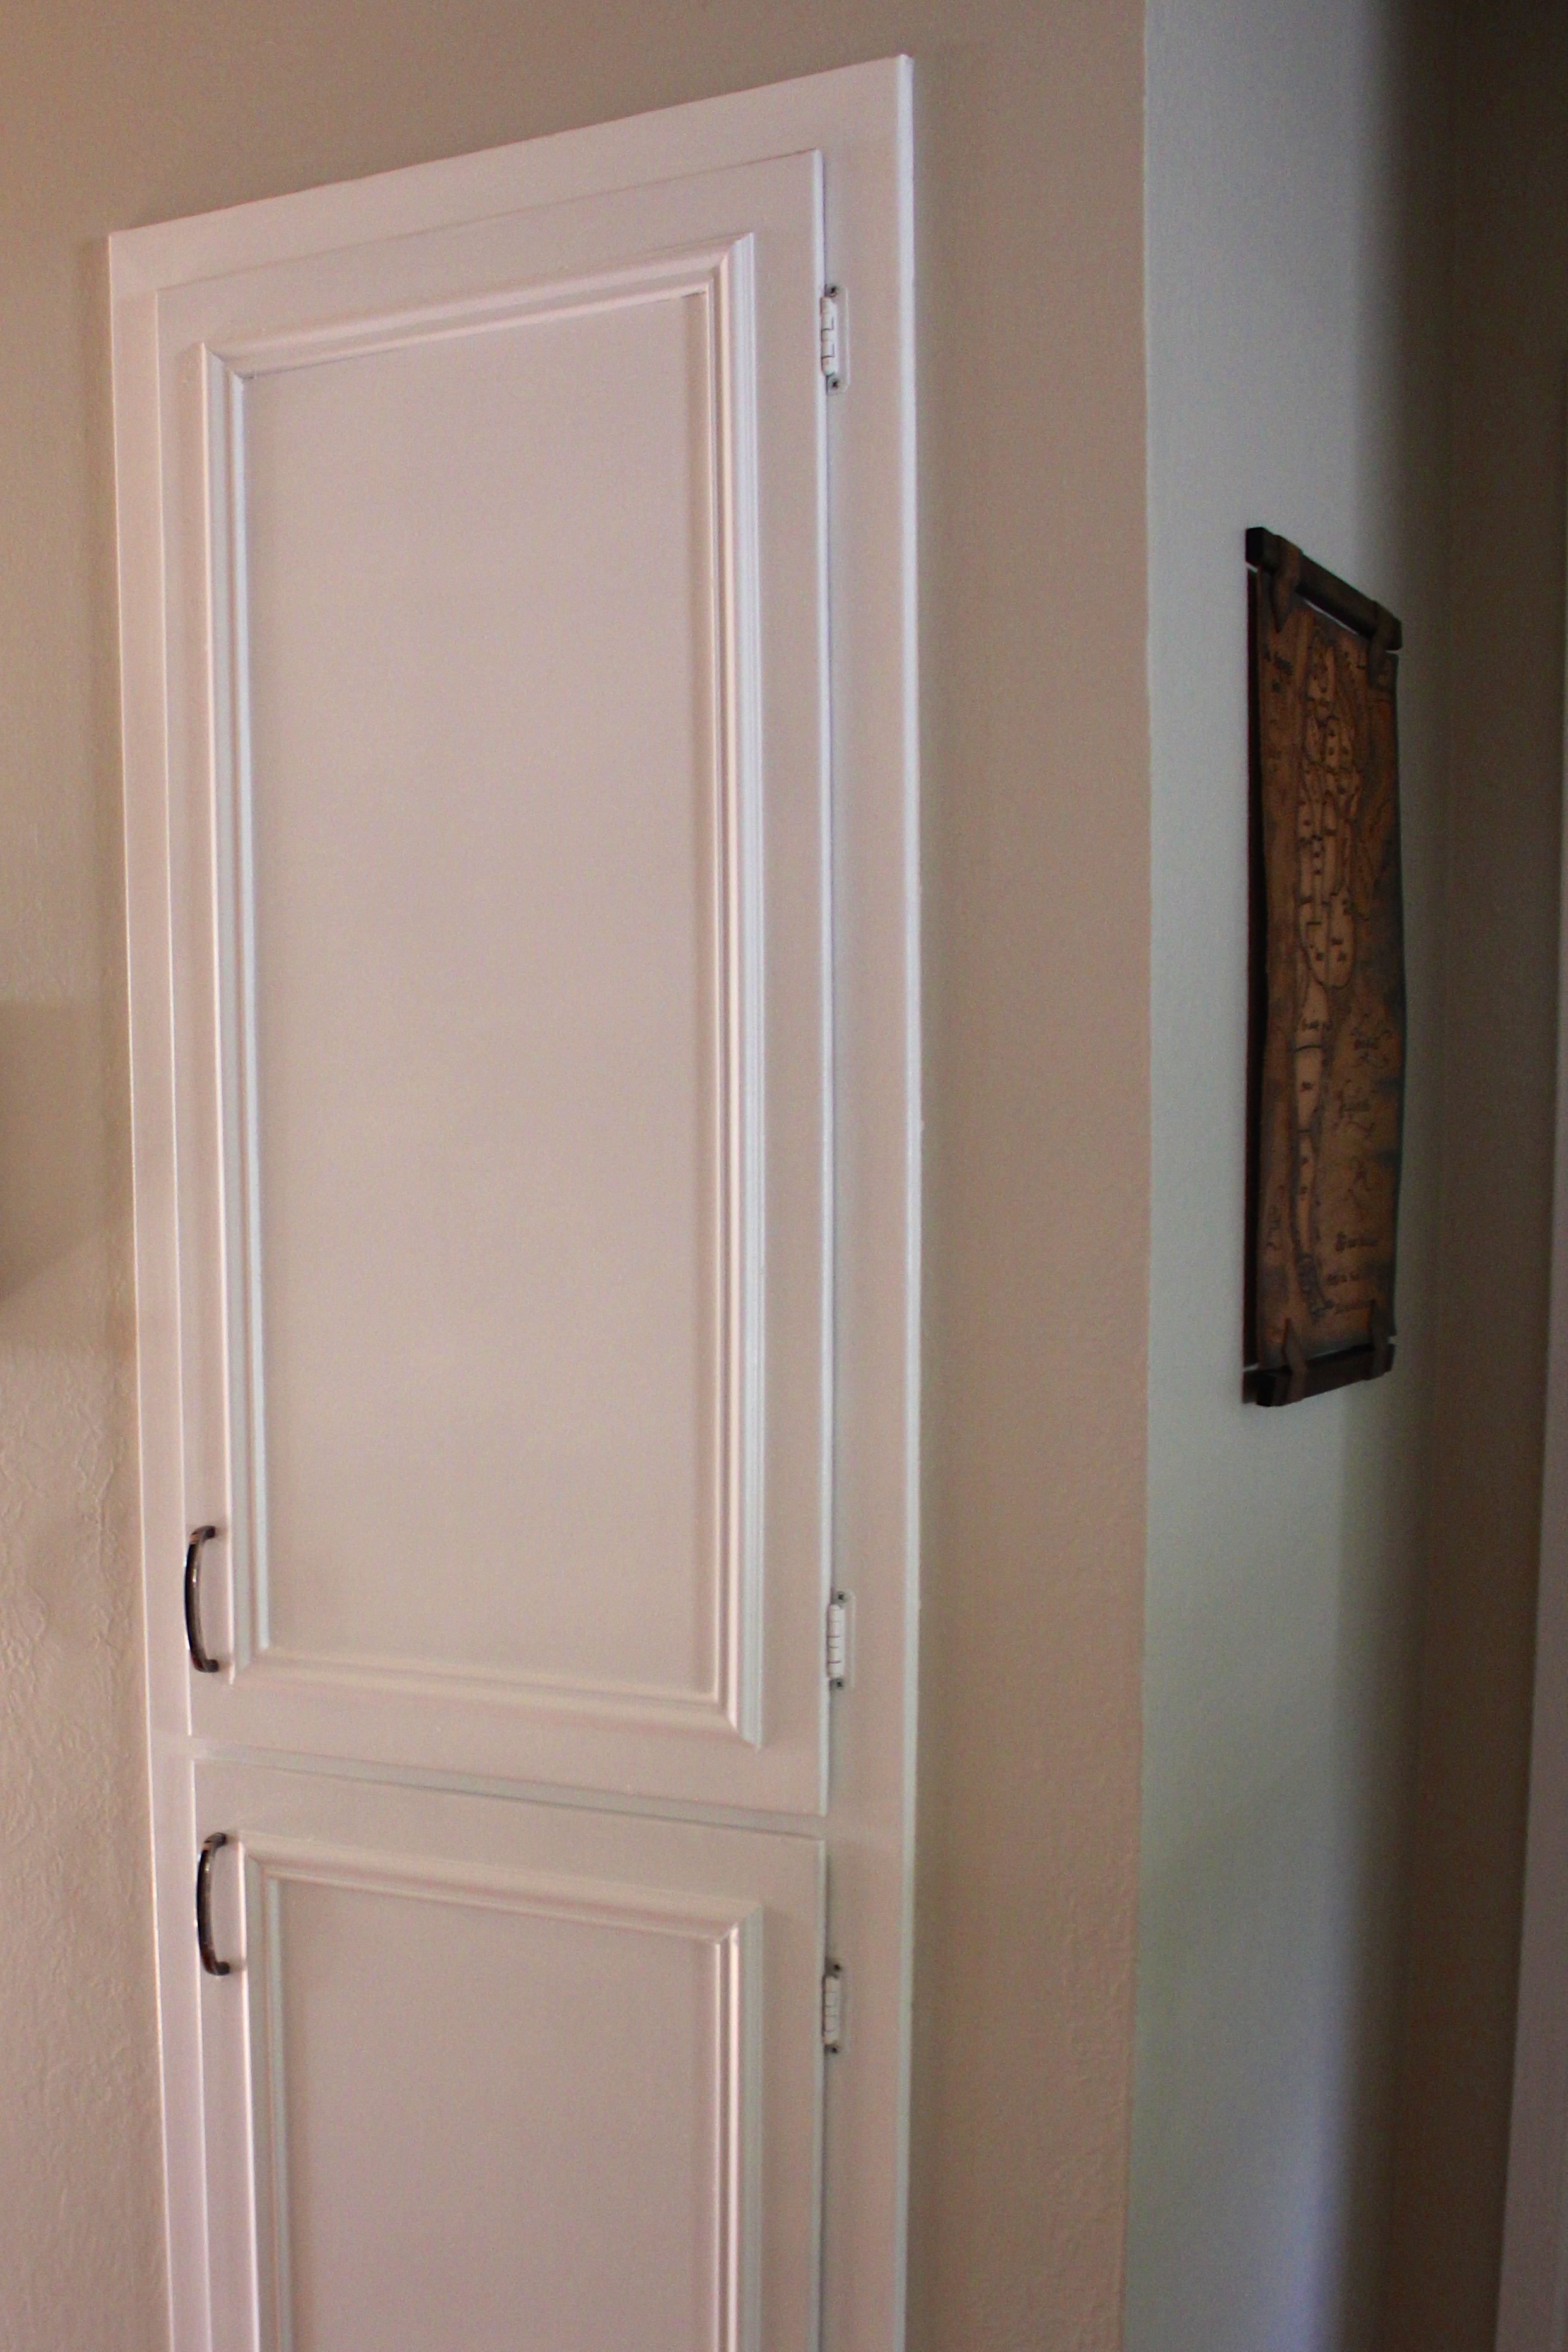
Photo rails installed! Sorry for the lack of photos… while writing this post I realized we didn’t take a single picture of the construction or installation process. Oops!
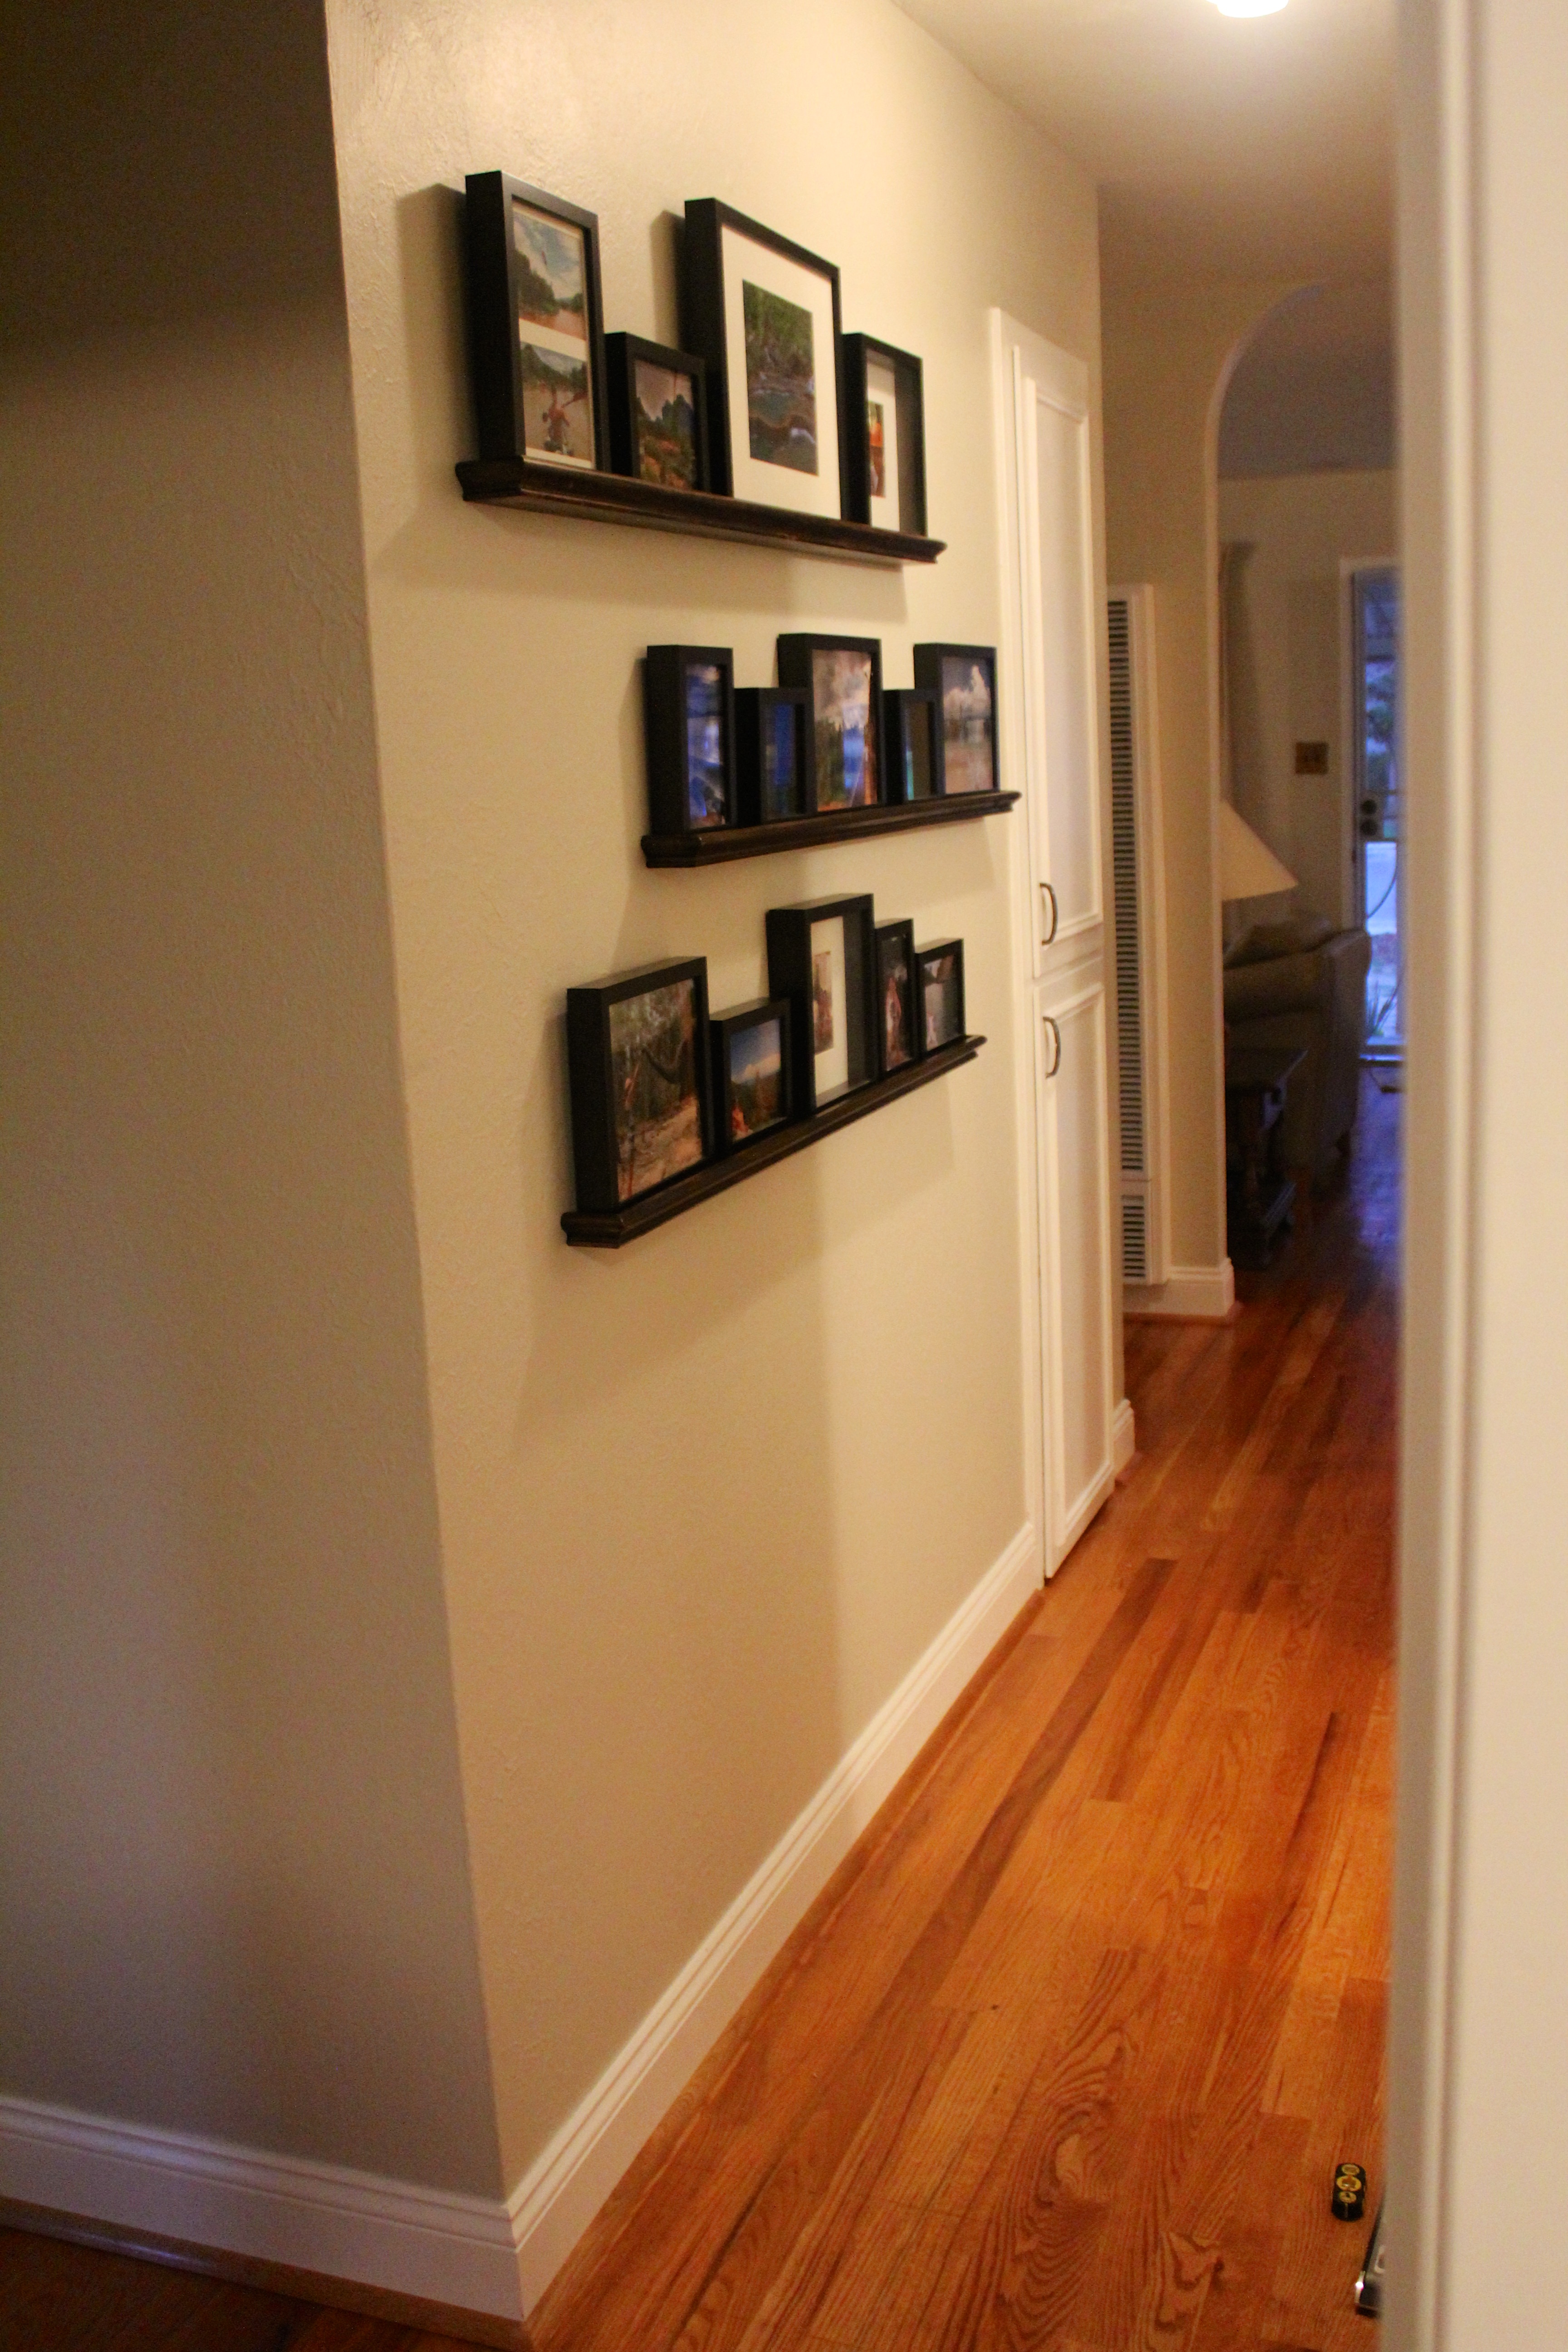
And all decked out with photos!

So well made! My husband the handy man 🙂

There are a few small projects that we have been meaning to do since we moved in. We have gotten around to some of them, we have a few more to share with you here, and there are still plenty more on the list to check off!
First: the photo. I think I mentioned before that we were in the process of painting our massive gold frame black and finding the right picture to put in it.
The gold frame, “before”
Great news: missions accomplished! The black paint on the frame looks amazing, and it really makes the wood inner frame pop. As far as the photo, it wasn’t that hard to choose. We settled on our favorite picture from our favorite hike in Patagonia, and lucky for us we actually both liked the same picture! And here she is!
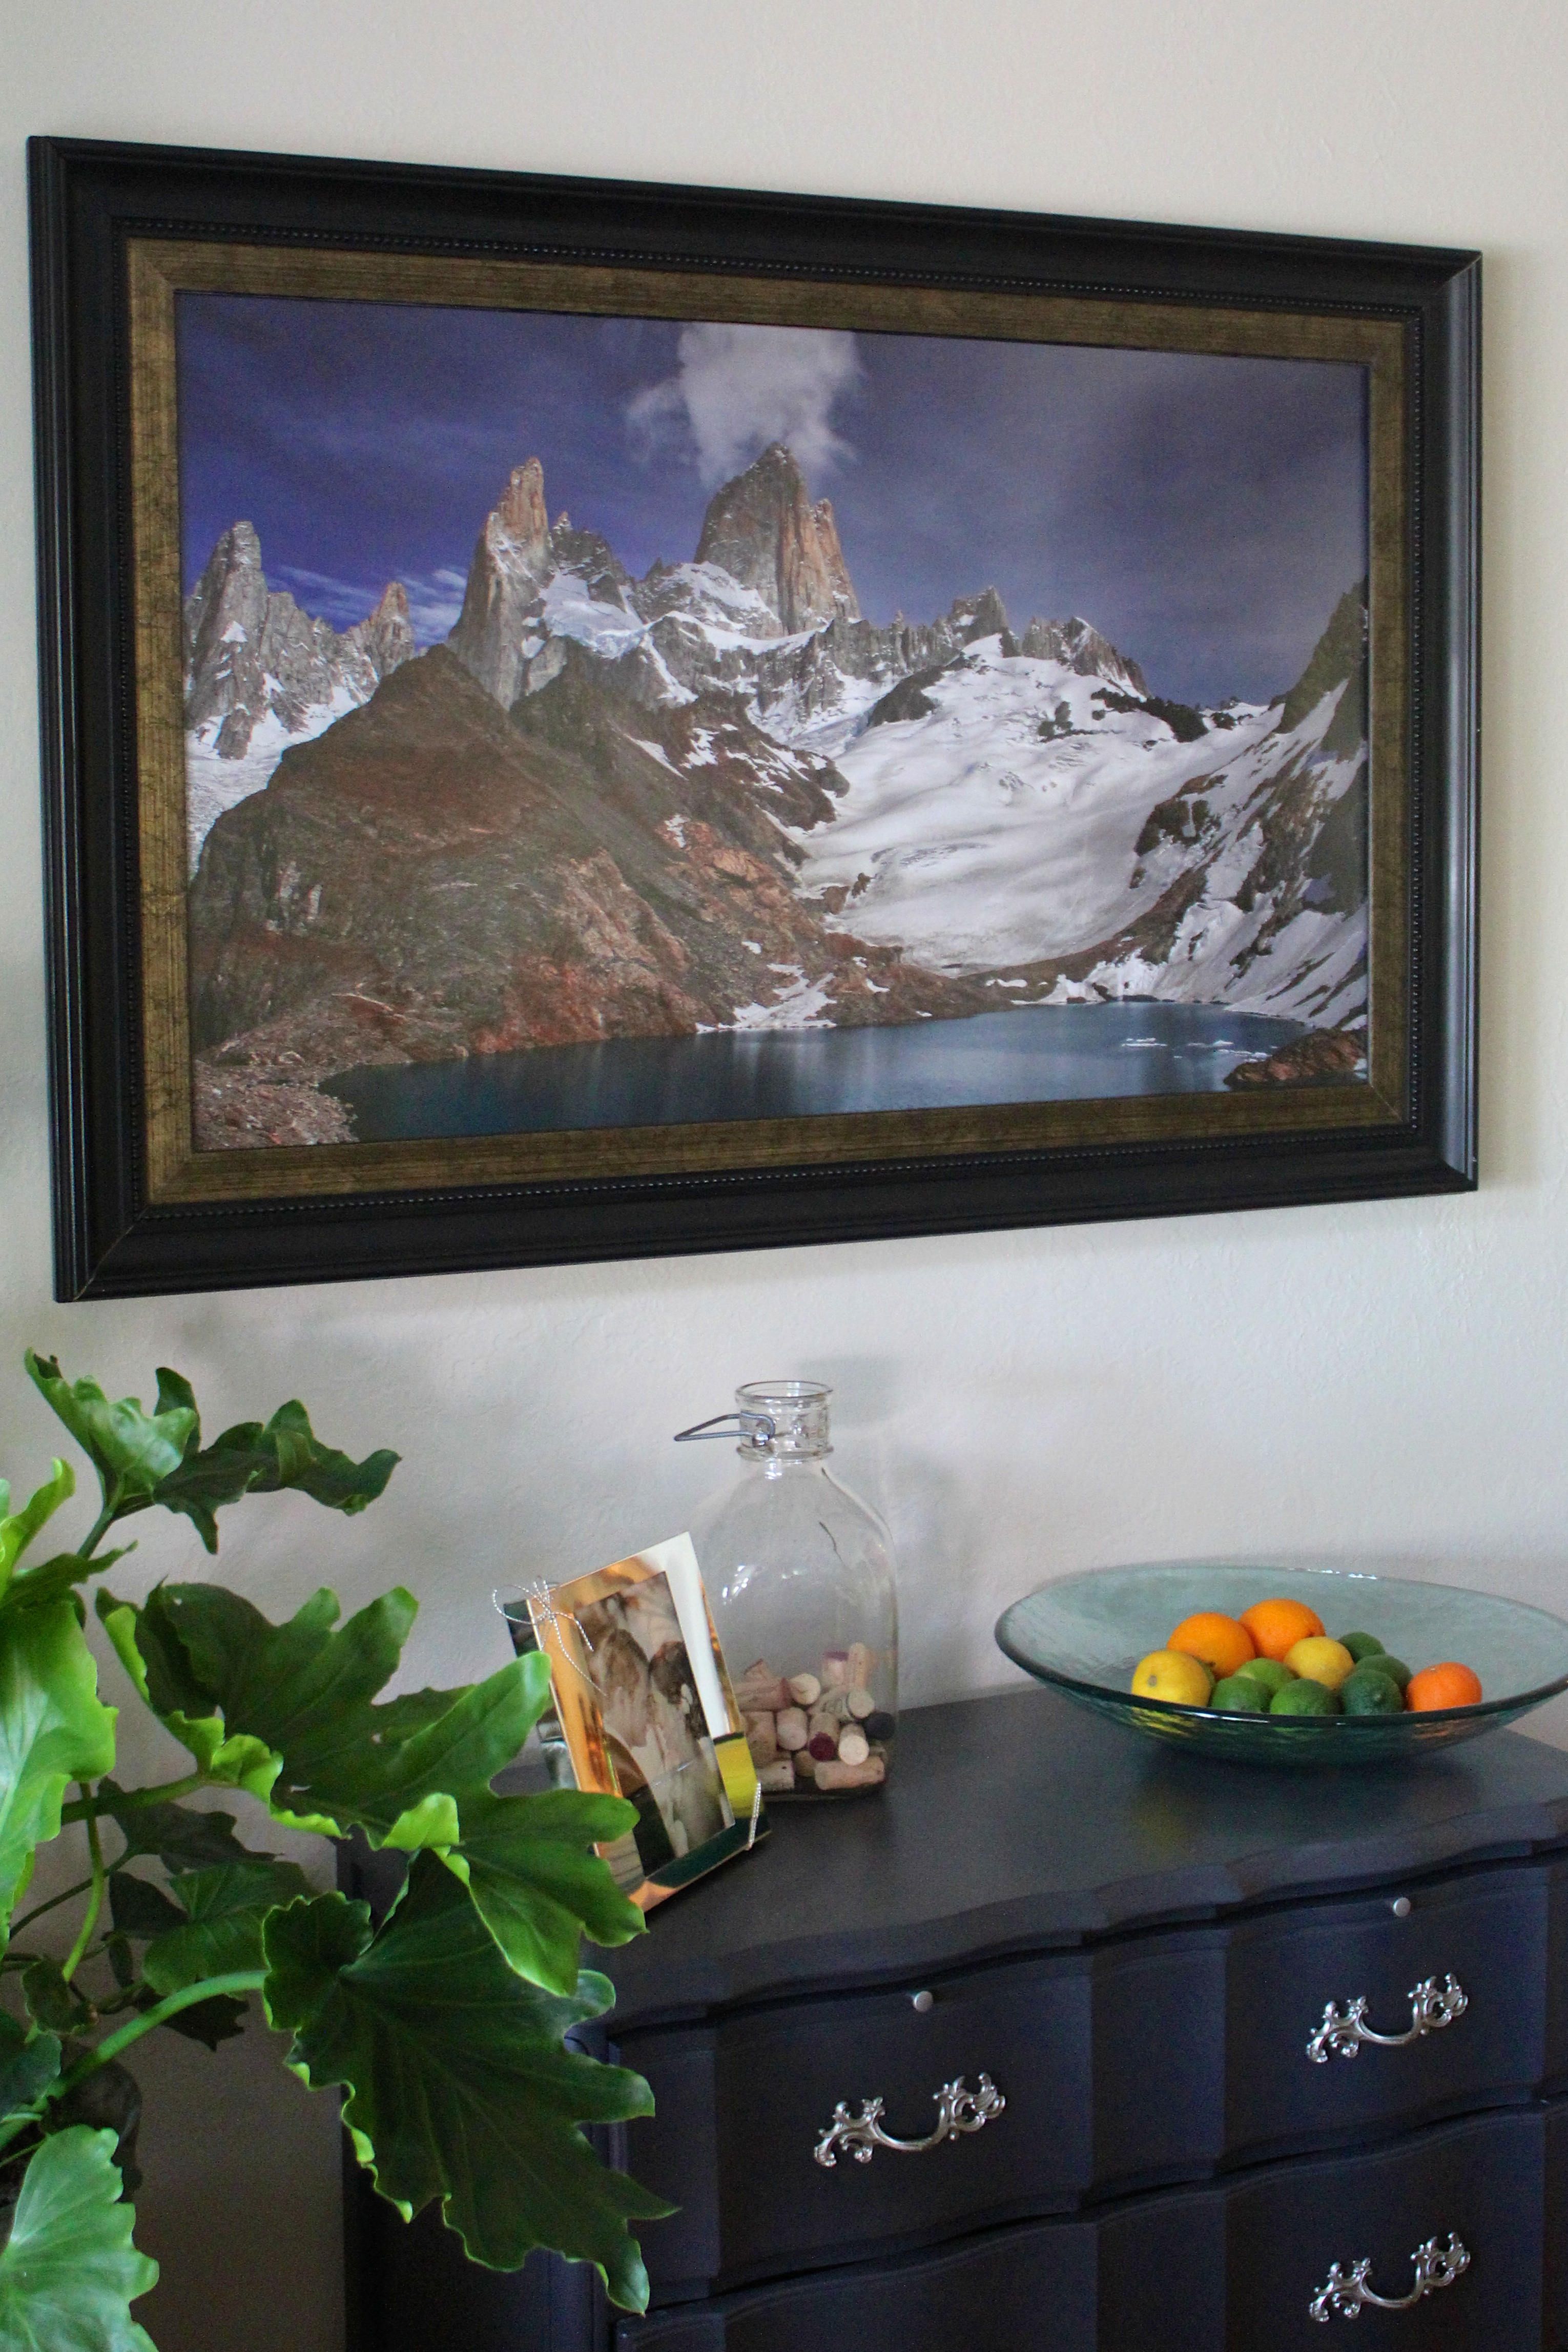
The now black frame, with our photo from Argentina. It makes me want to go back!

So much better! Believe it or not, this is the first photo we’ve taken that we’ve blown up to bigger than 11 x 14. I think we need to start doing this more often!
Second: the rug. We have been scouring Craigslist, home improvement stores, and many other places for a reasonably priced rug to add to our living room. We finally found the perfect rug at Lowe’s and it was on sale! So buy it we did. It’s thick and cushy without being shaggy and gross, and the pattern adds some much needed color to the room. I have to say I was slightly heartbroken to cover up our beautiful floors, but I’ll be the first one to admit that I have sat on this rug at least once a day since we put it in. I love it! And I’m also really happy we didn’t end up buying a used rug on Craigslist. I’m all about buying used, but there has to be a line somewhere. I think a used rug is on the wrong side of the line!
Rug Installation
So pretty!
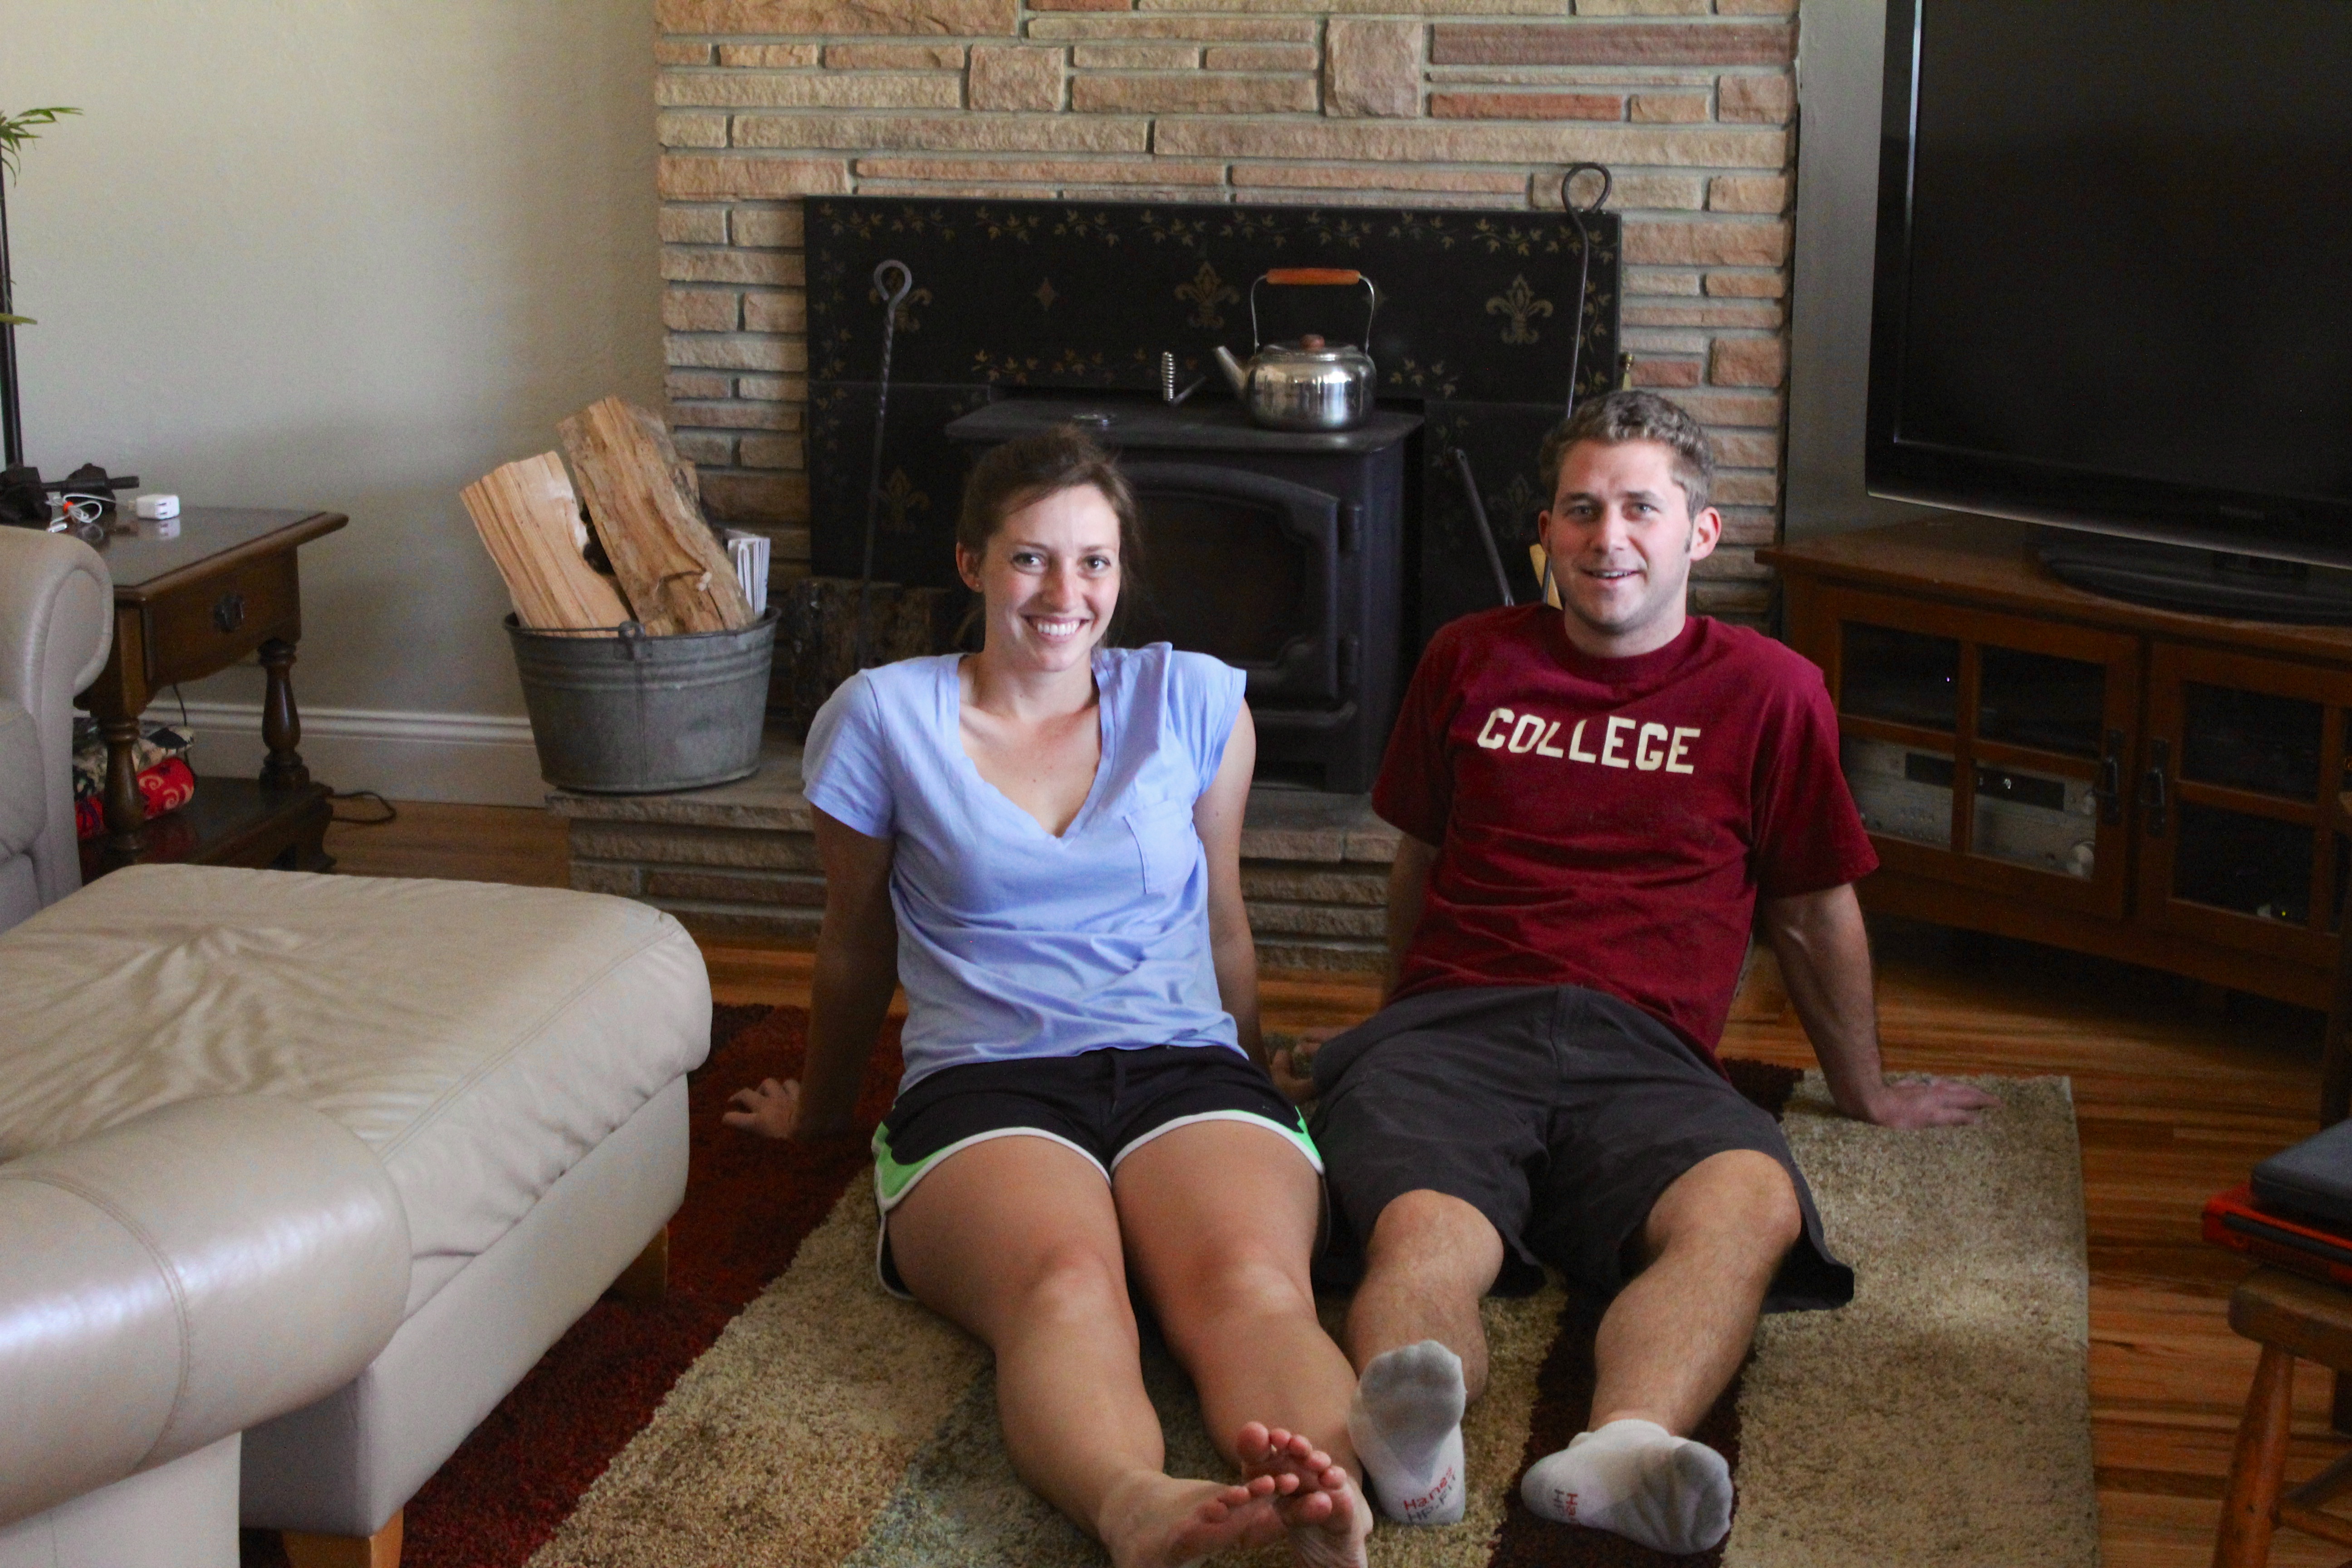
Sitting on the rug. One of my new favorite places to sit in the house!
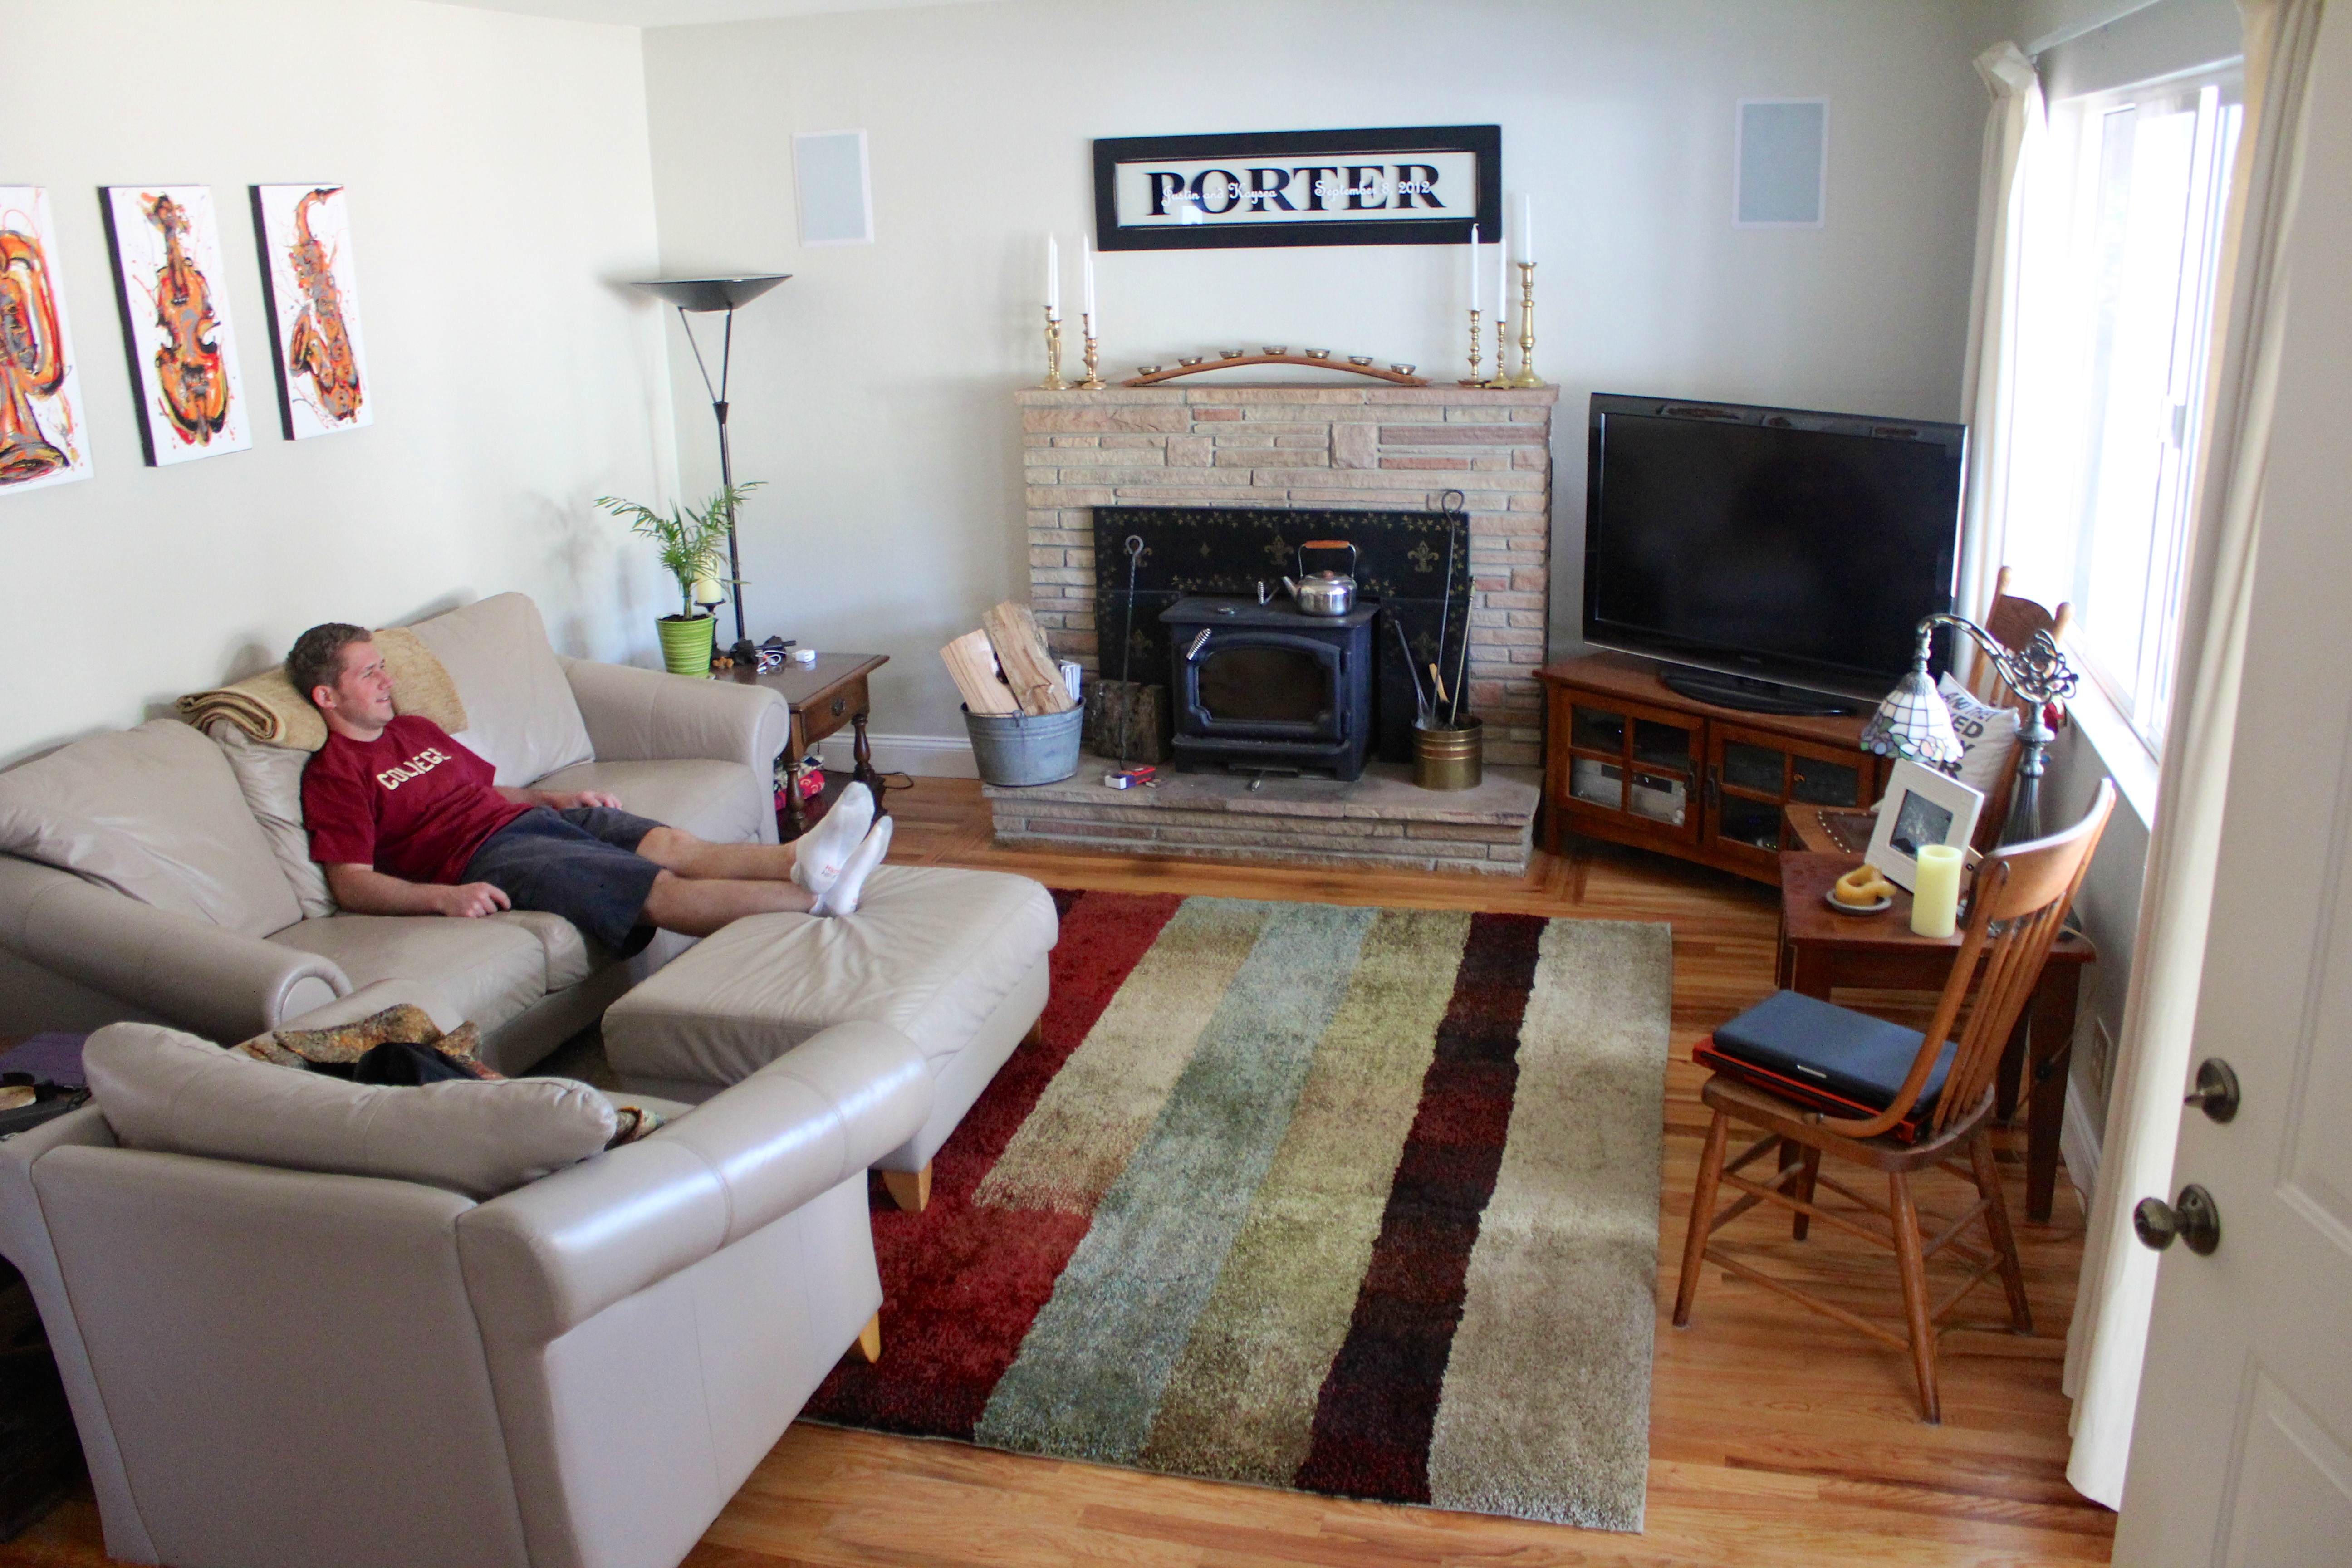
Third: the “new” couch. After we got the rug on the floor, we sat back to admire it. While admiring, Justin had a brilliant idea. We’ve had two couches sitting in the shop for about a month now. They aren’t the best couches and we thought they were too grey for the living room, so we had them pegged for “man cave” couches at some point in the distant future. However, the new rug inspired us to try out one of the couches in the living room, as a replacement to the cute but uncomfortable wooden chairs. When we got the couch inside, we loved it! Not too grey, and the perfect height for under the window (which will be very handy for another project we have coming up!). We plan to add a few pillows for color and comfort at some point, but it’s better than the wooden chairs (sorry to anyone who has had to sit in those for an extended period of time!).
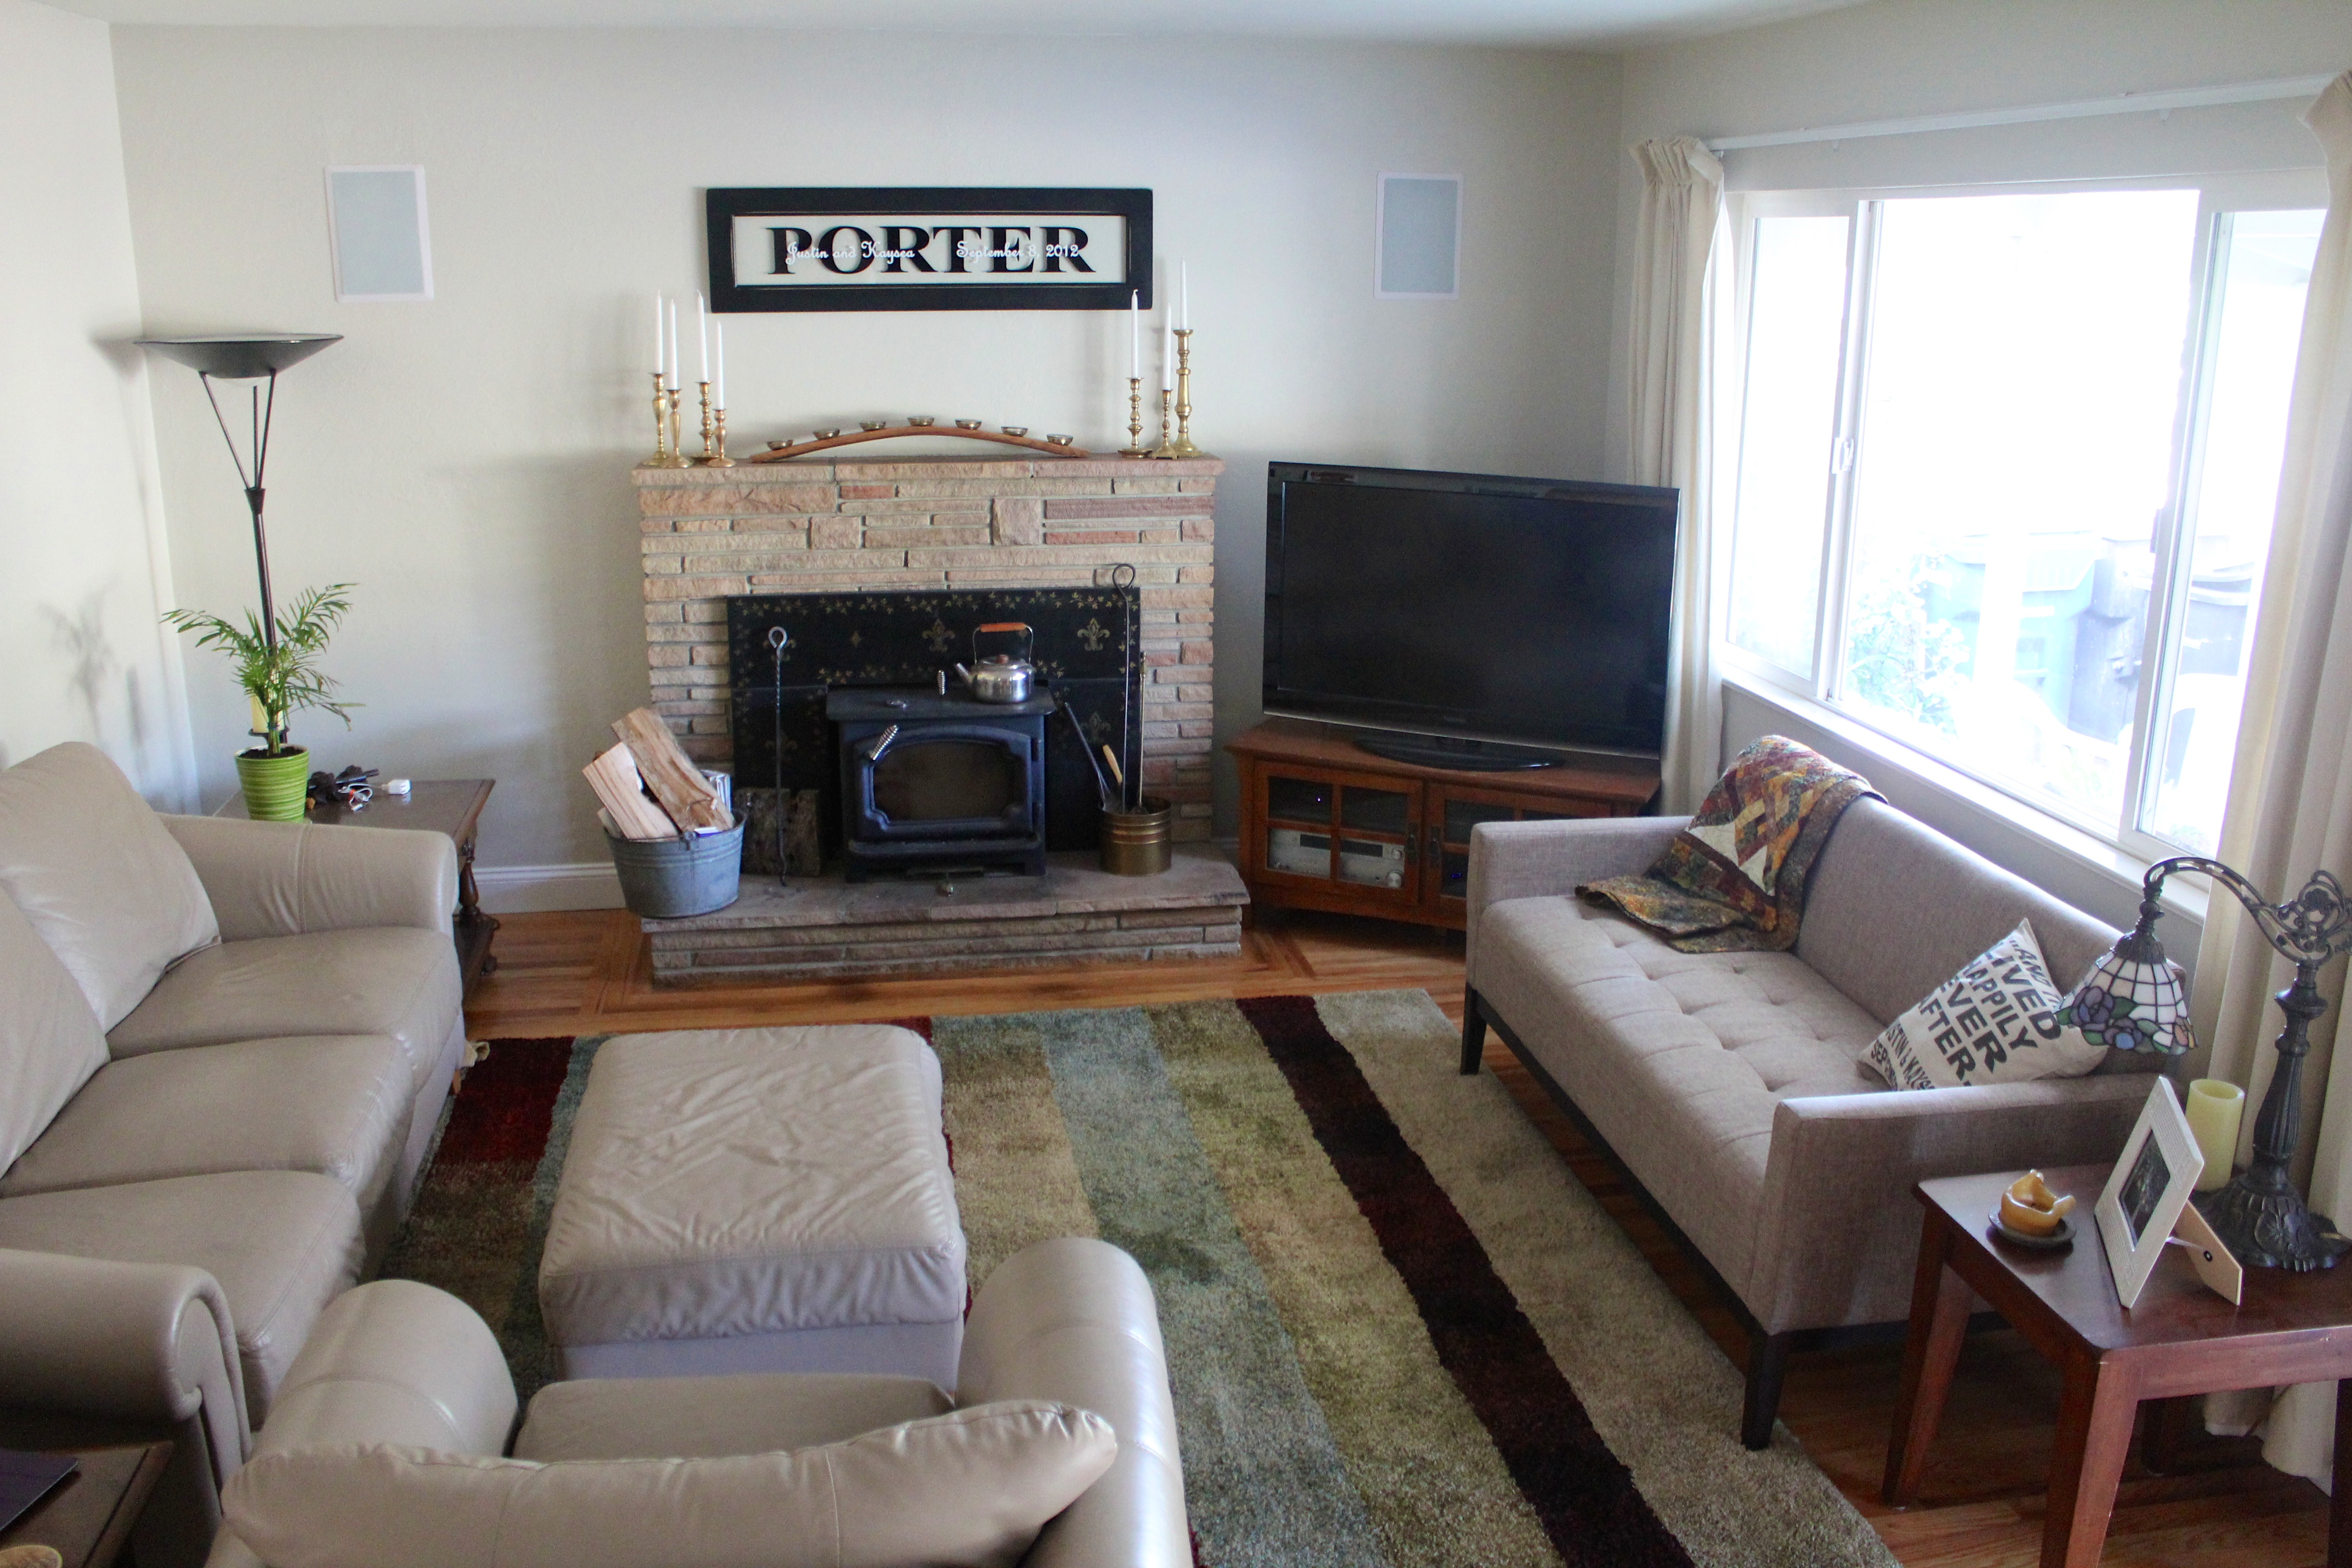
More couch, less chairs

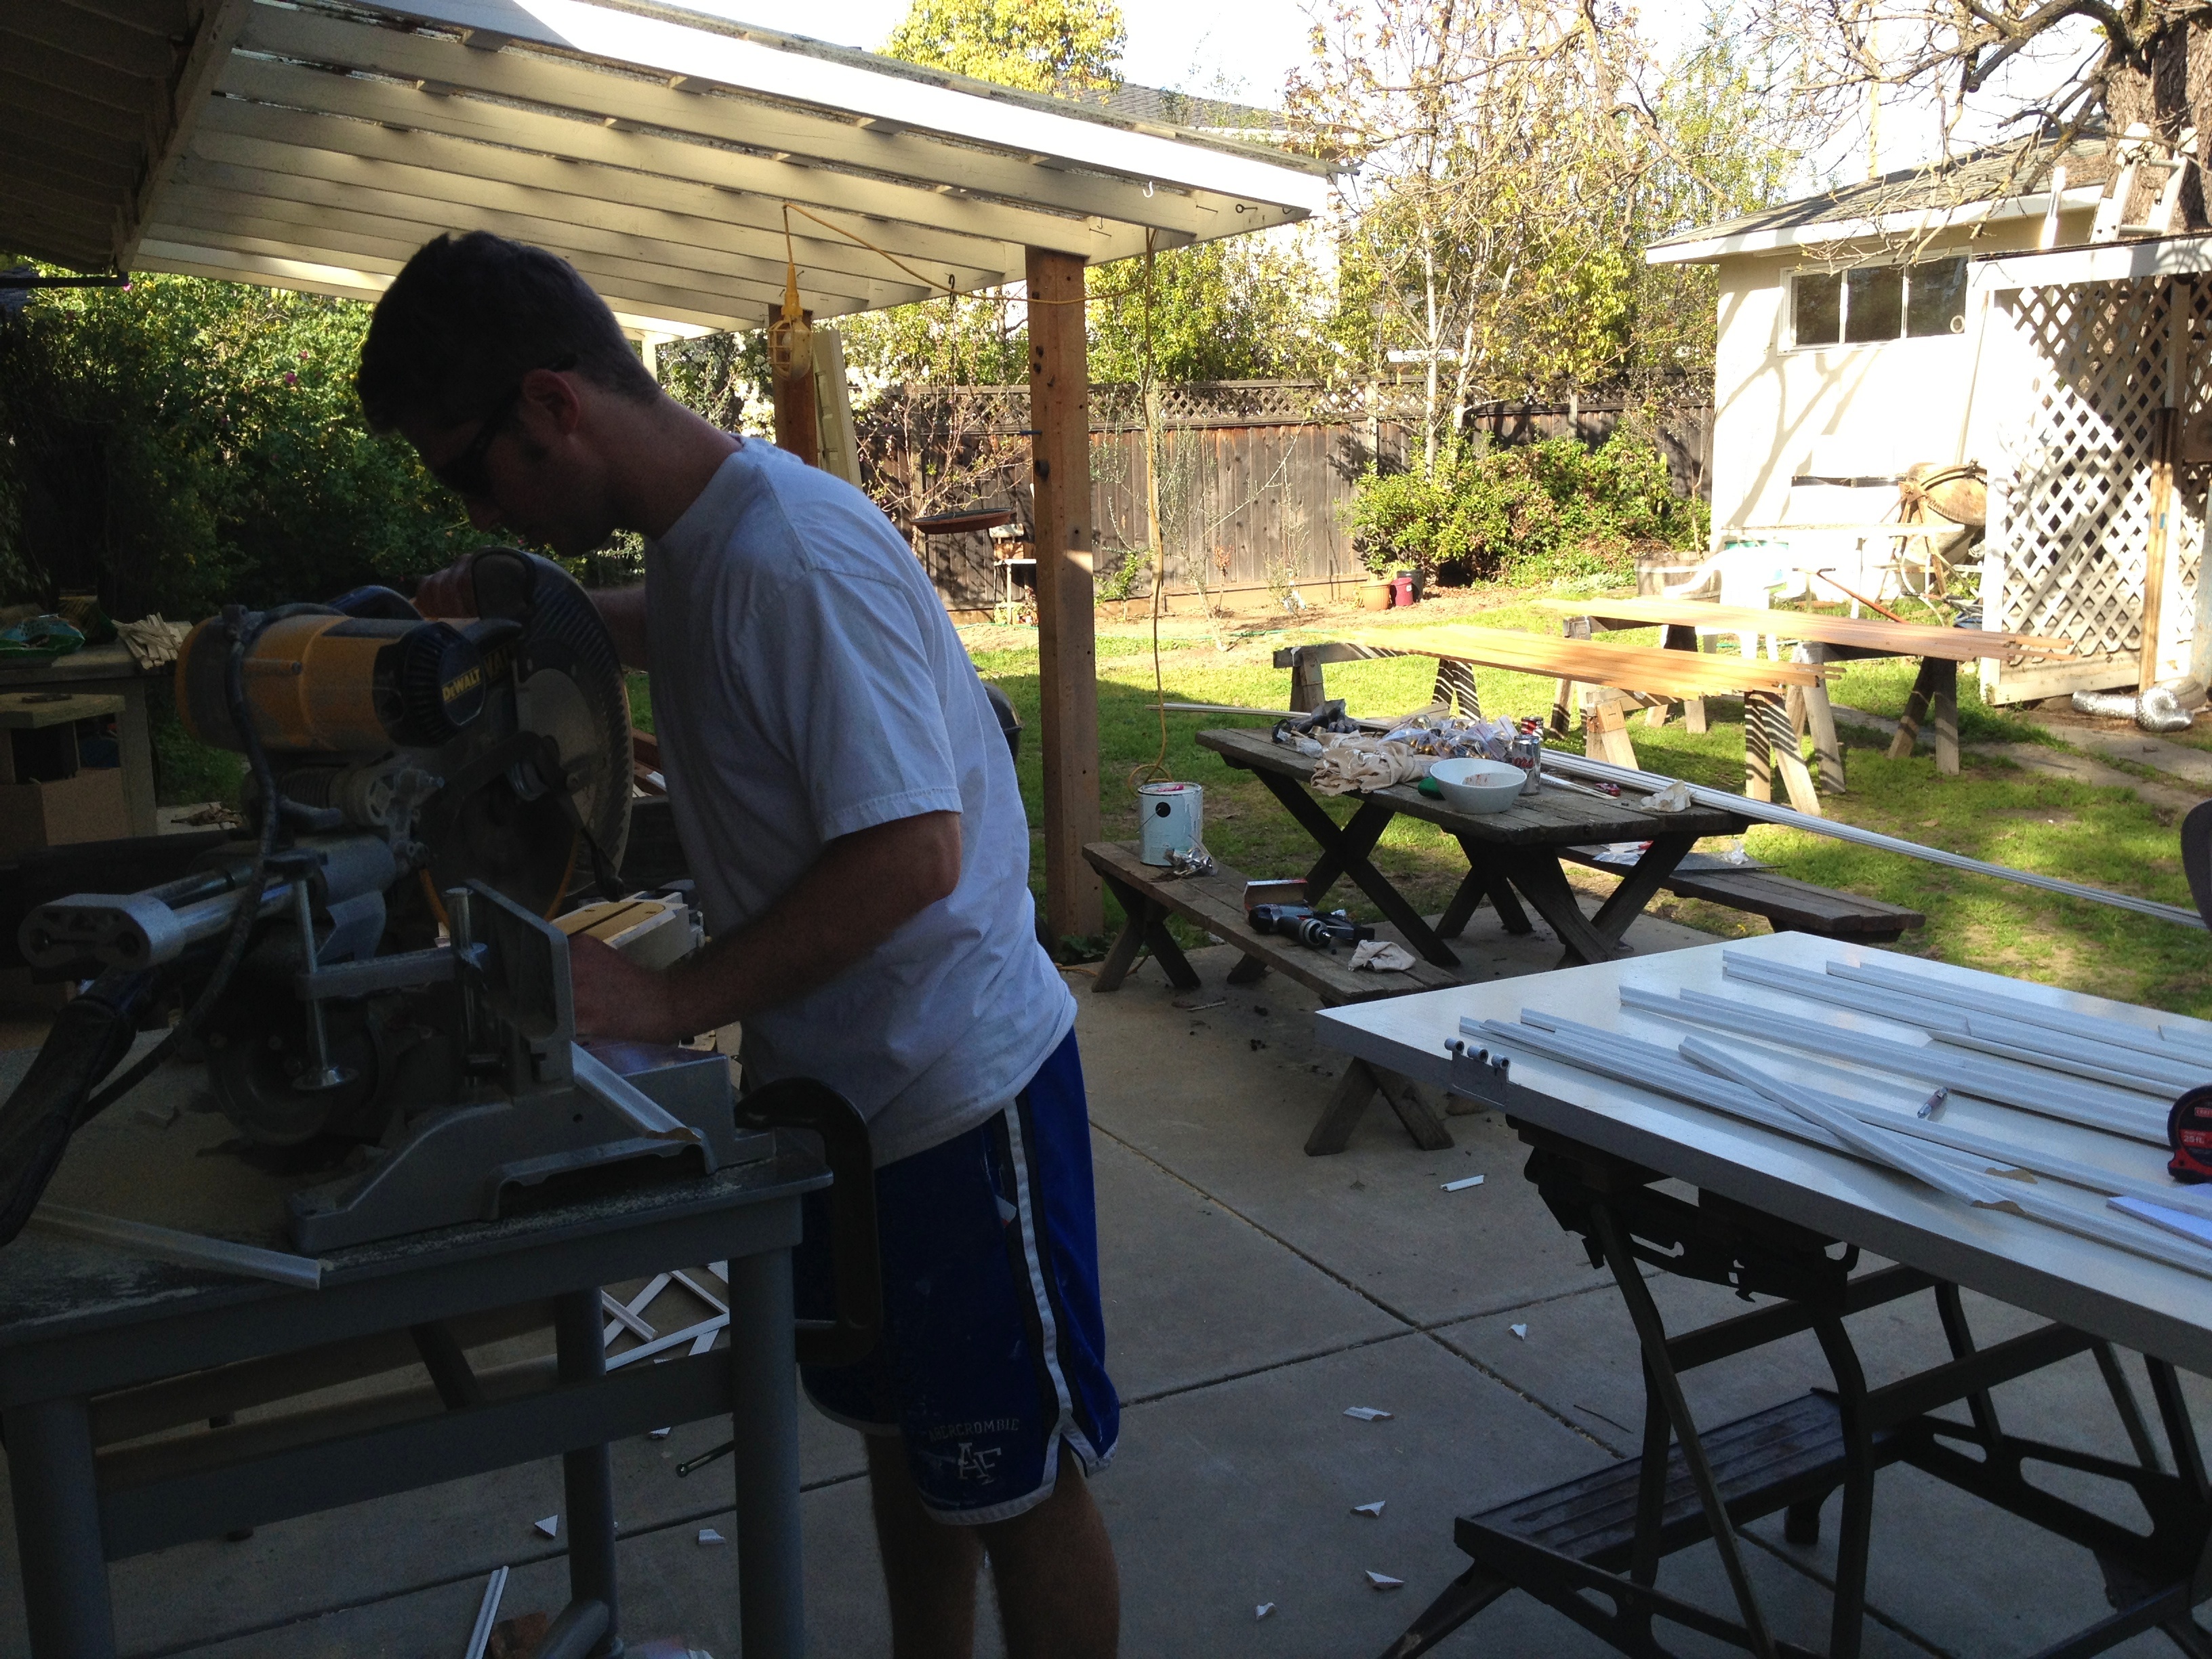
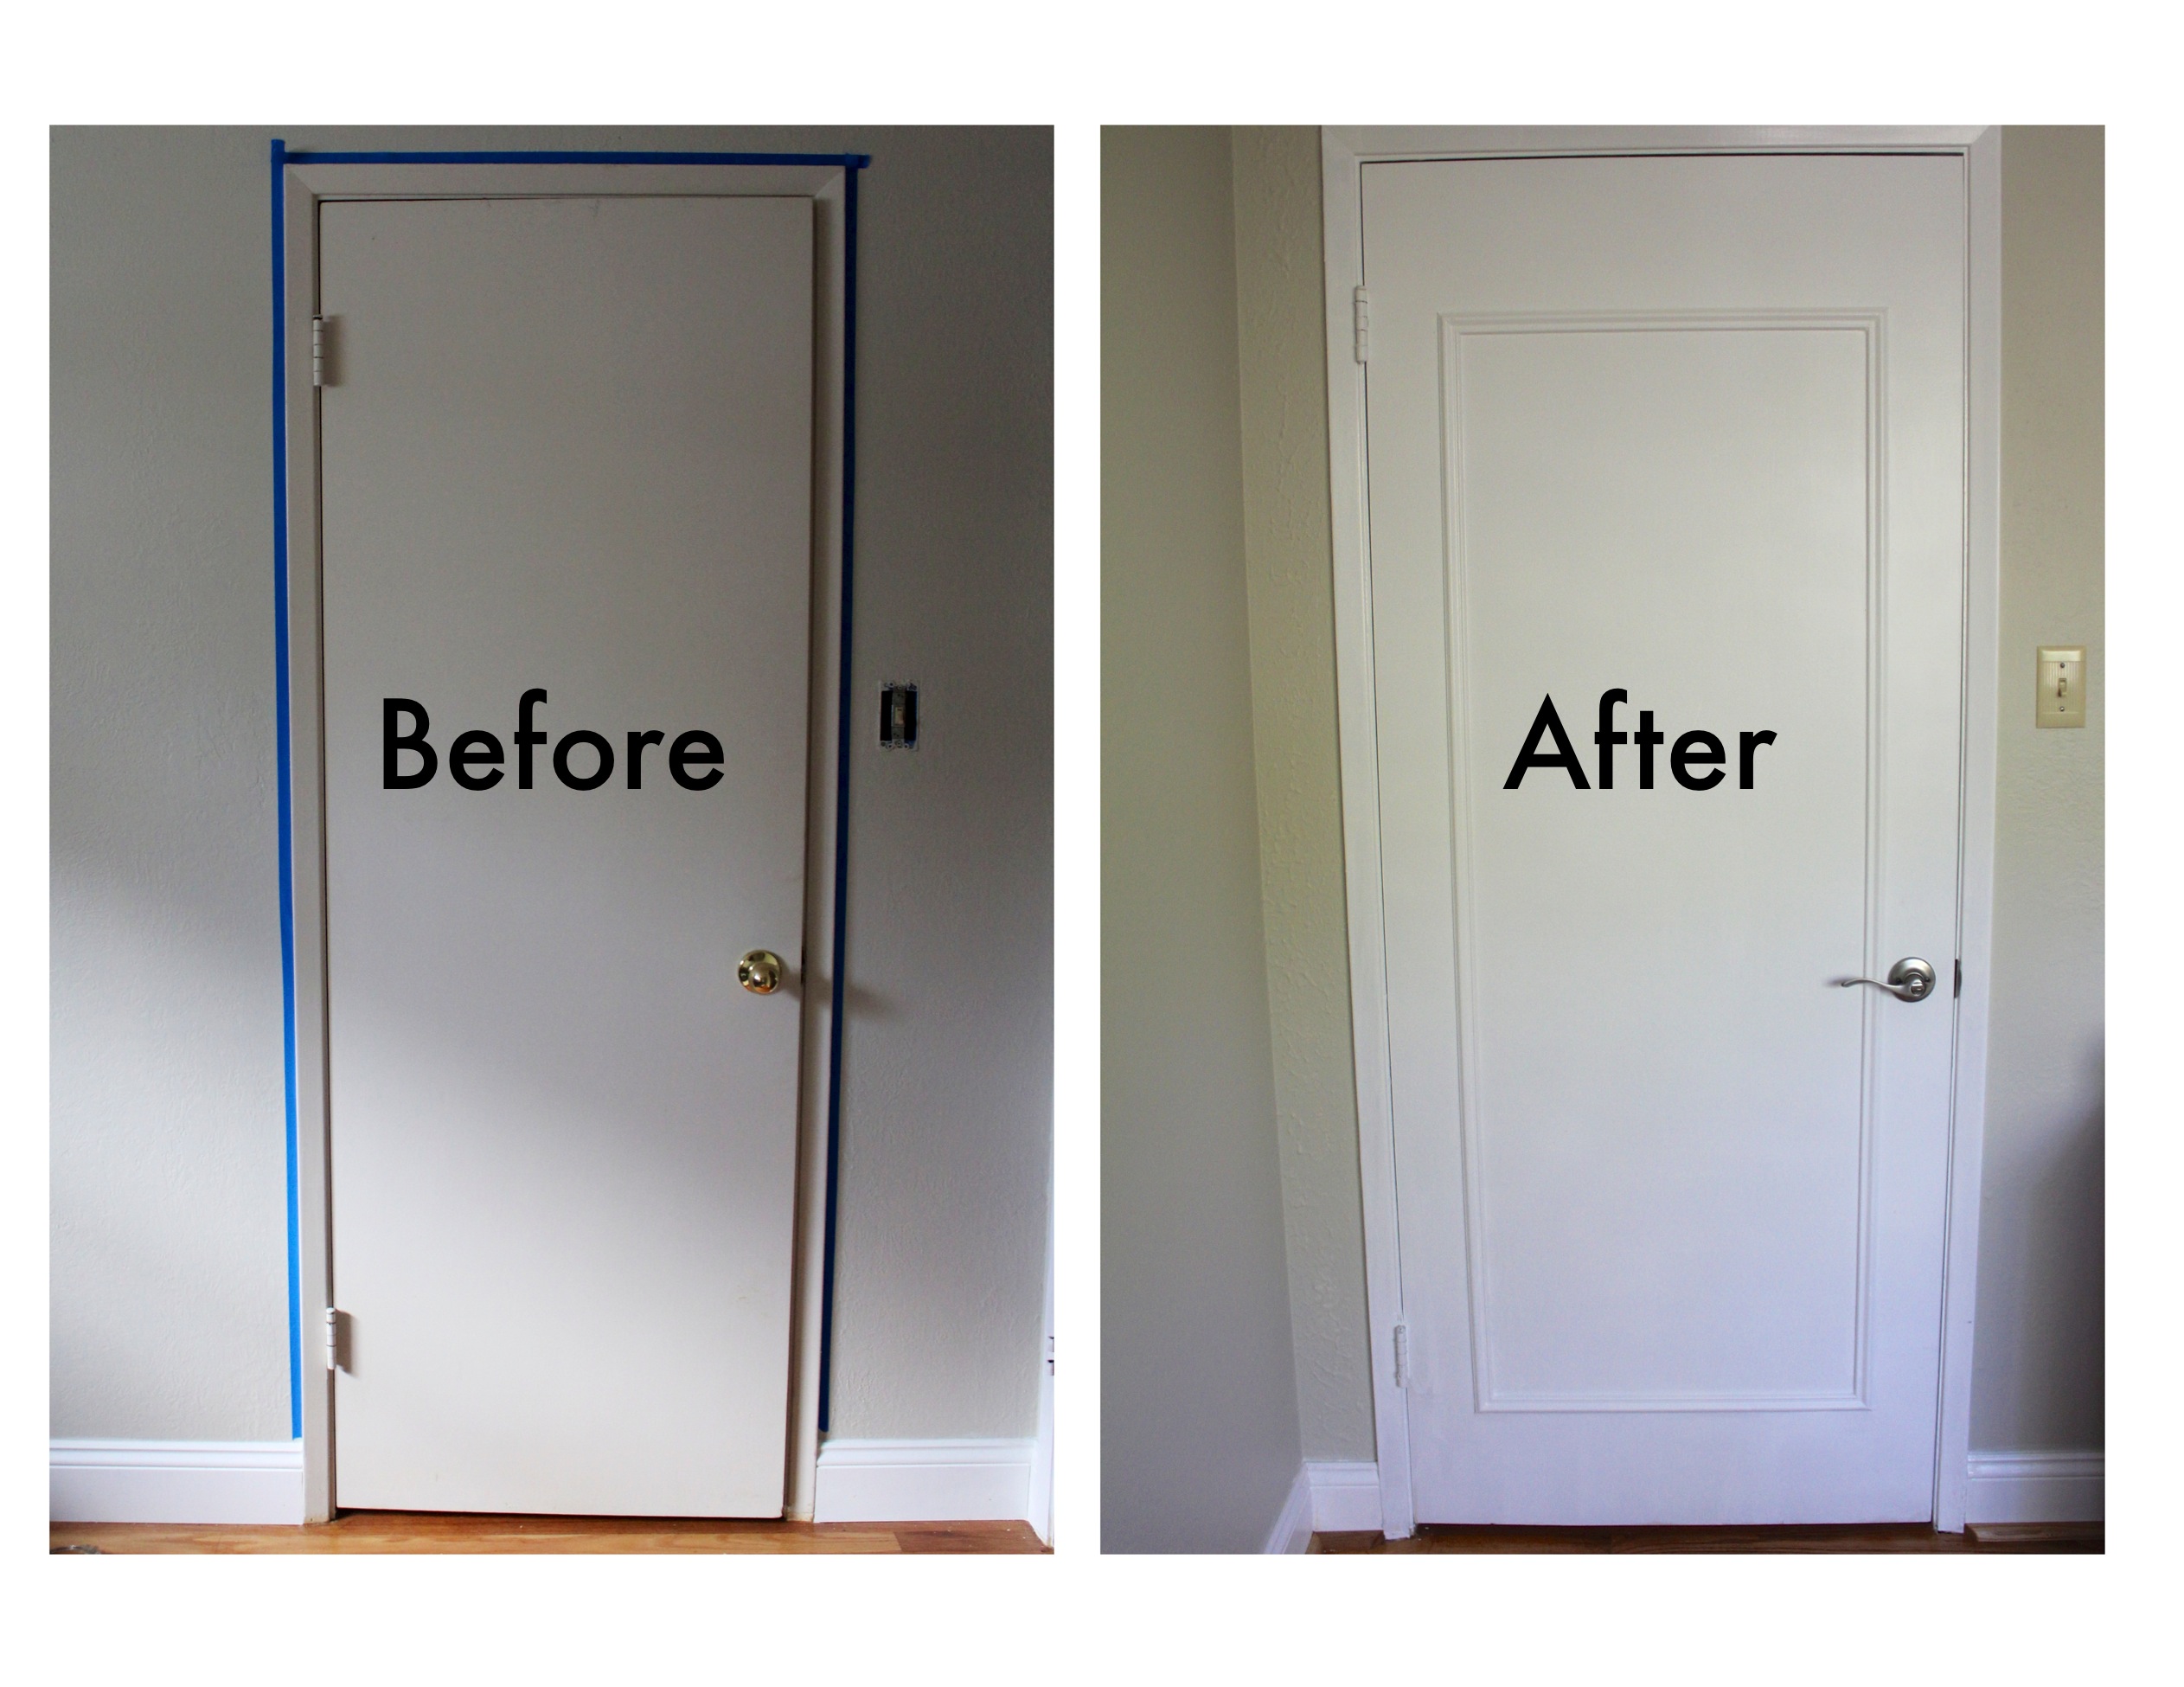
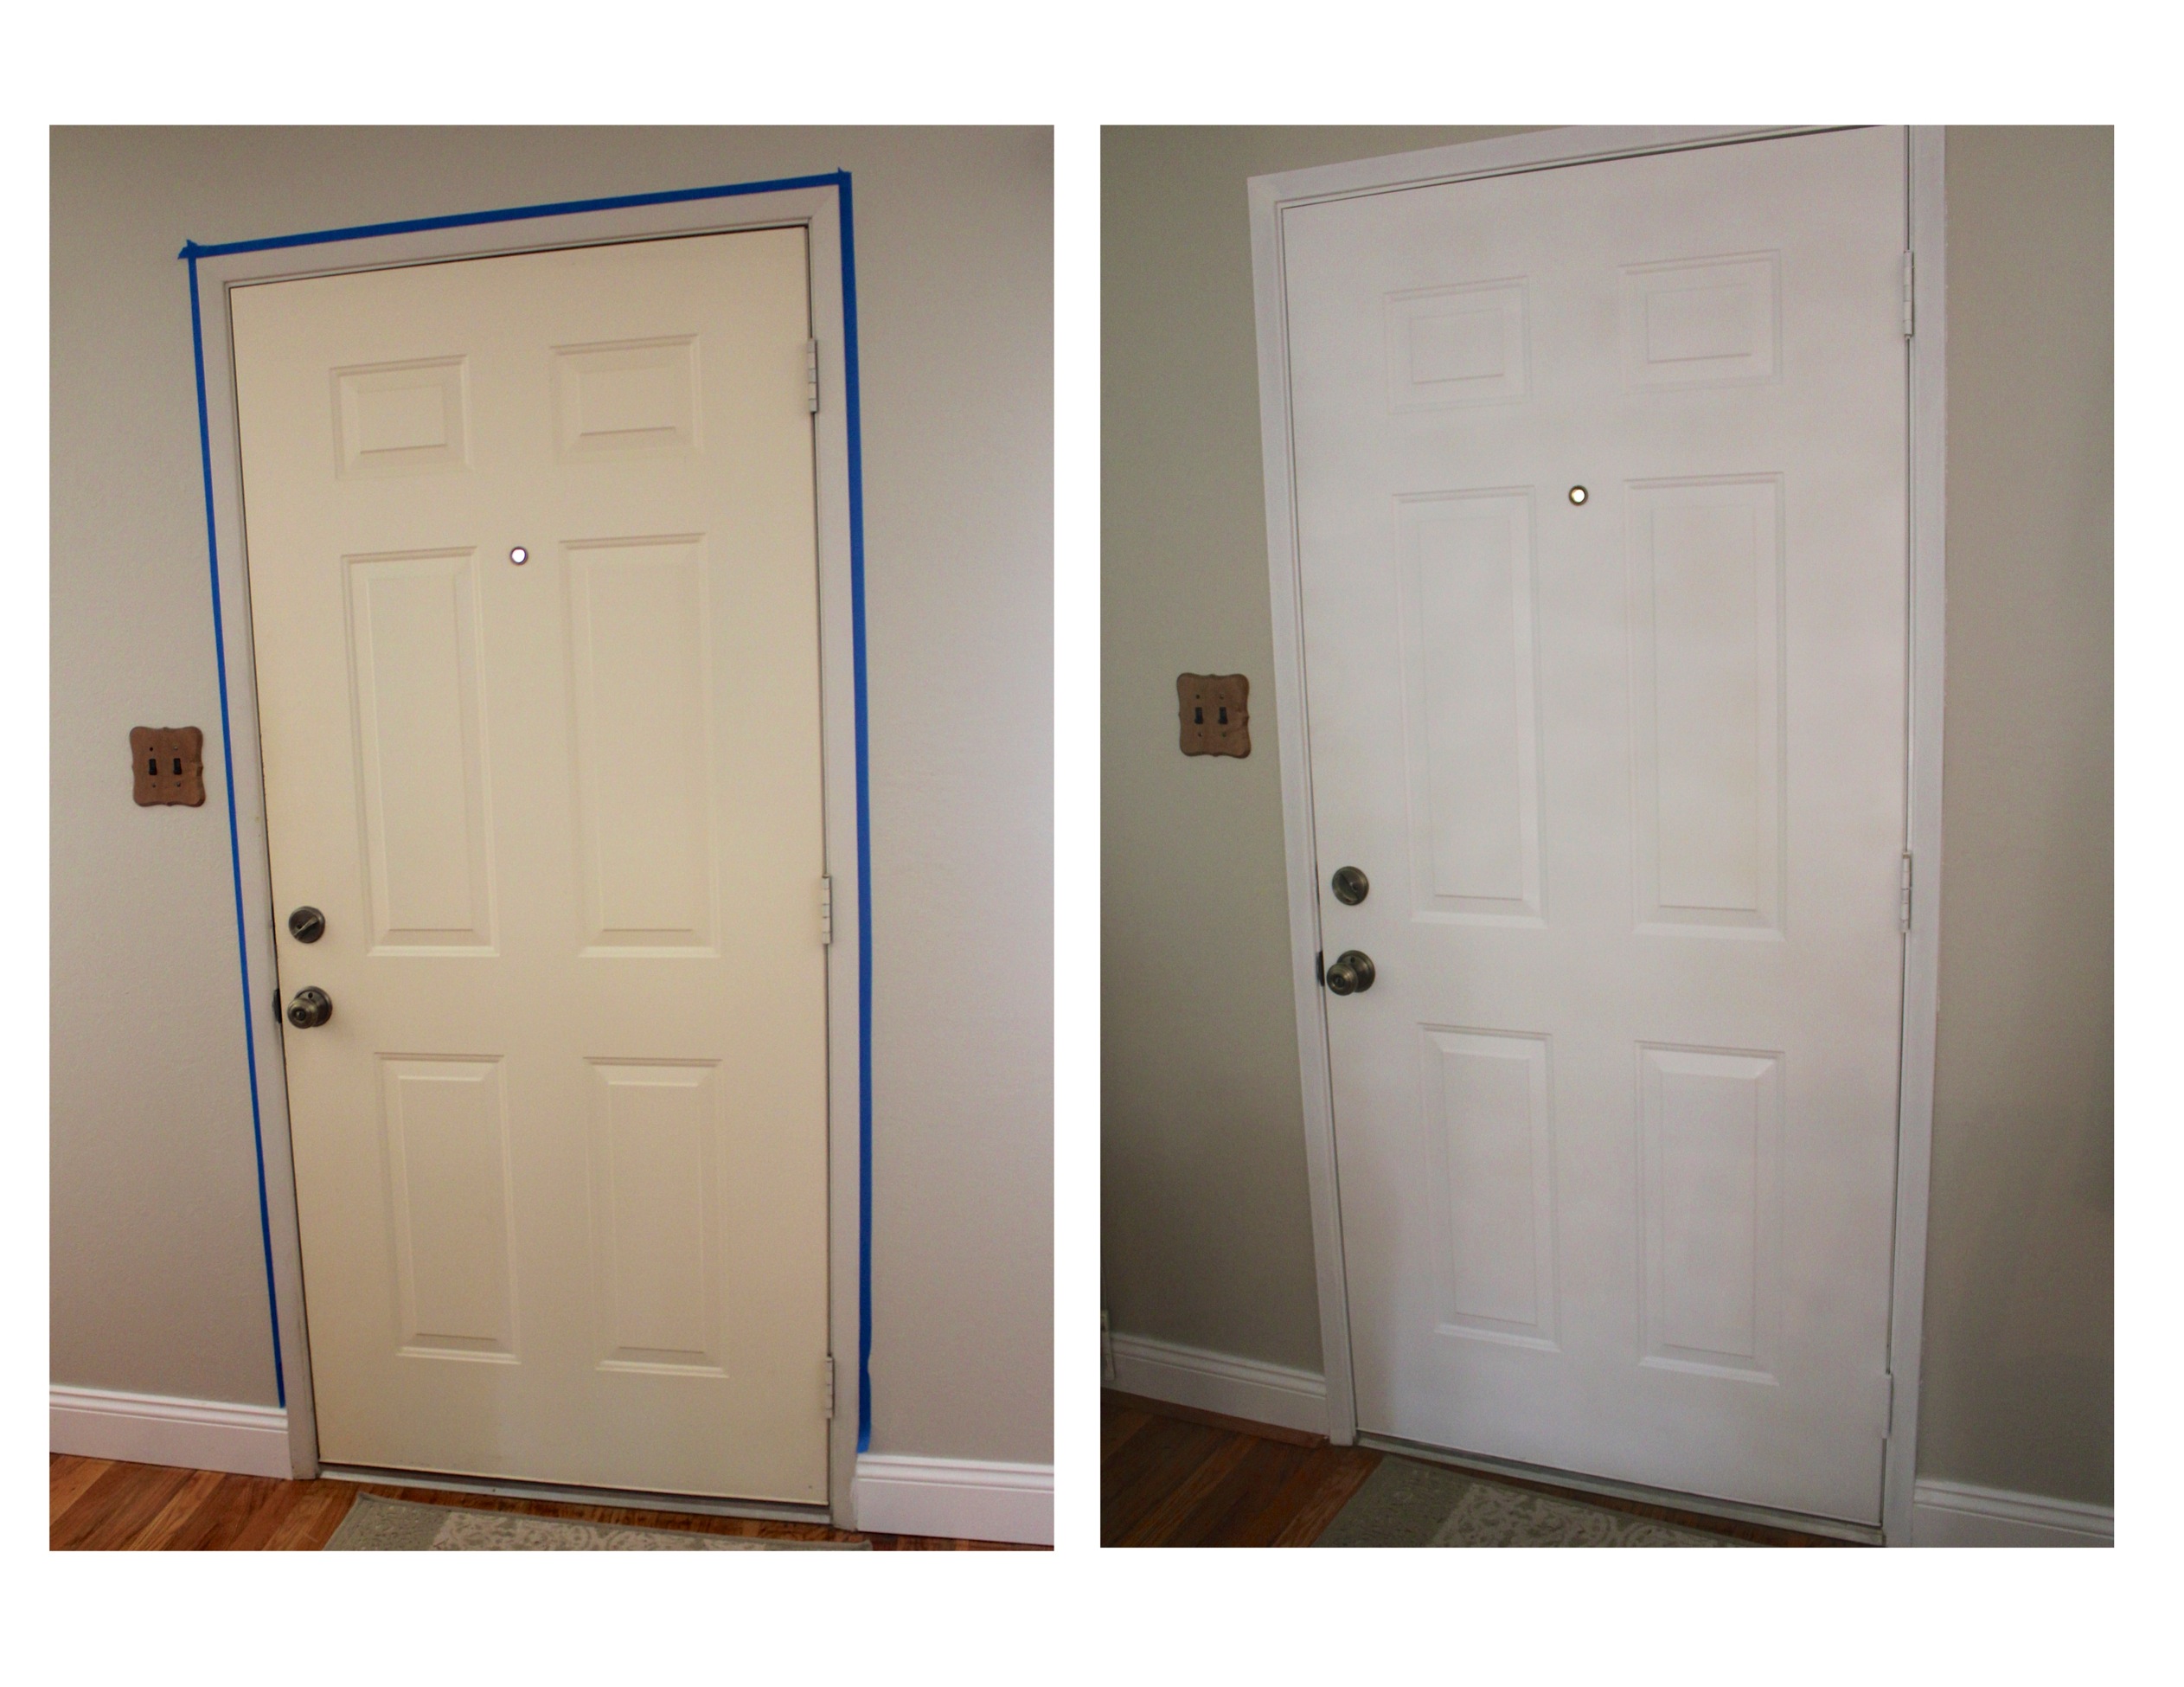
In the process of painting our trim to match our baseboard, we knew we were also signing up to do something with the doors. The question was: what?

Ugly boring doors (pardon the blue tape!)
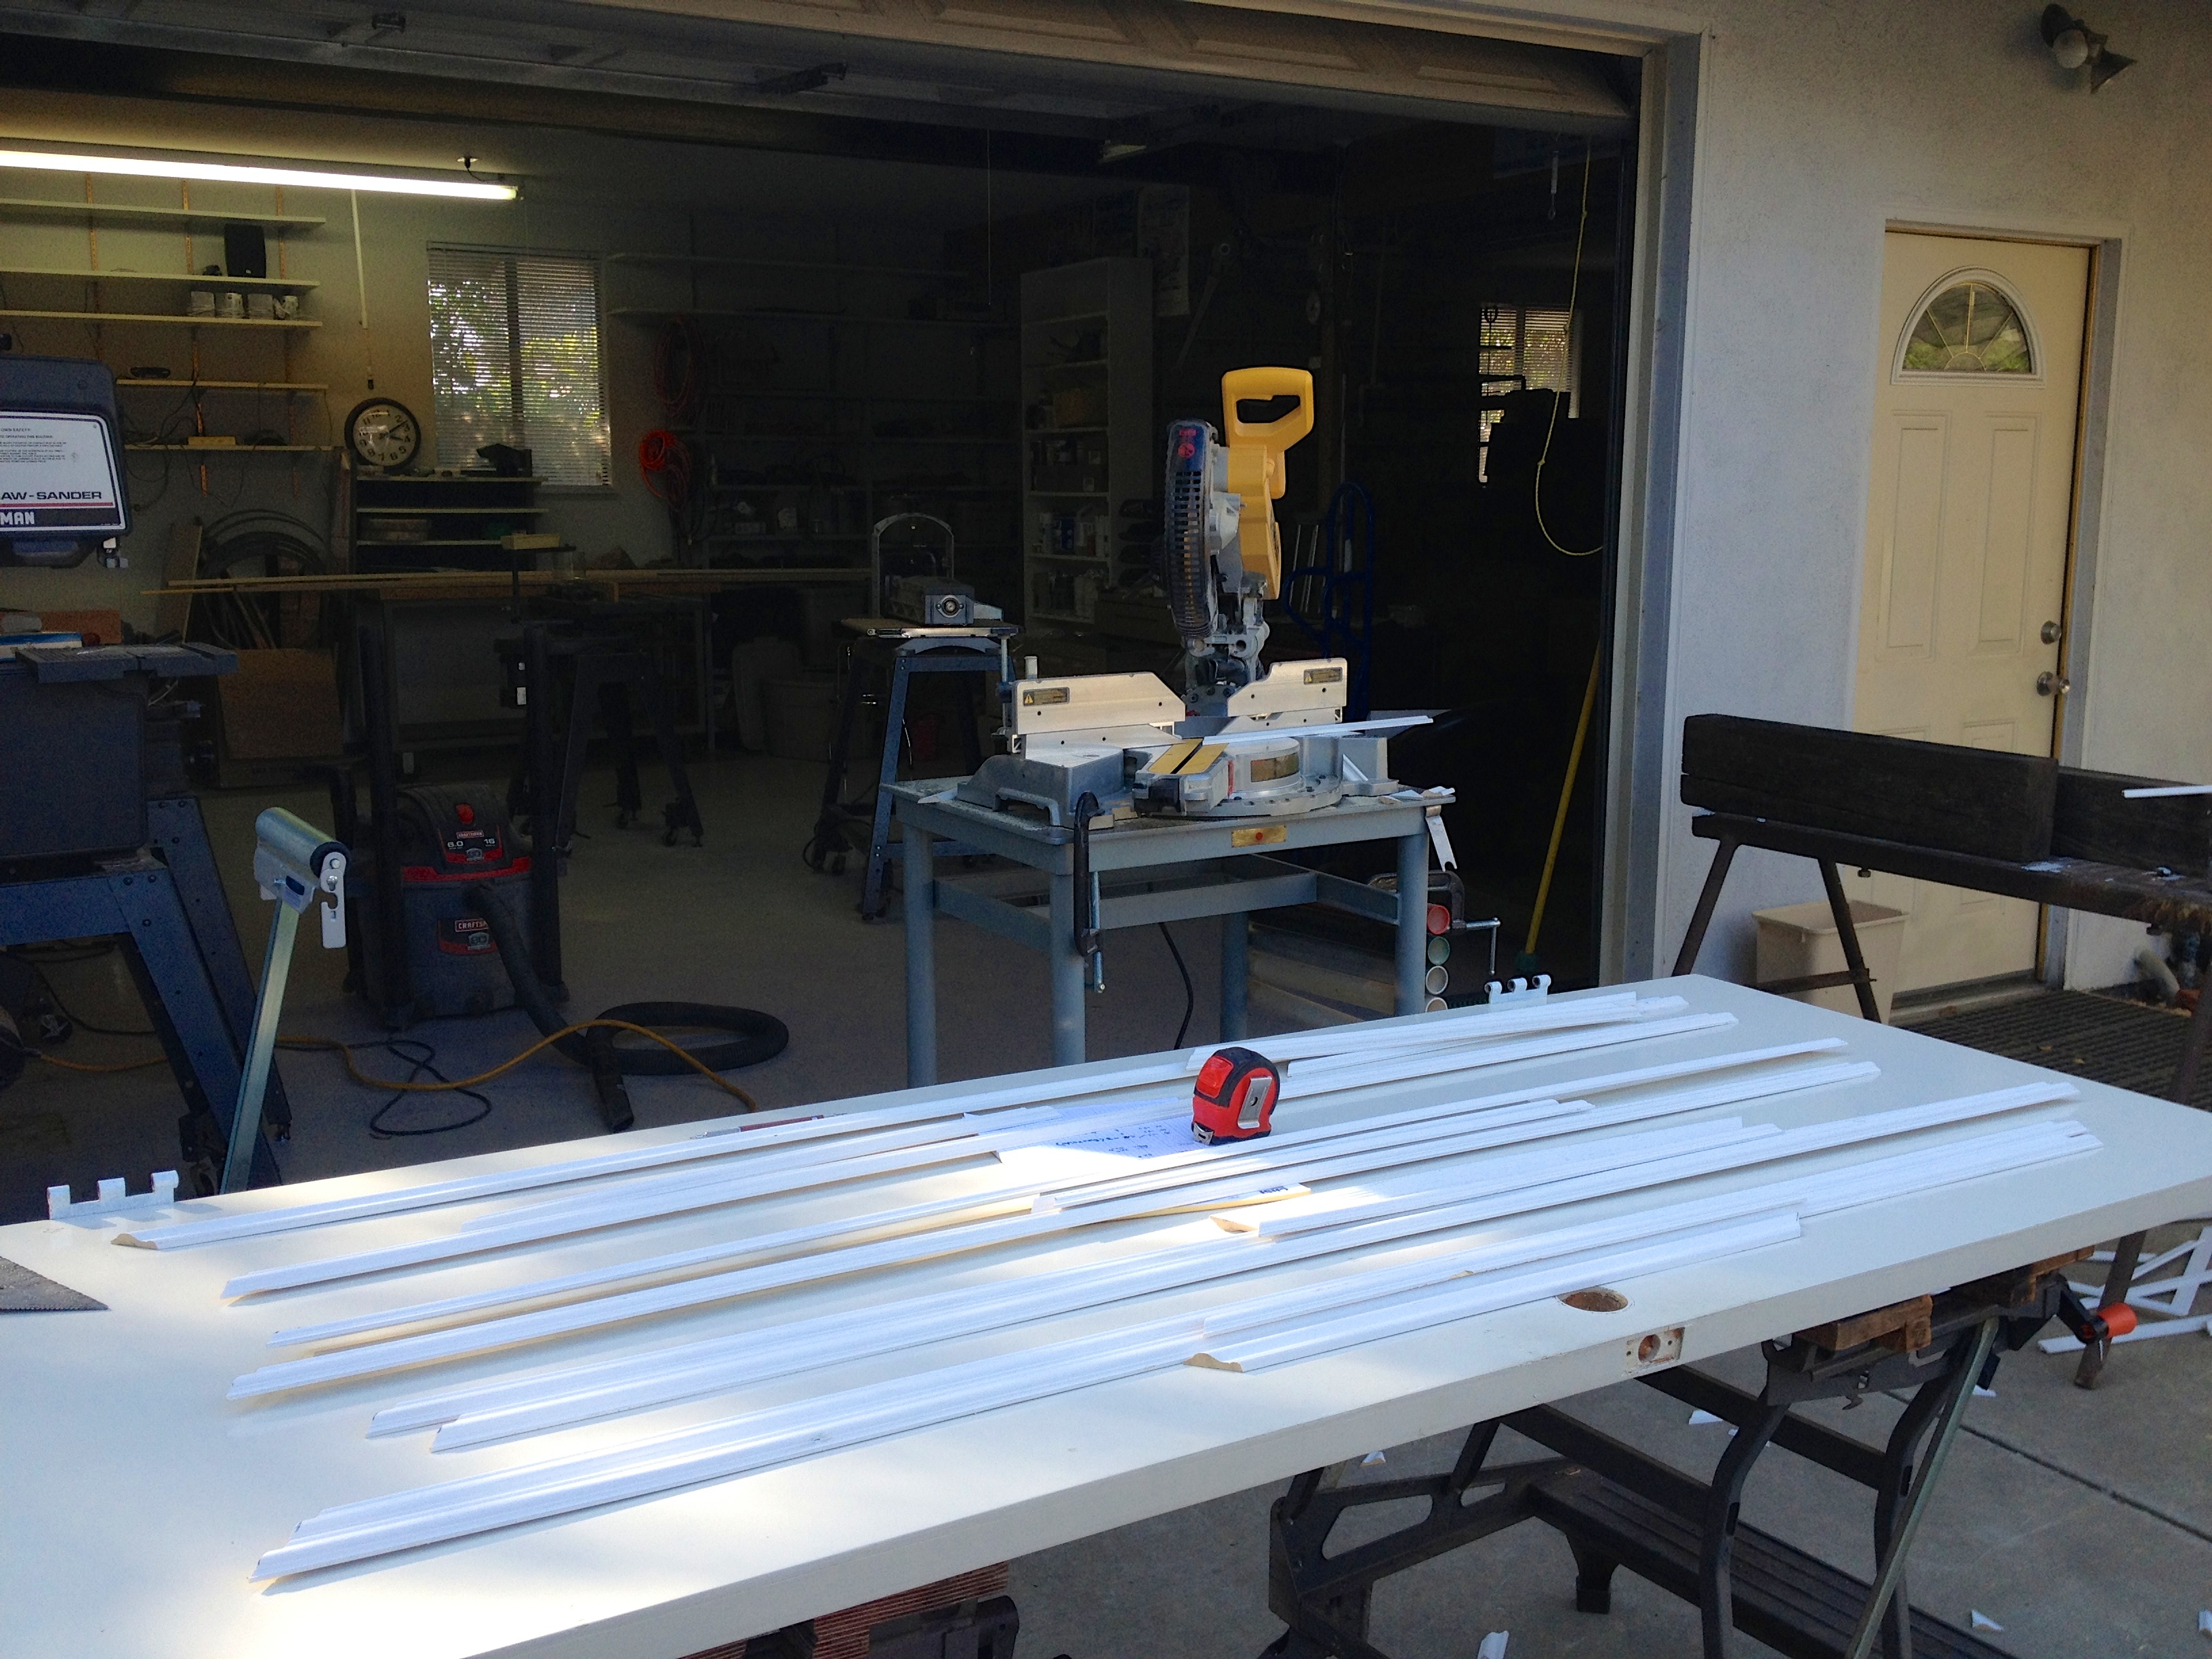

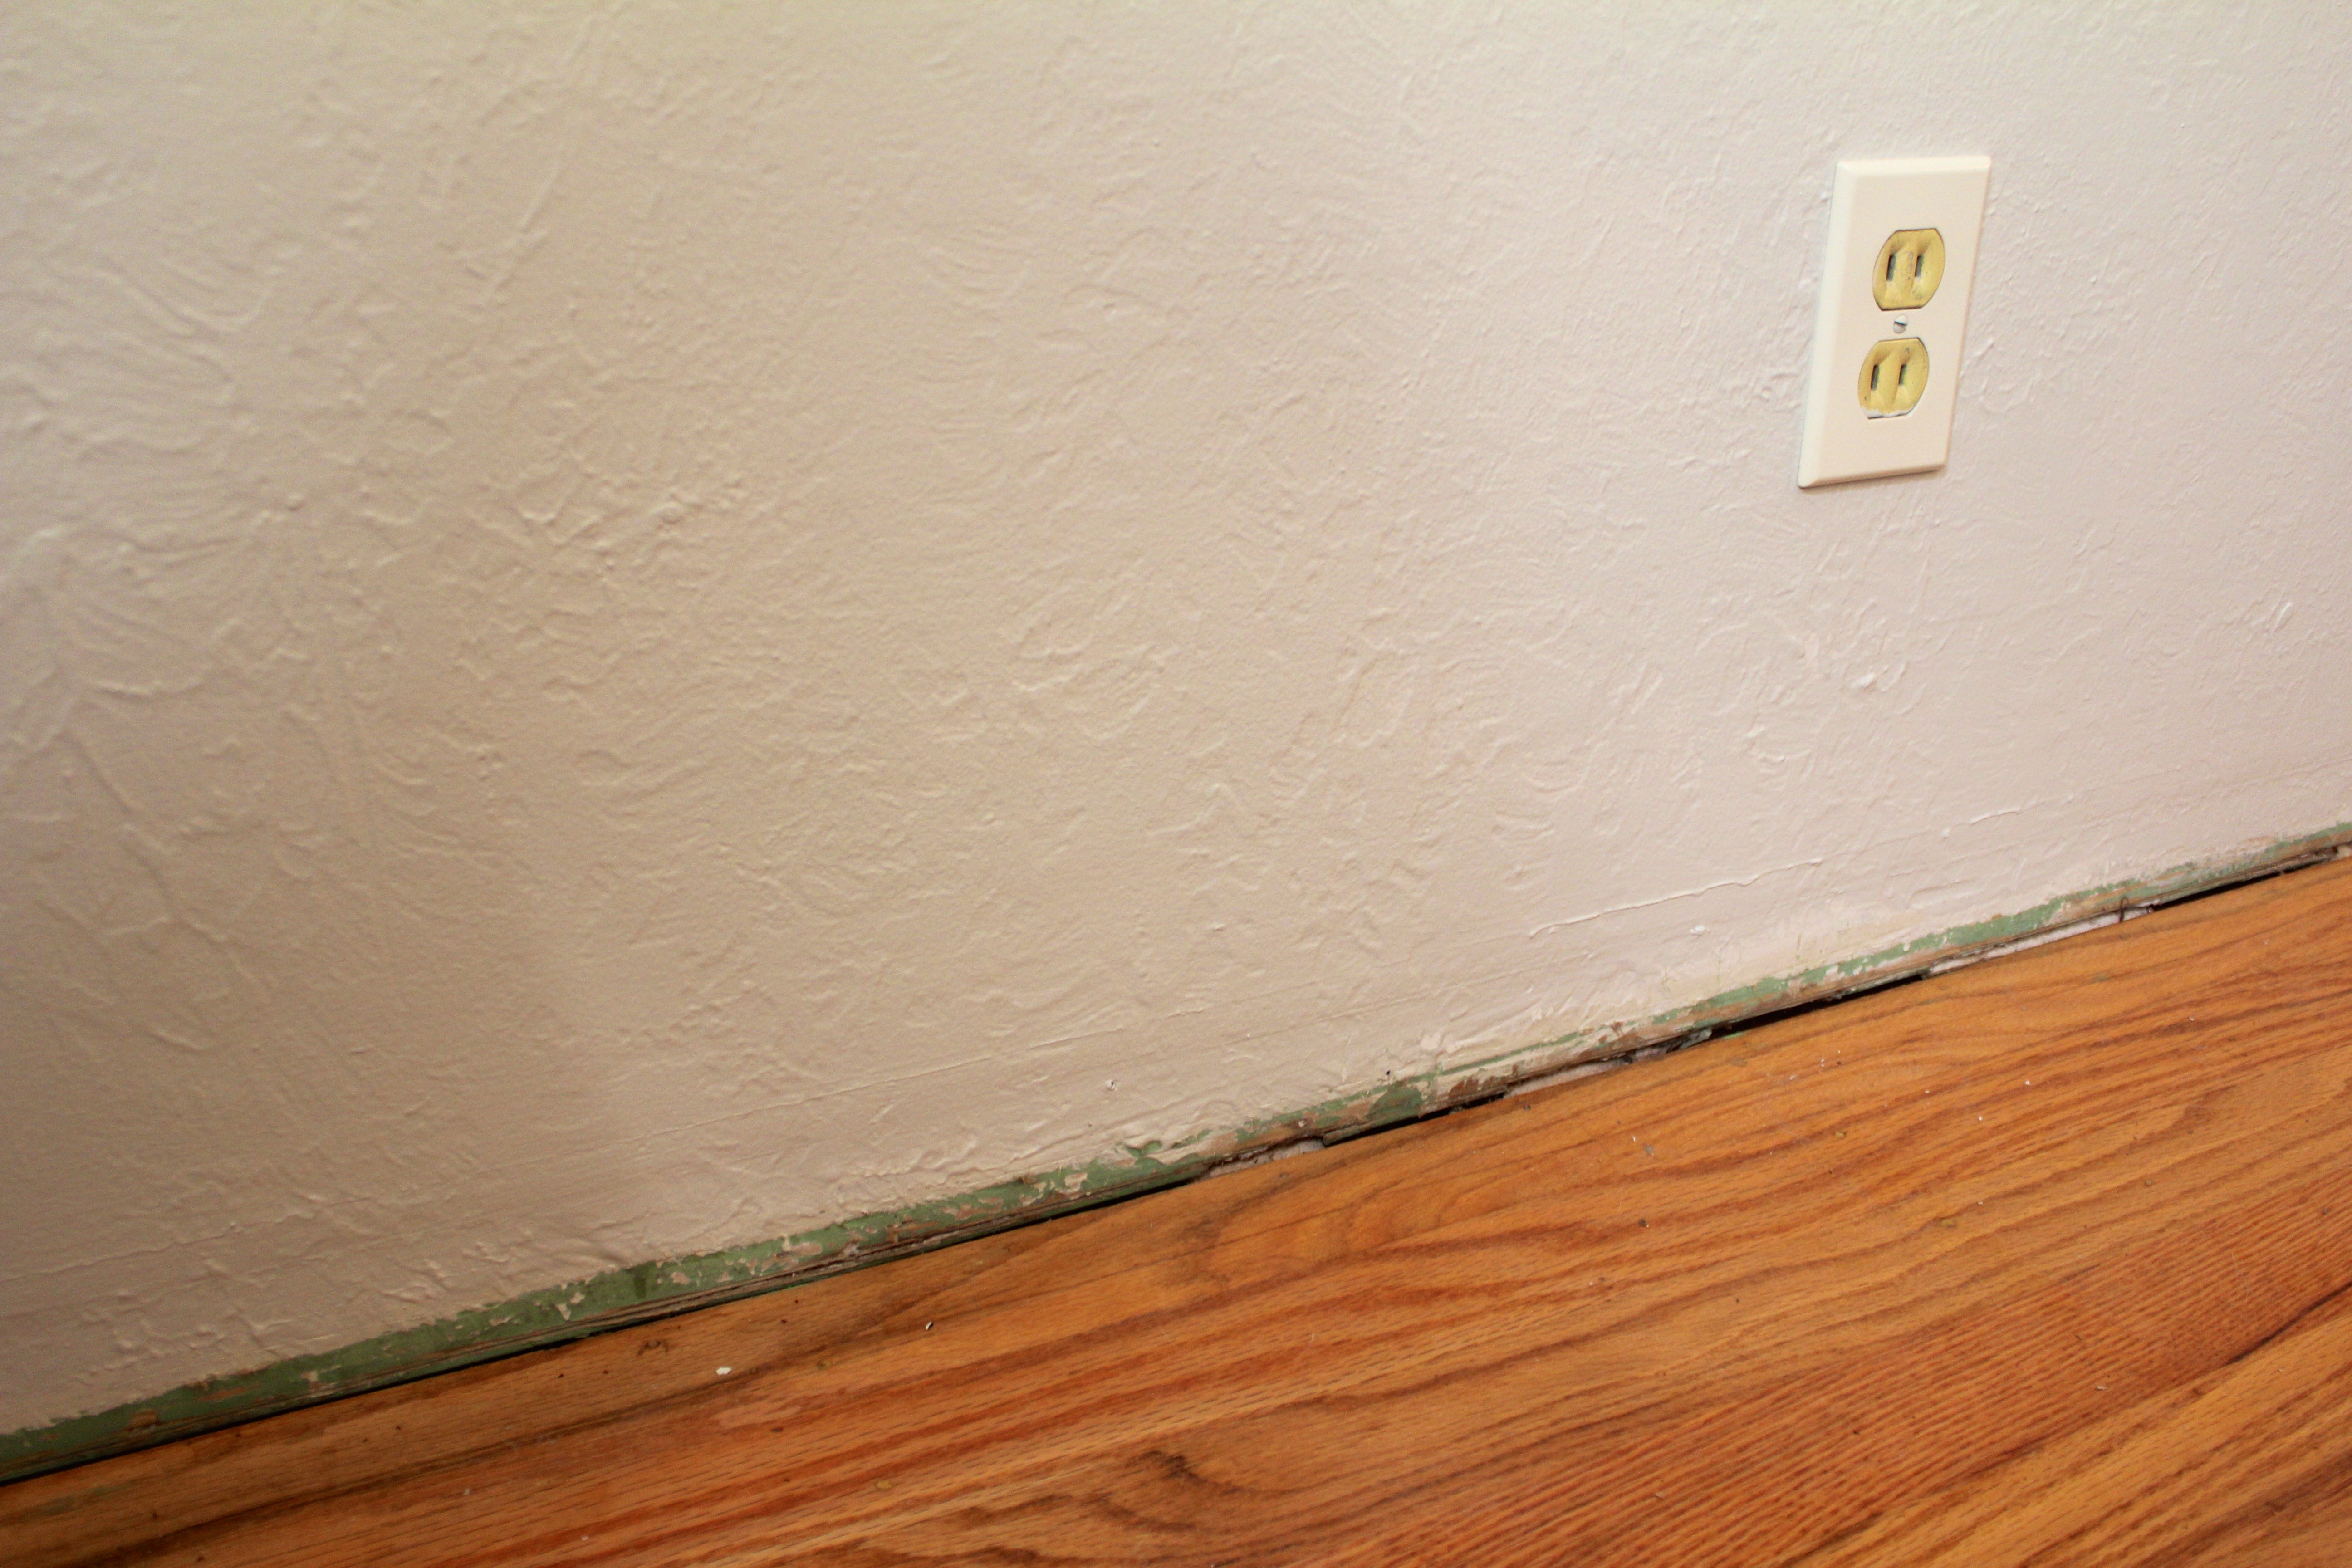
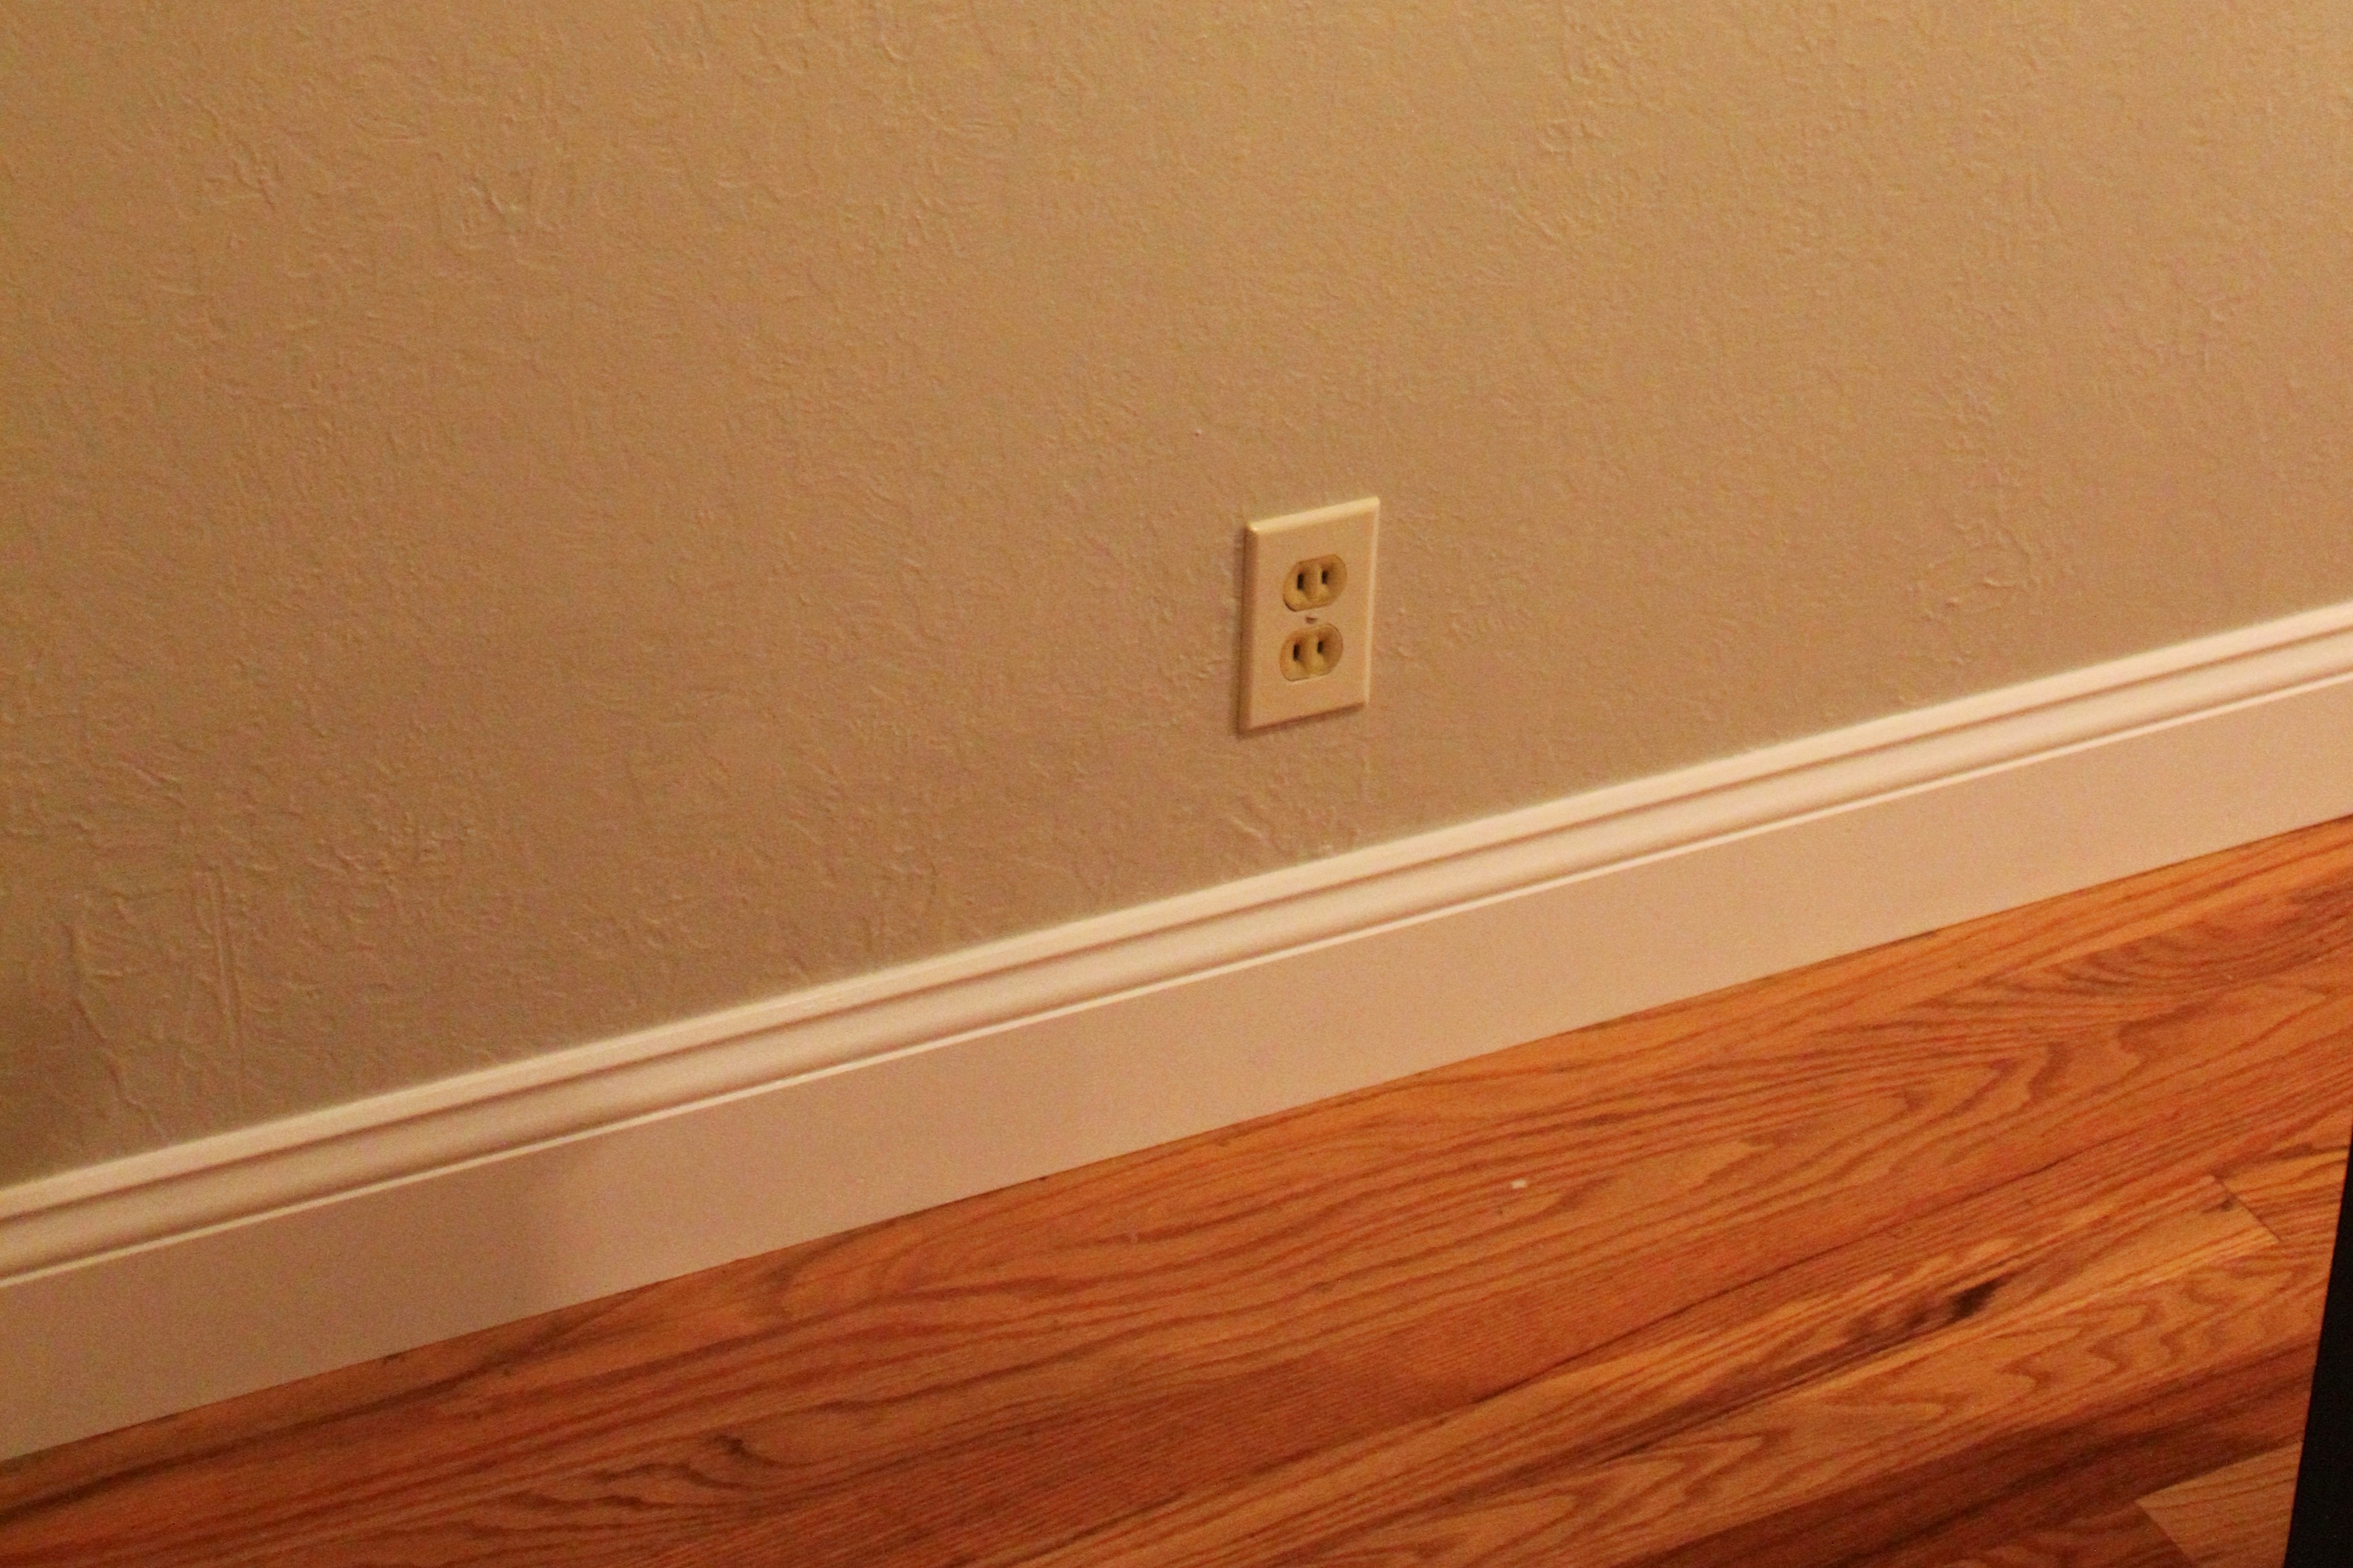
As I mentioned previously, our baseboard project kind of exploded. After we got the baseboard installed and the trim painted white, we moved on to step 3 of the project: installing quarter round oak along the base of the baseboard. We picked up the quarter round (not cord-around, but the two are easily confused…) and got to work sanding and staining it to match our floors.

Sanded, stained, and ready to go!
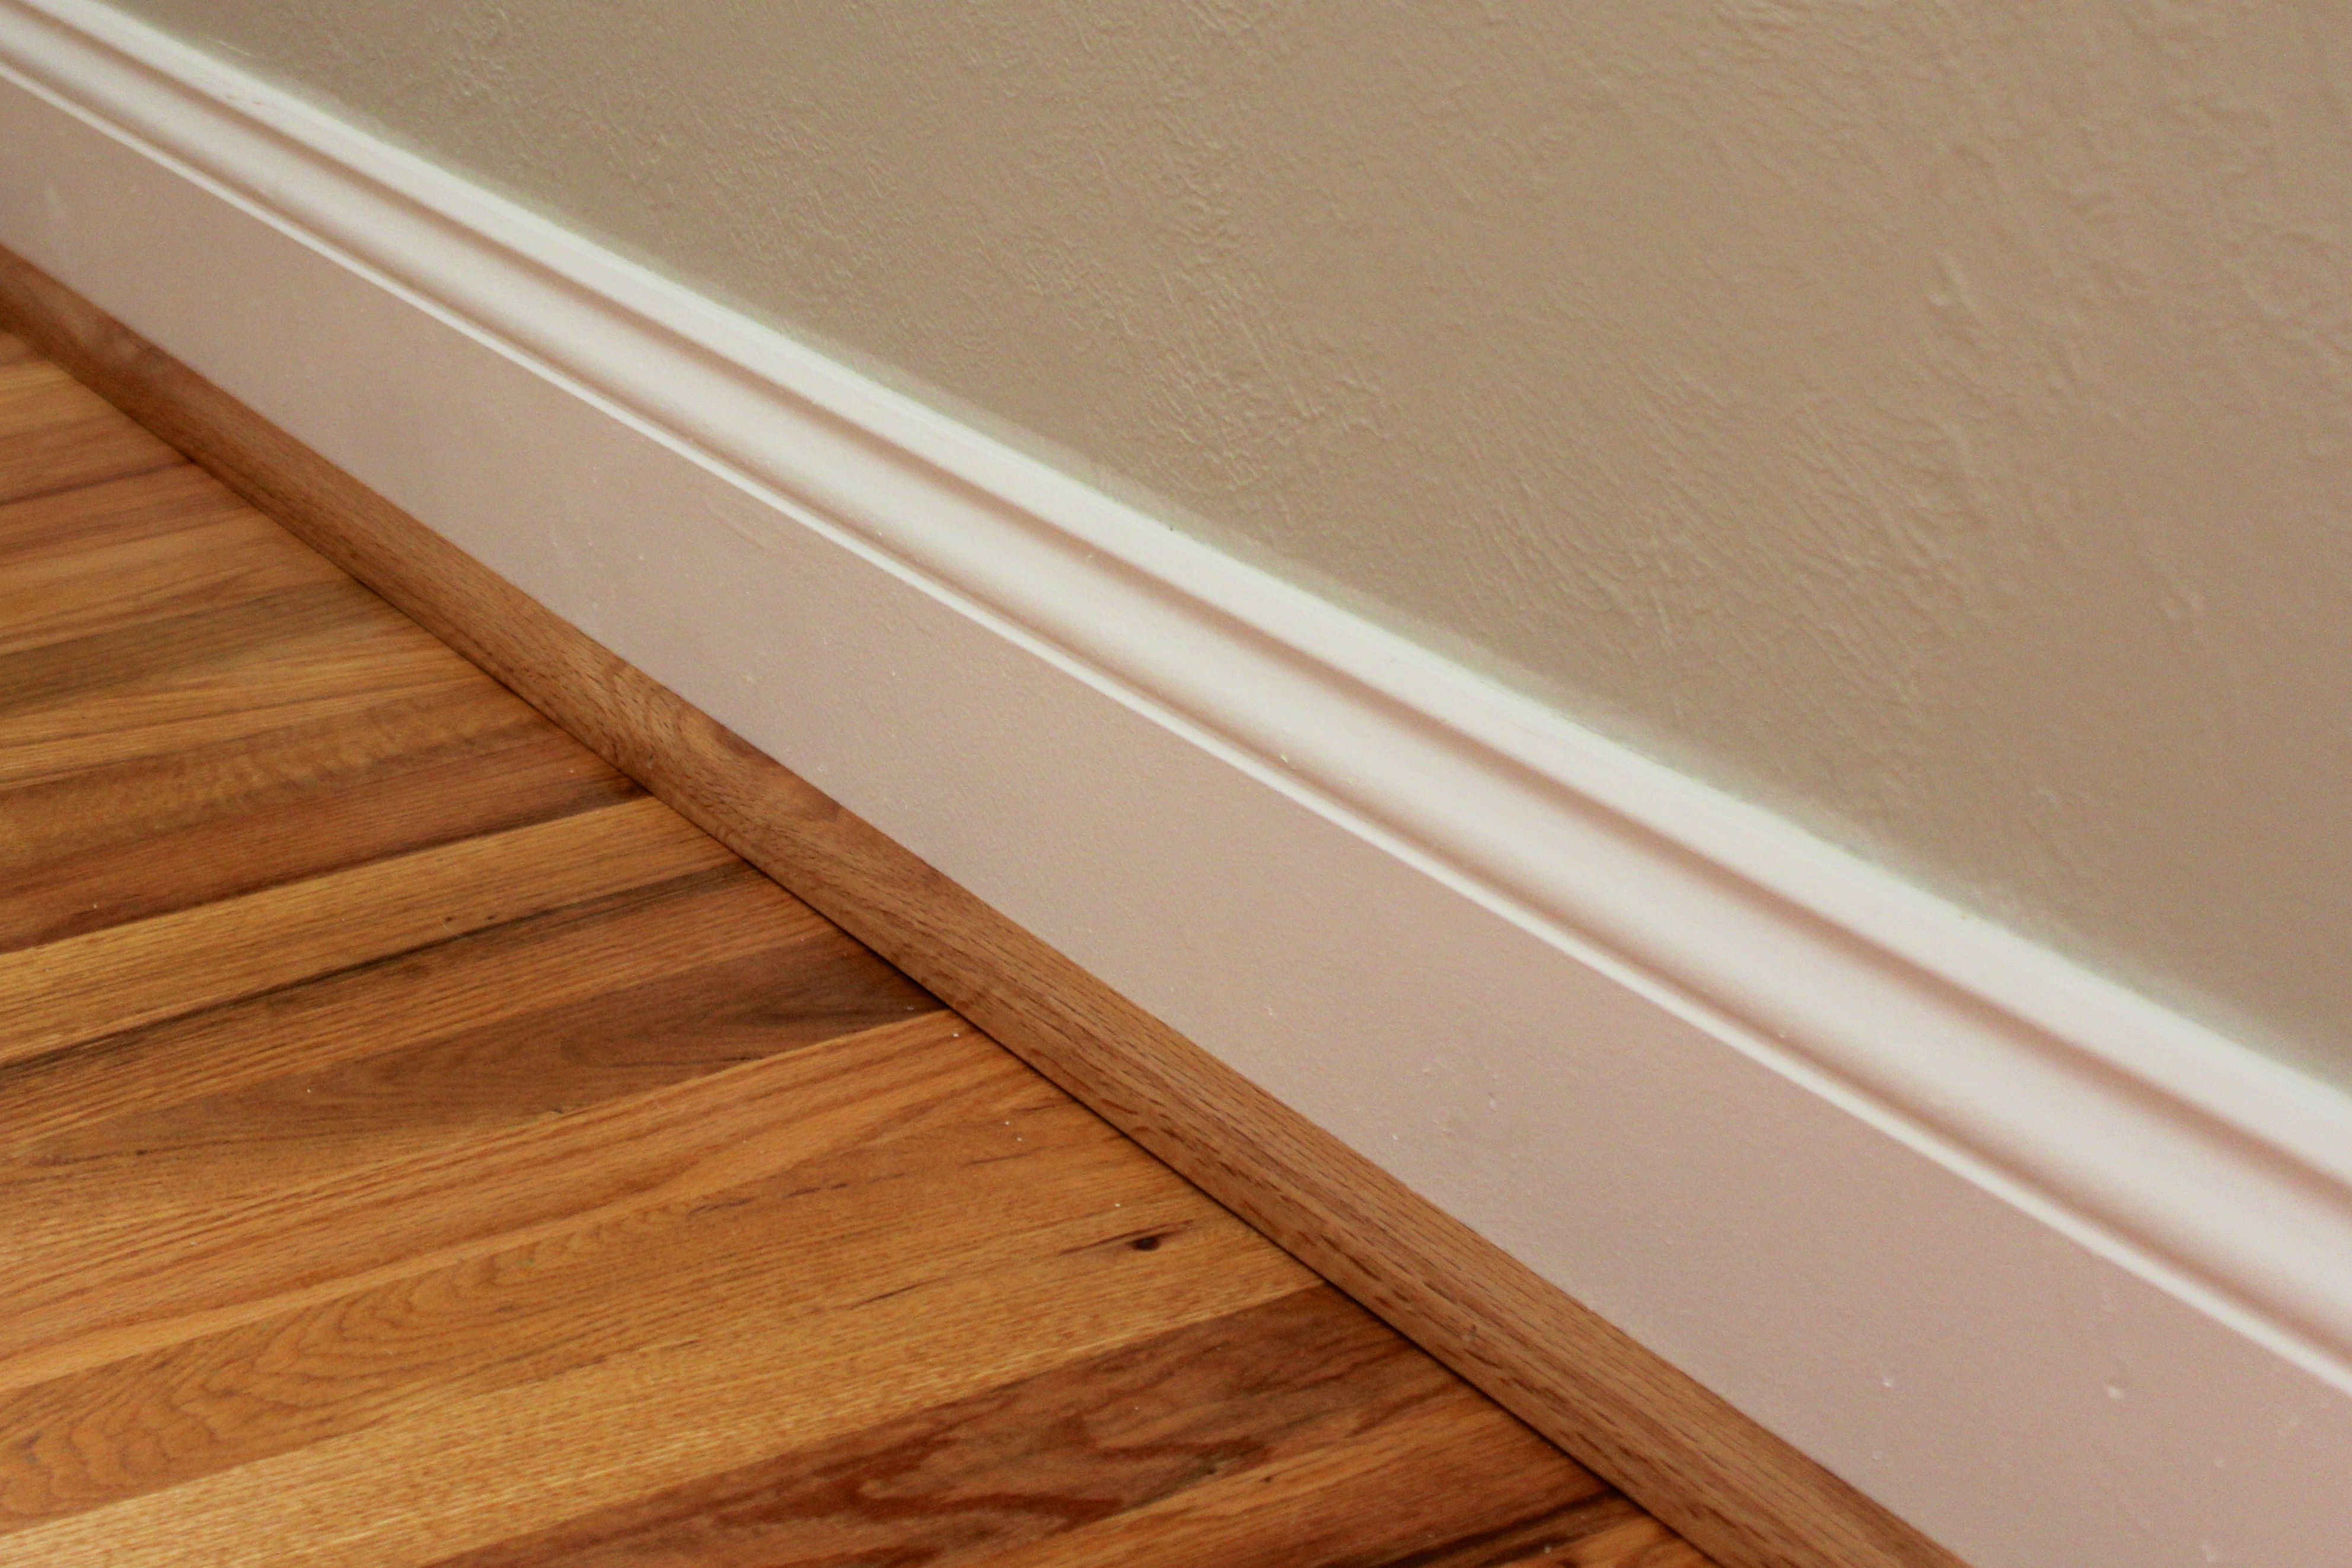
Funny thing about baseboard: it’s so white, it has a tendency to make the rest of the trim in your house look decidedly less white. Not true? Well, maybe not true for you, but definitely true for us!


I told you… AWESOME paint clothes. Cude & Cuddly in the USA?? It’s so bad it’s good; and yes, this is my husband 🙂
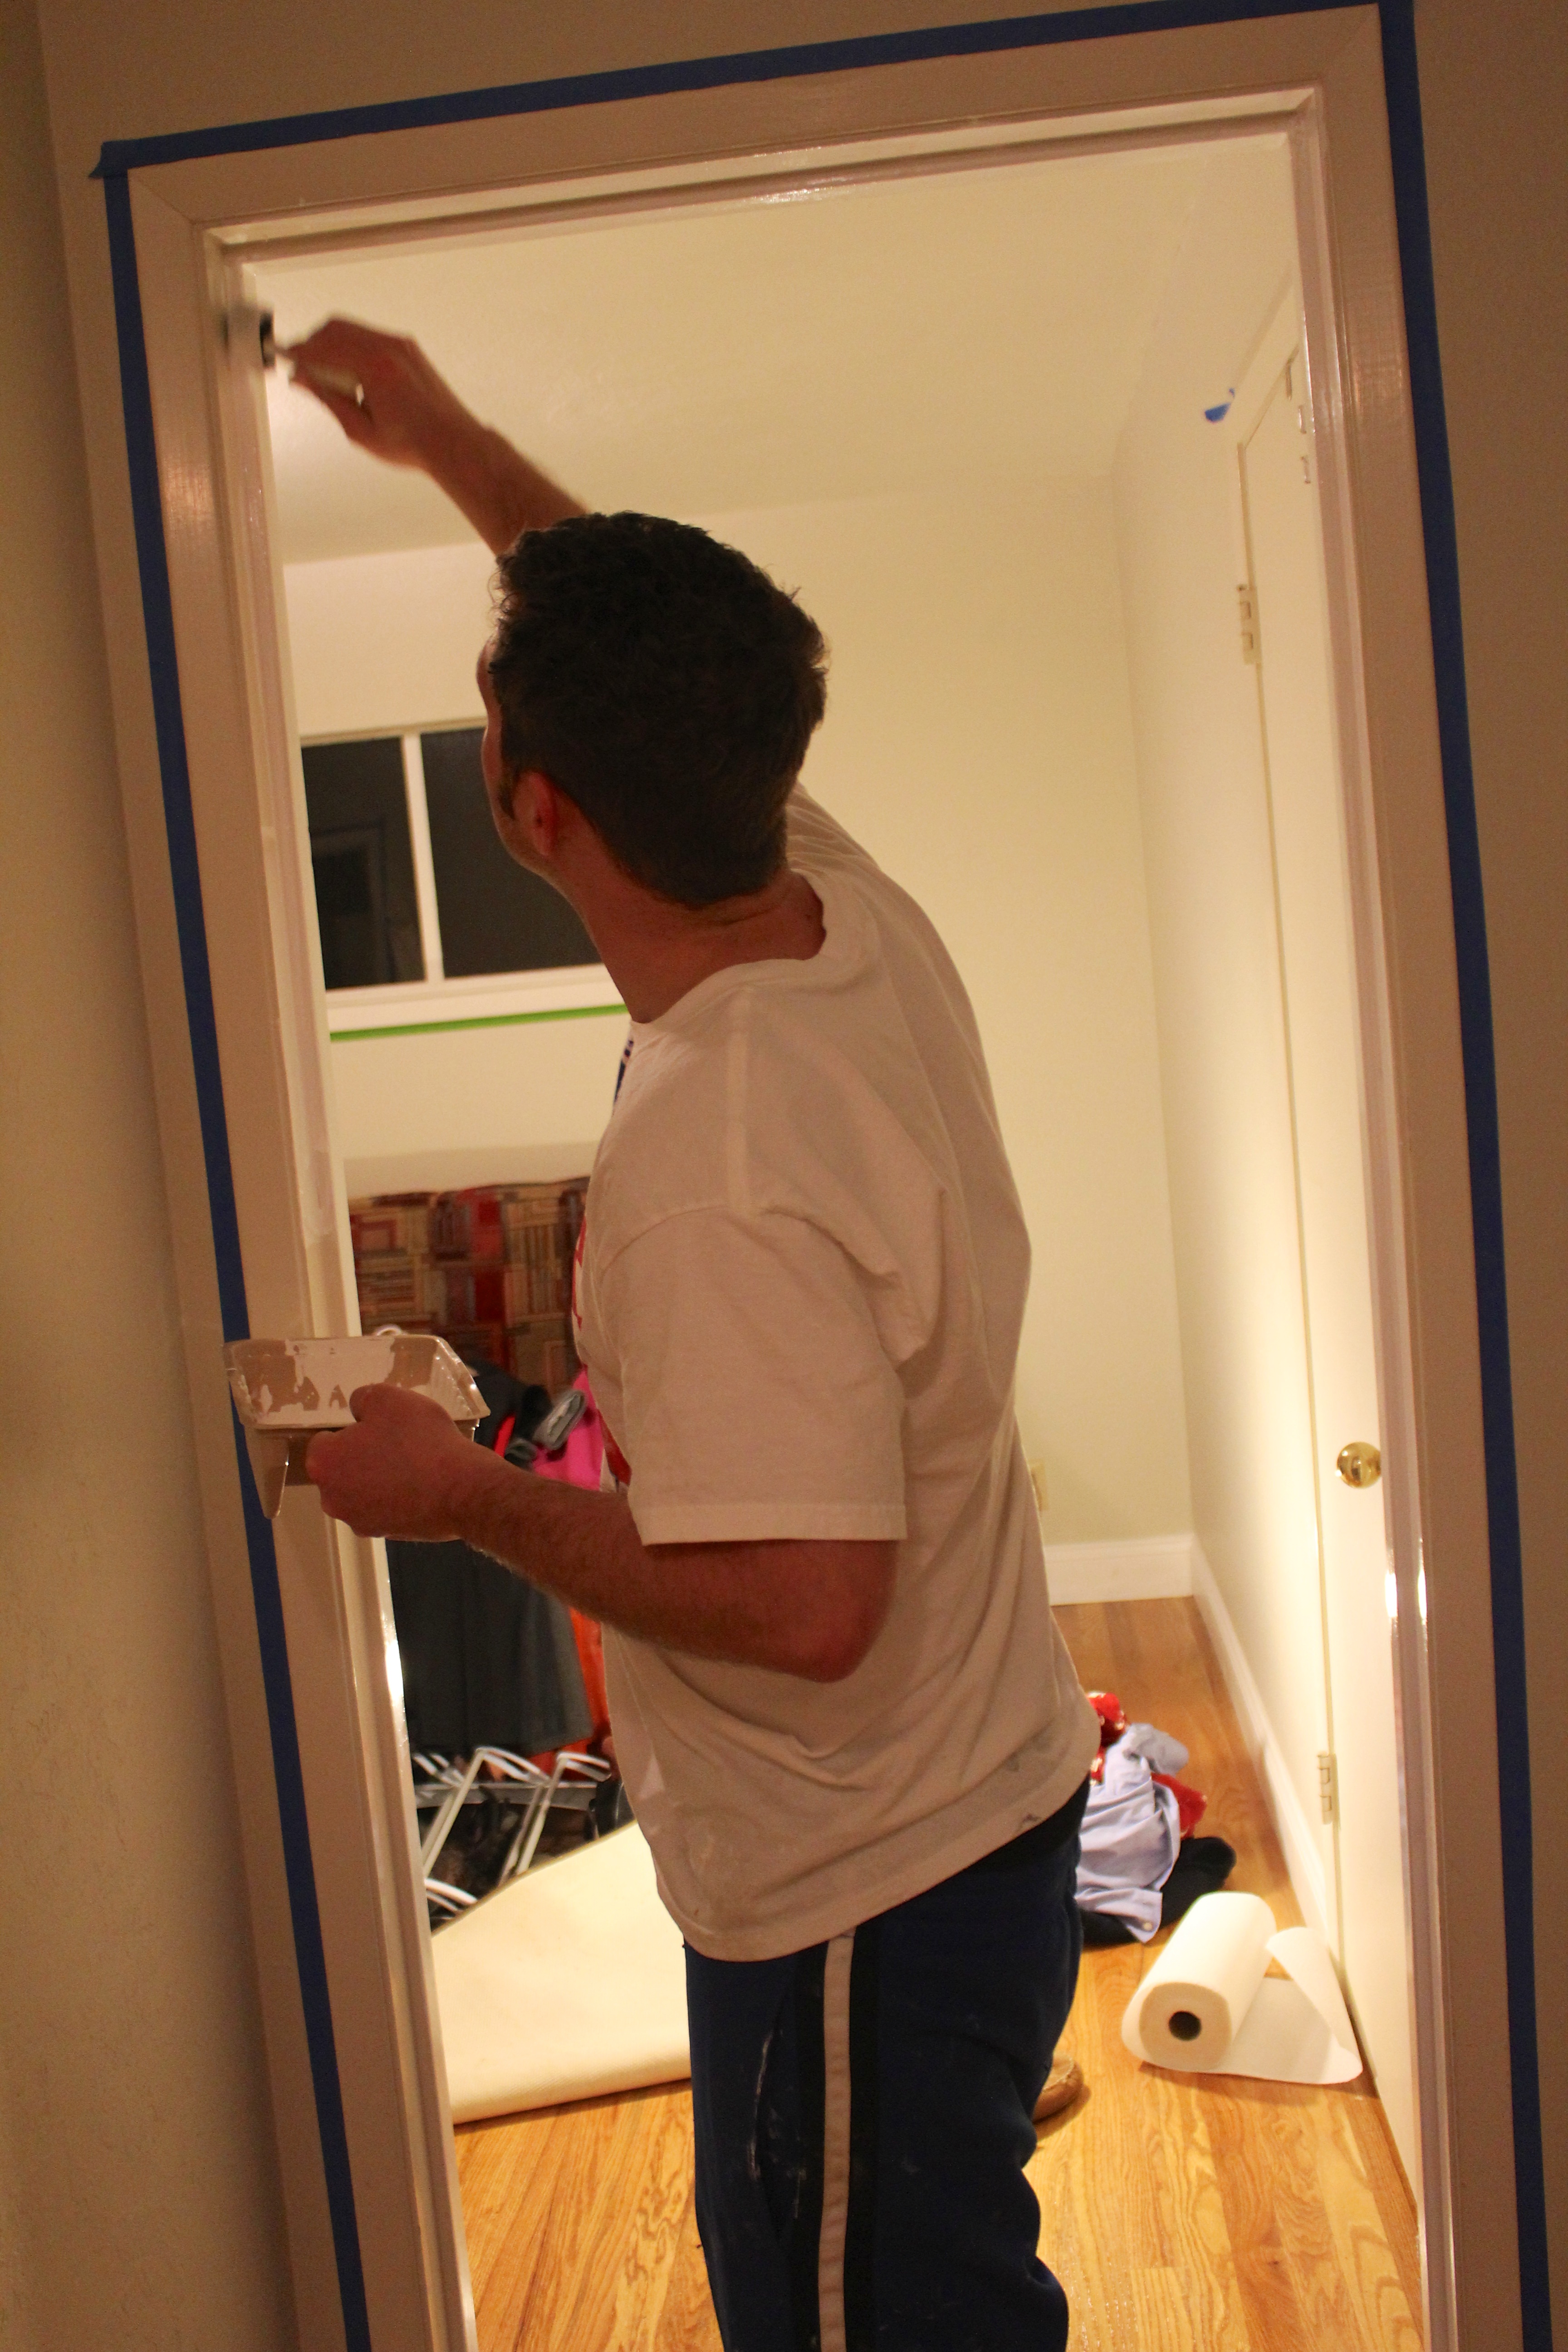
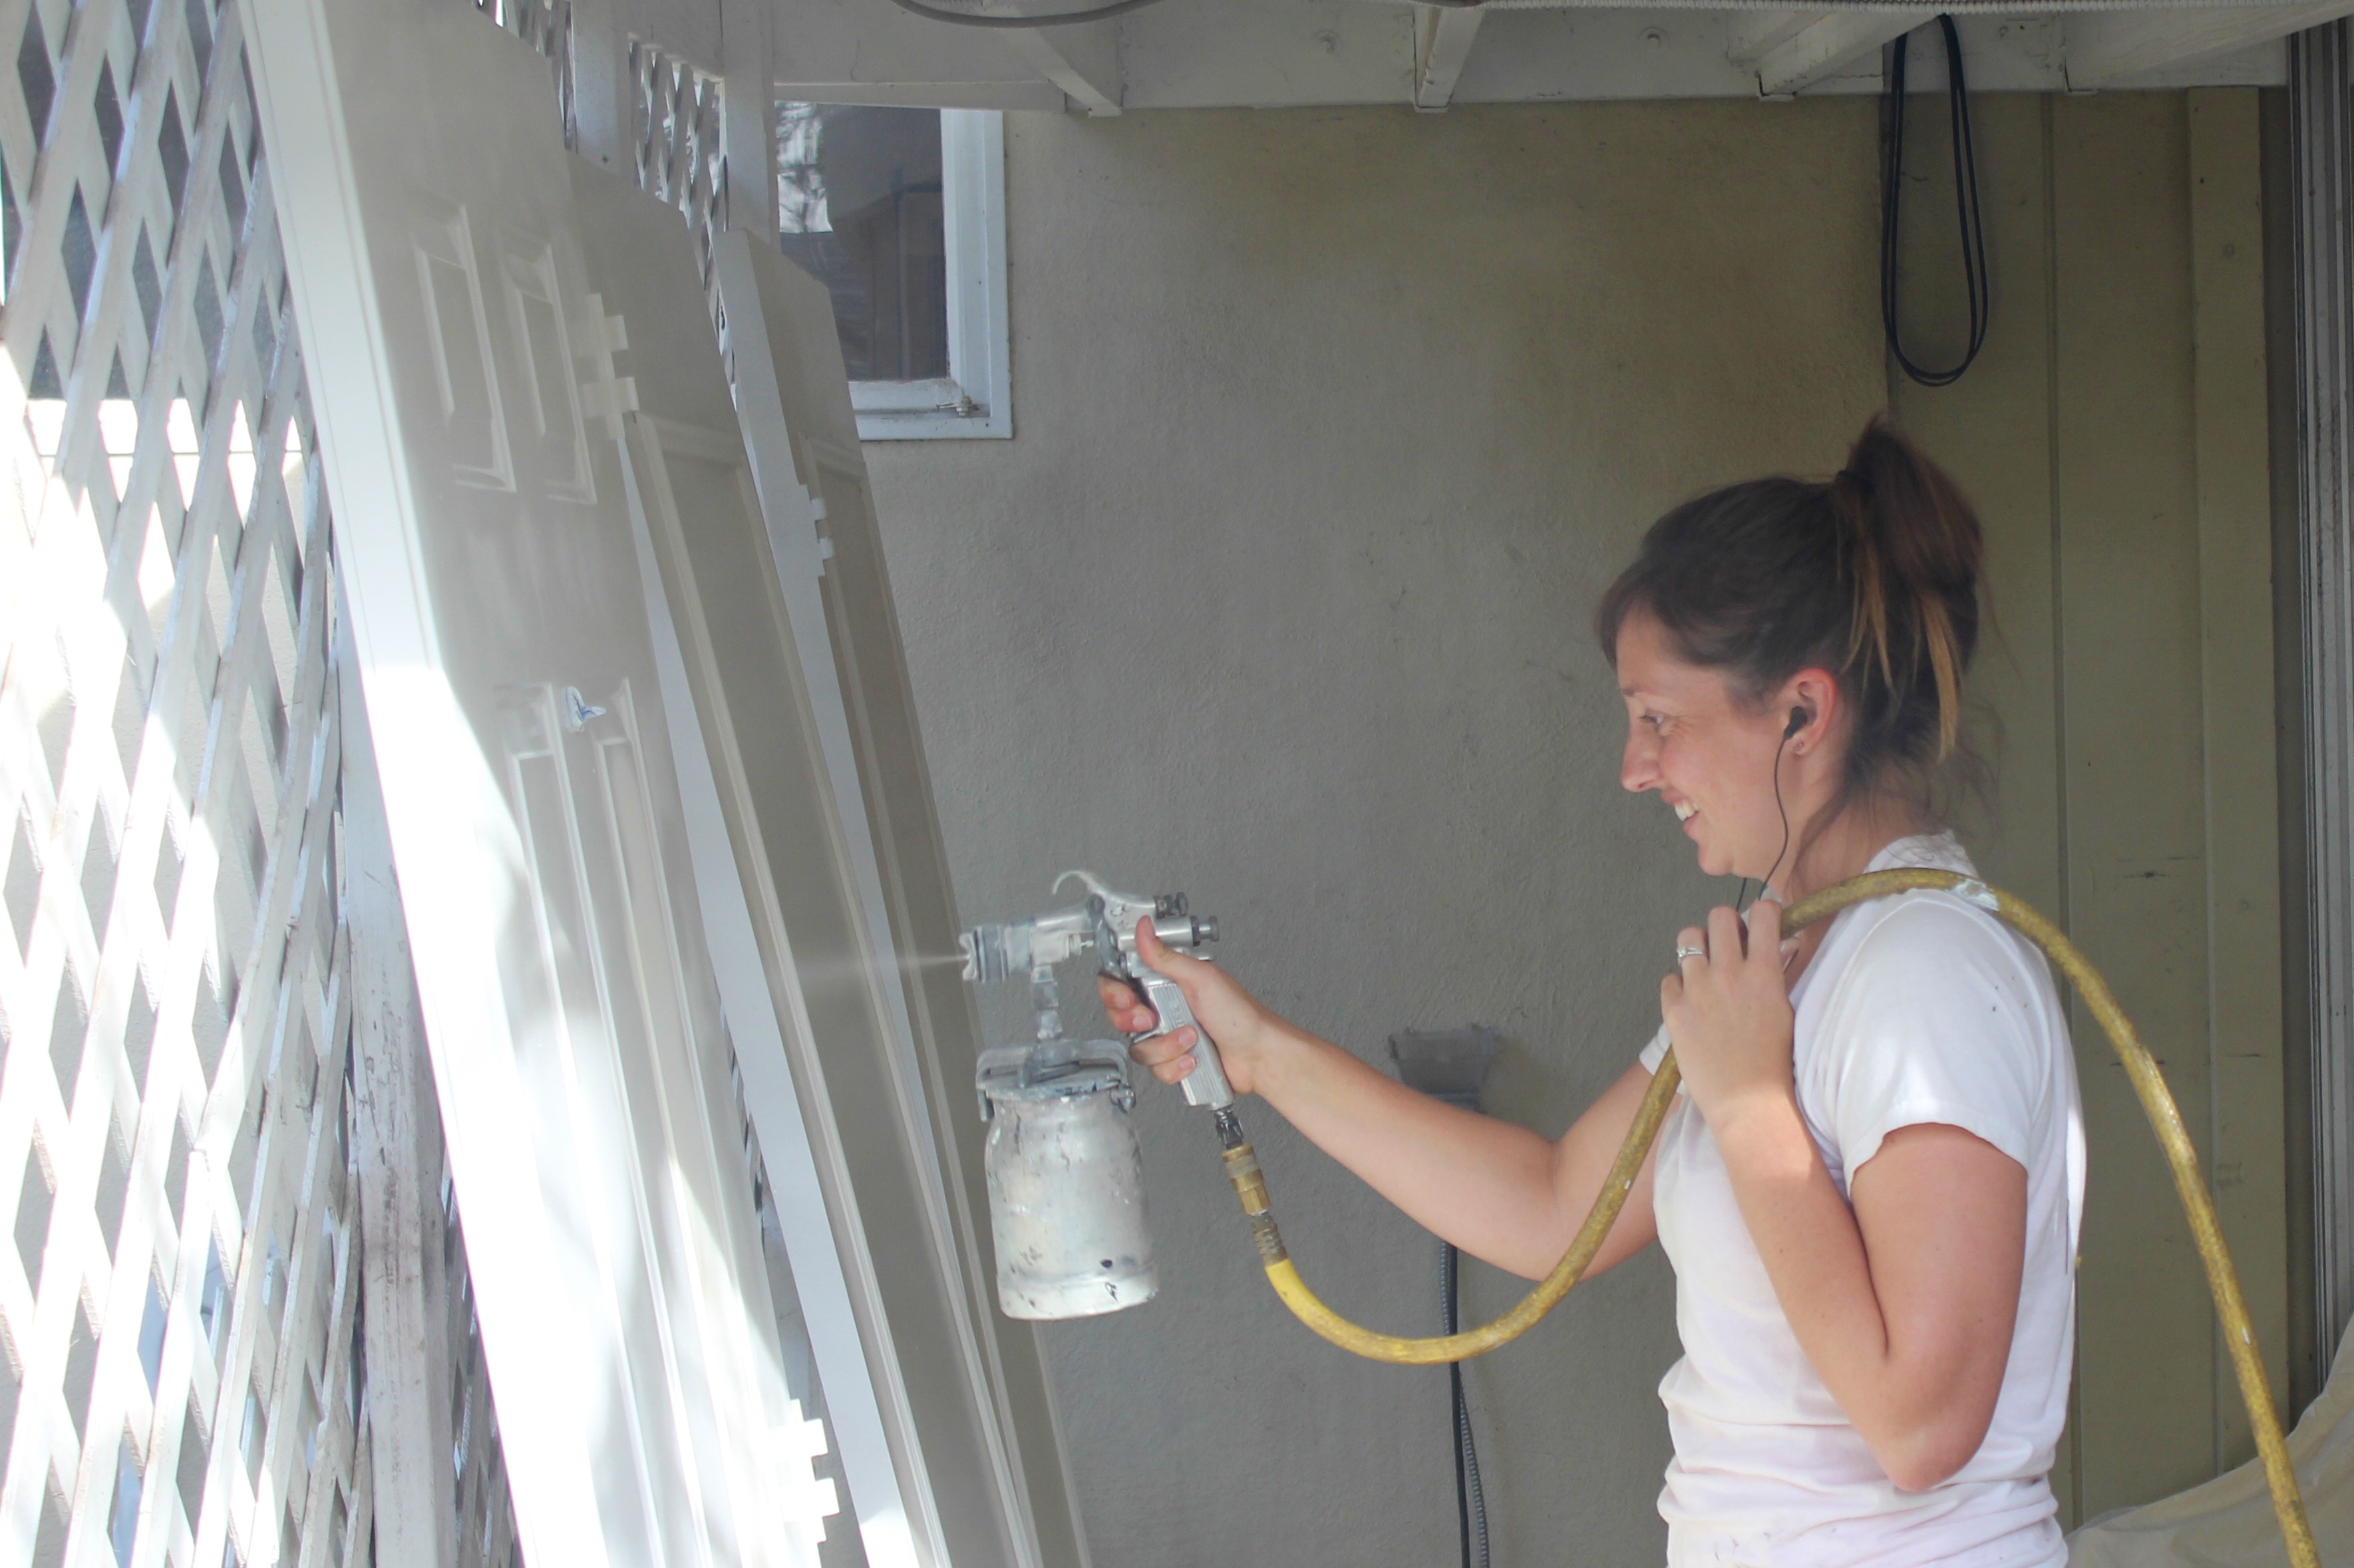
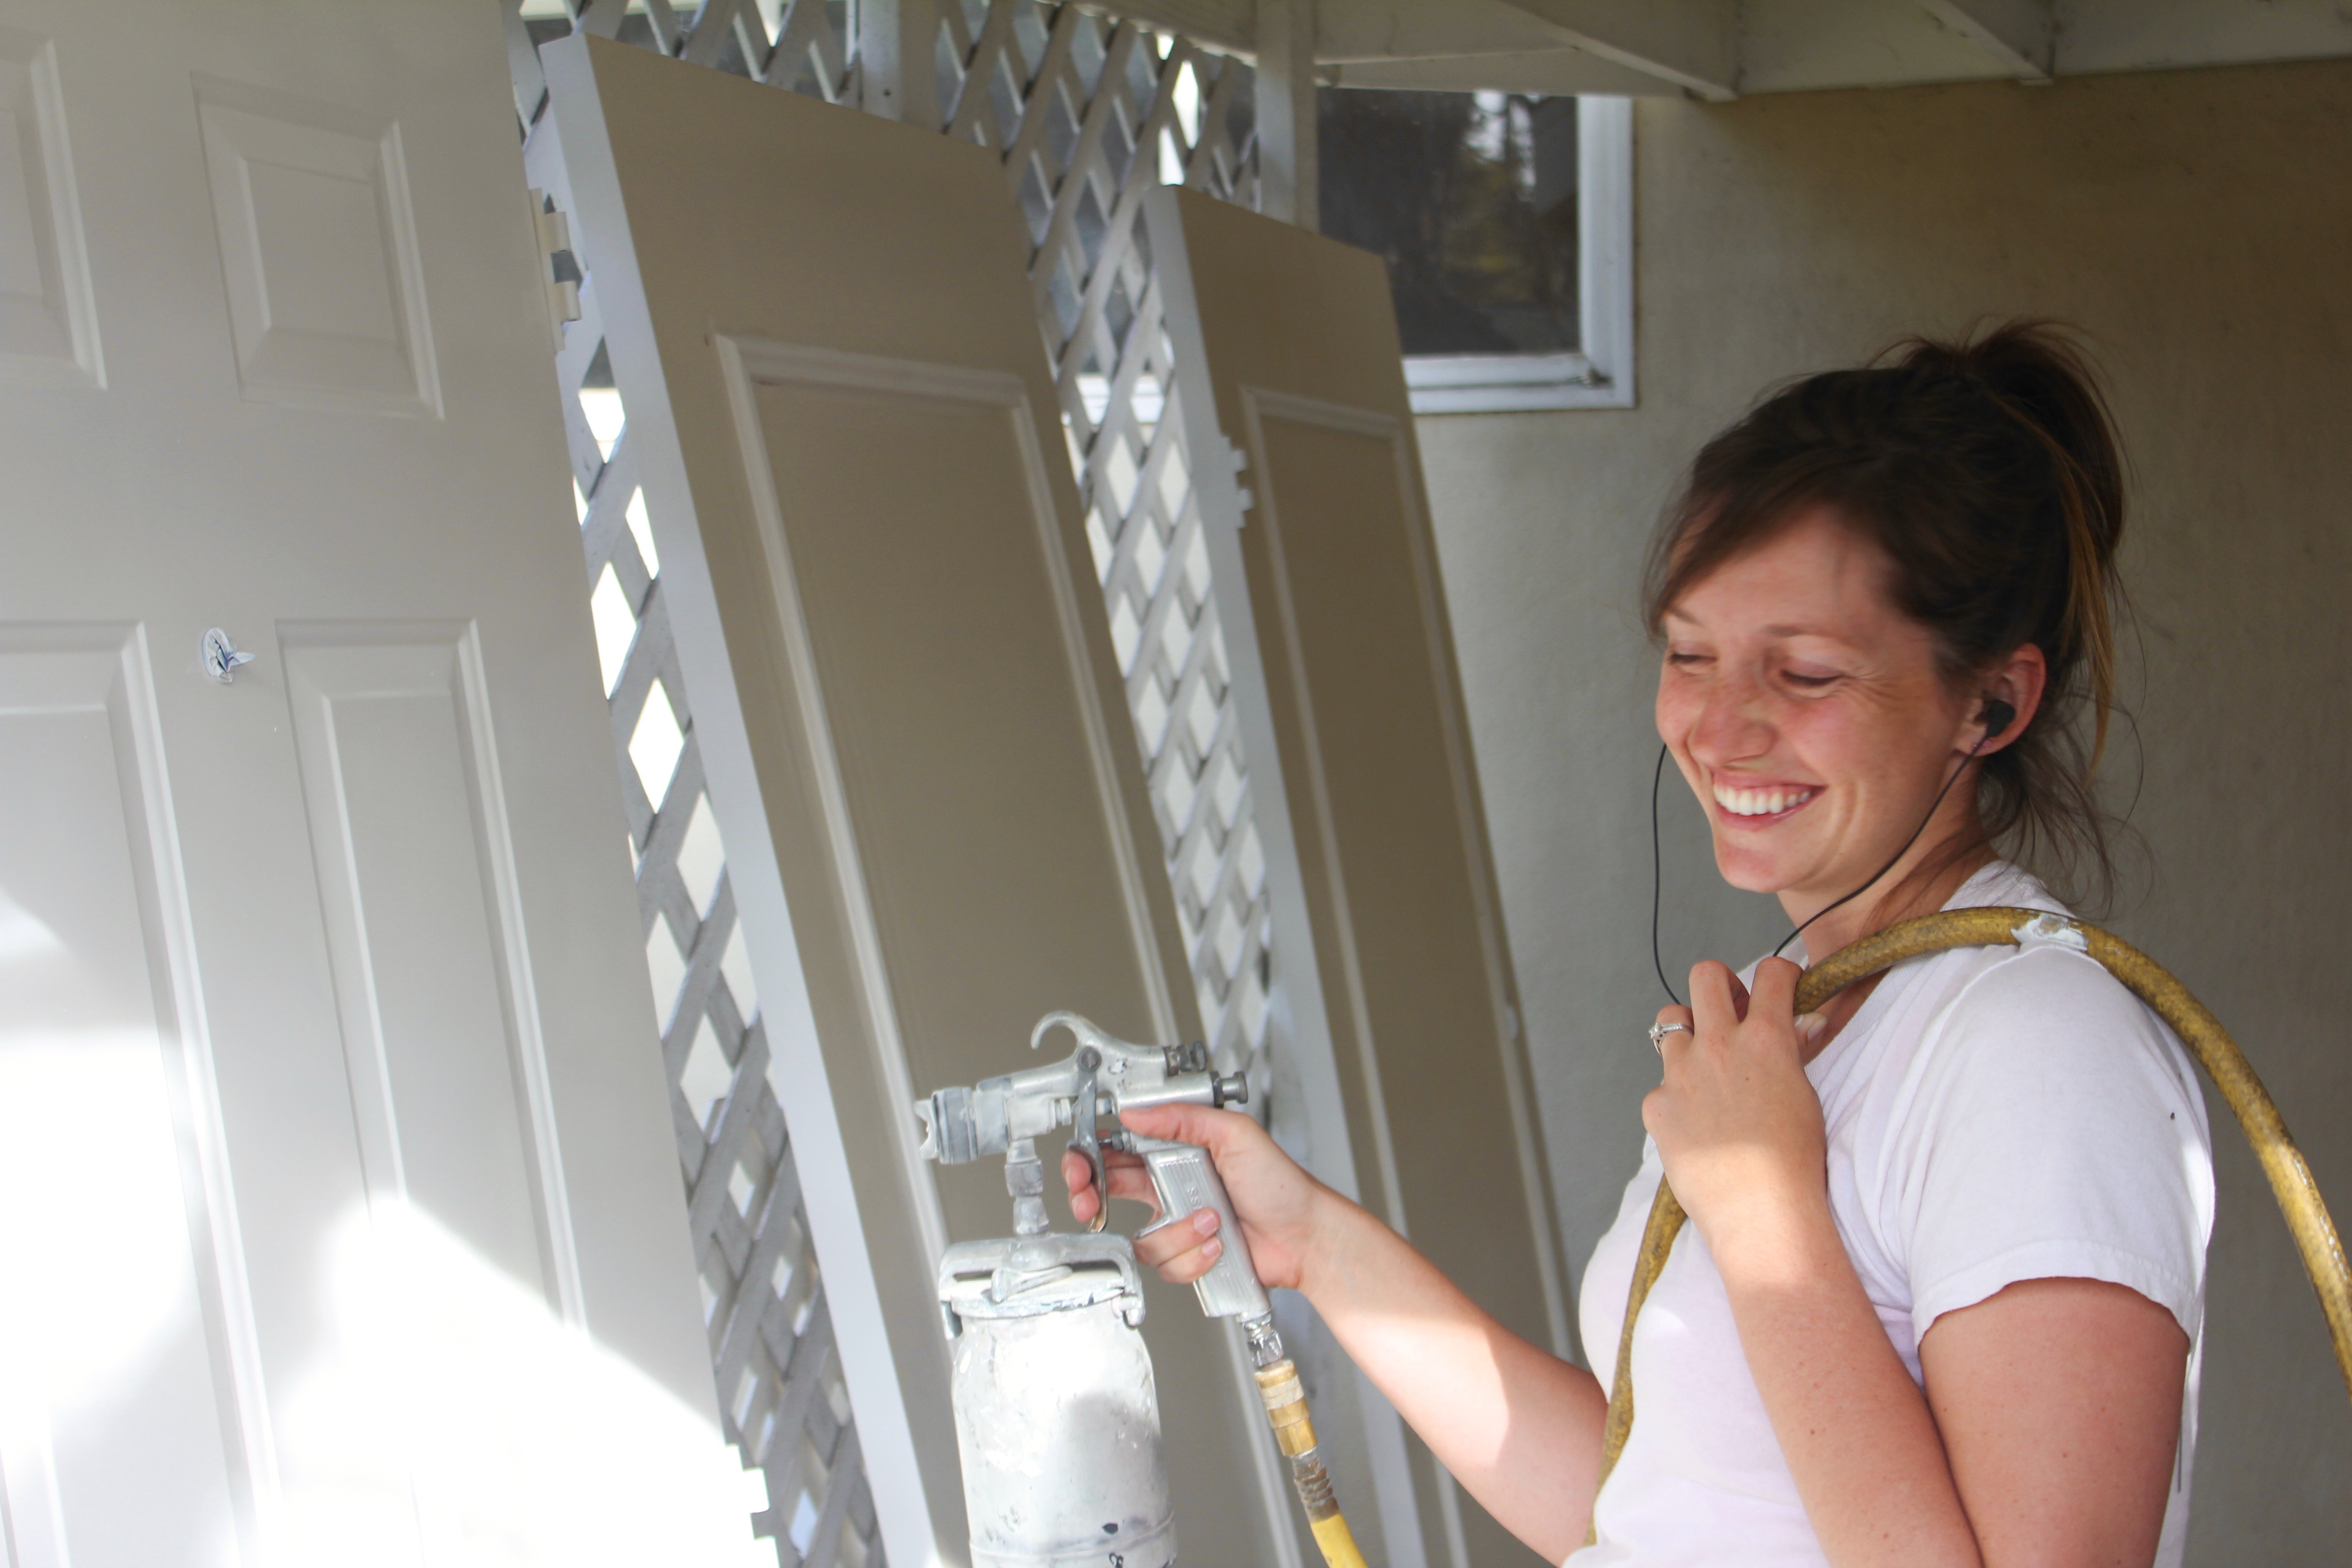
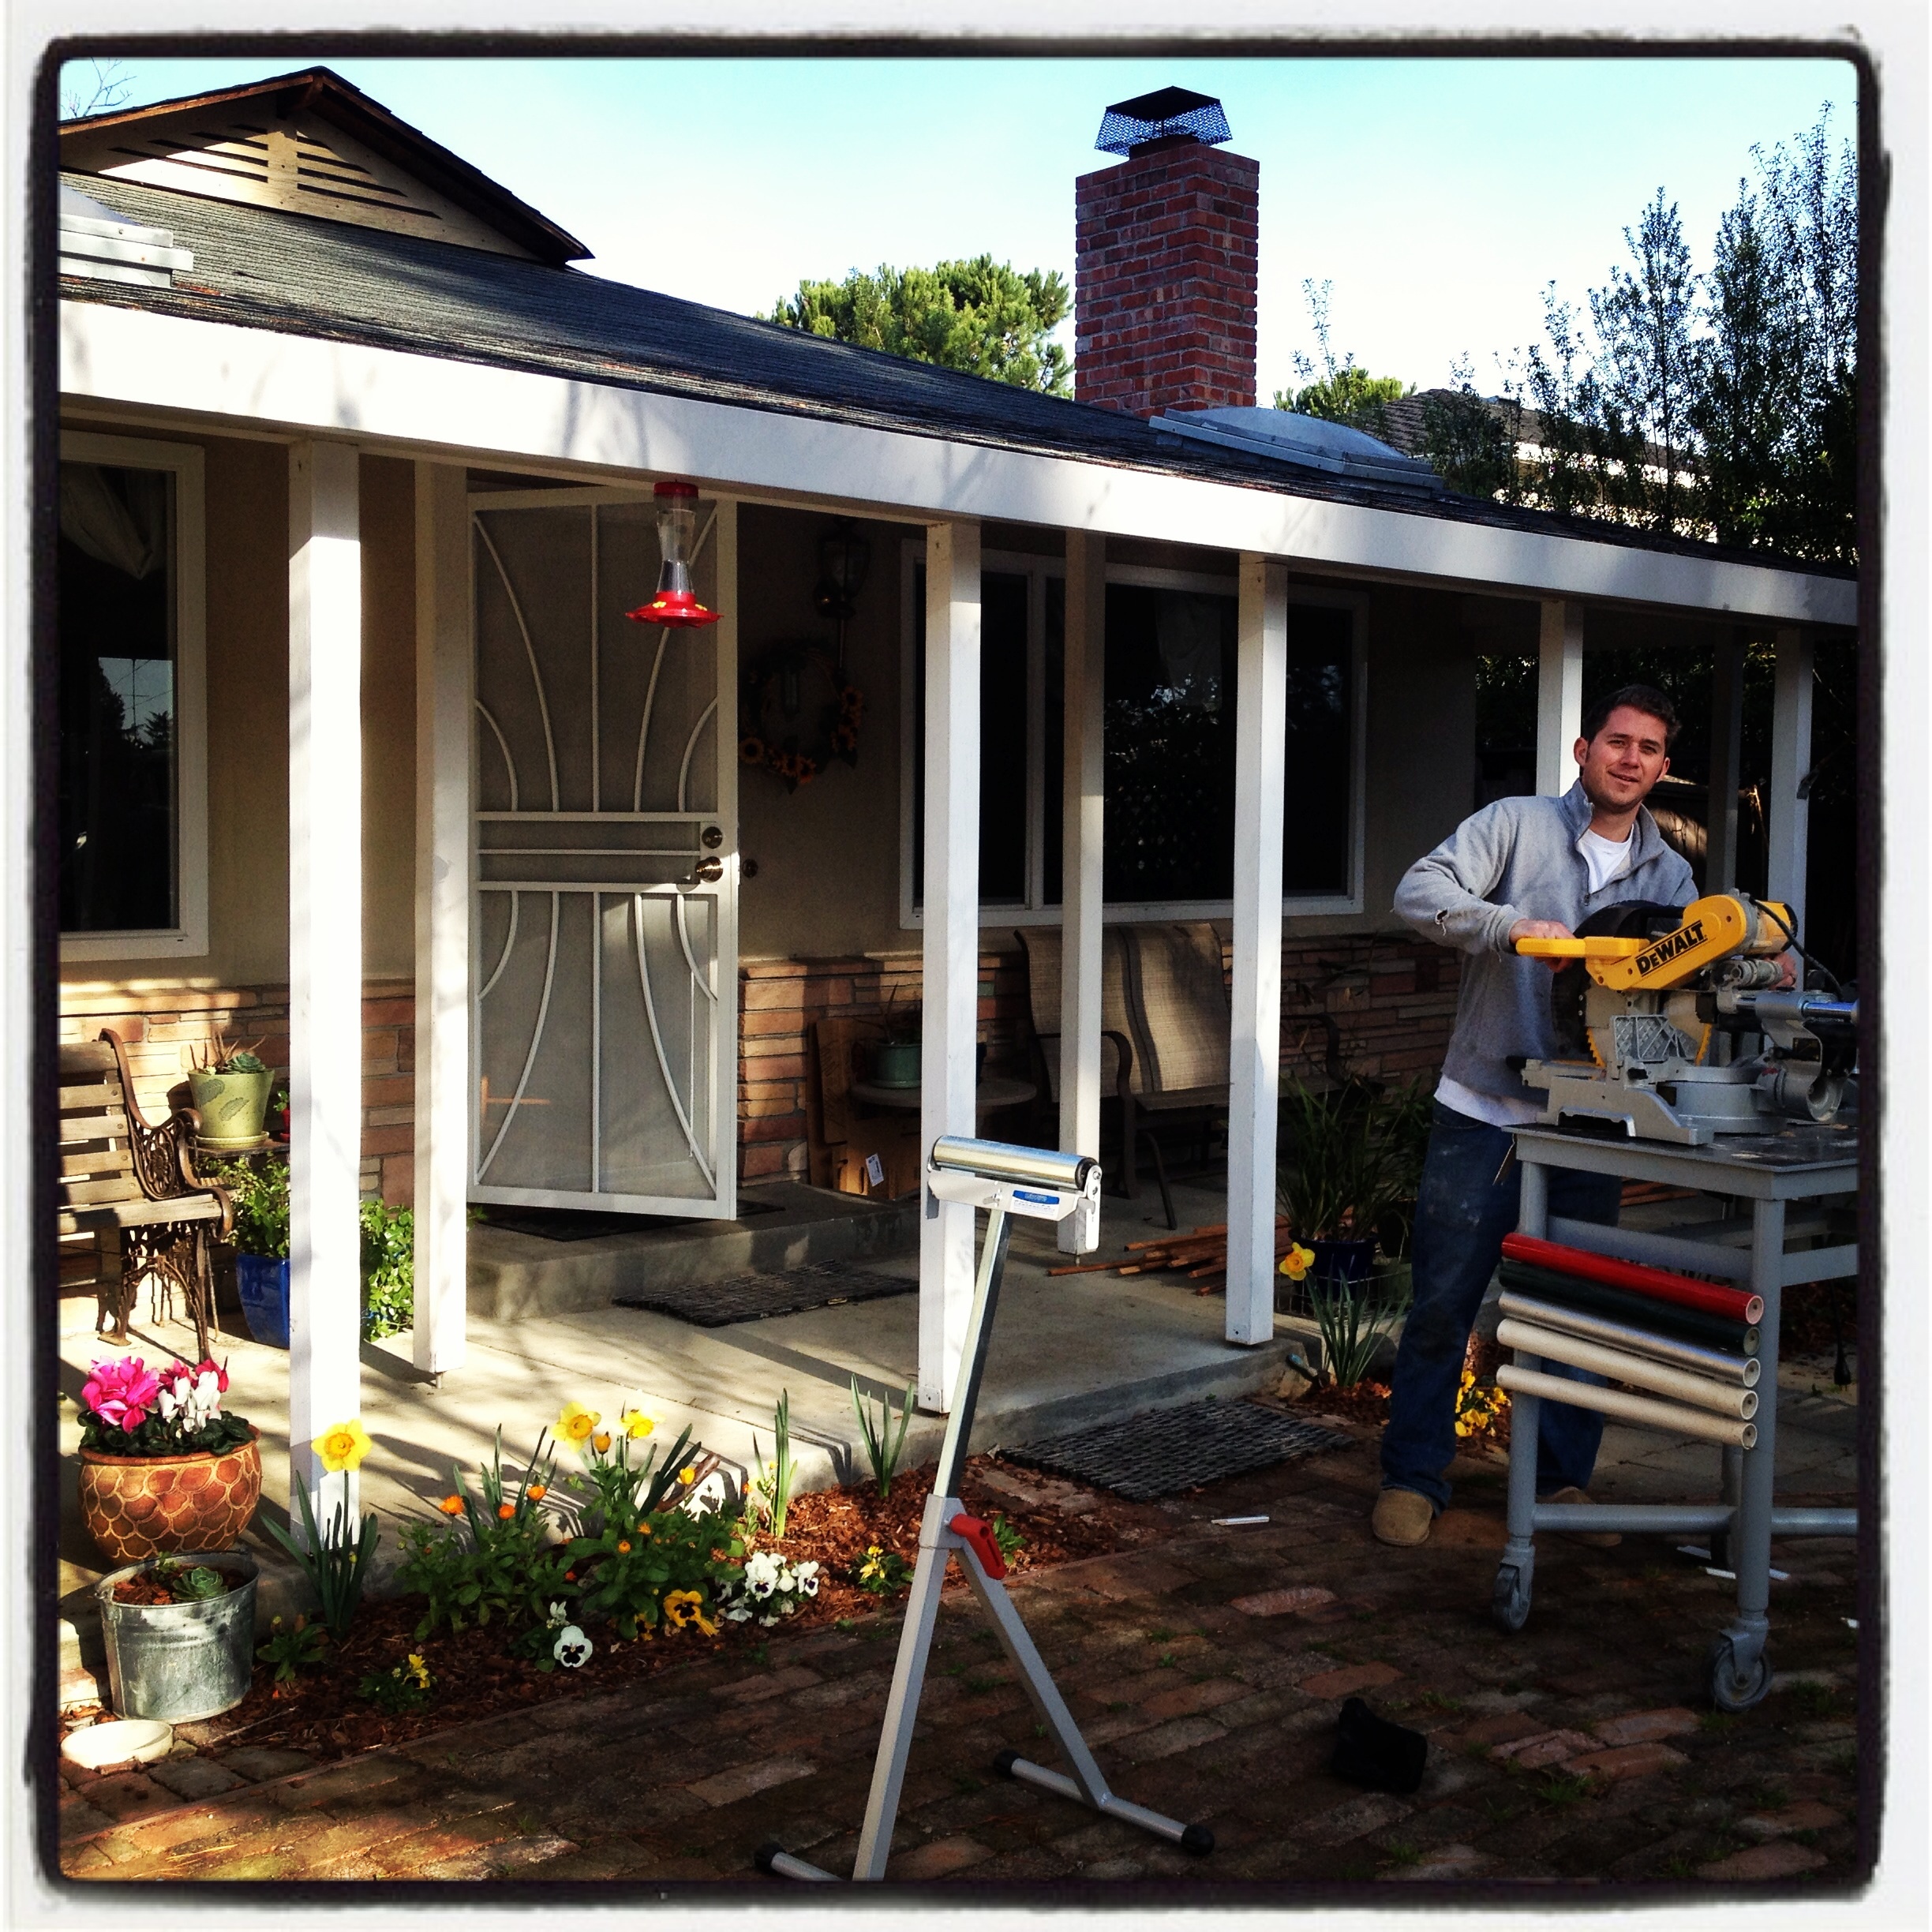
Actually, Justin might help you…
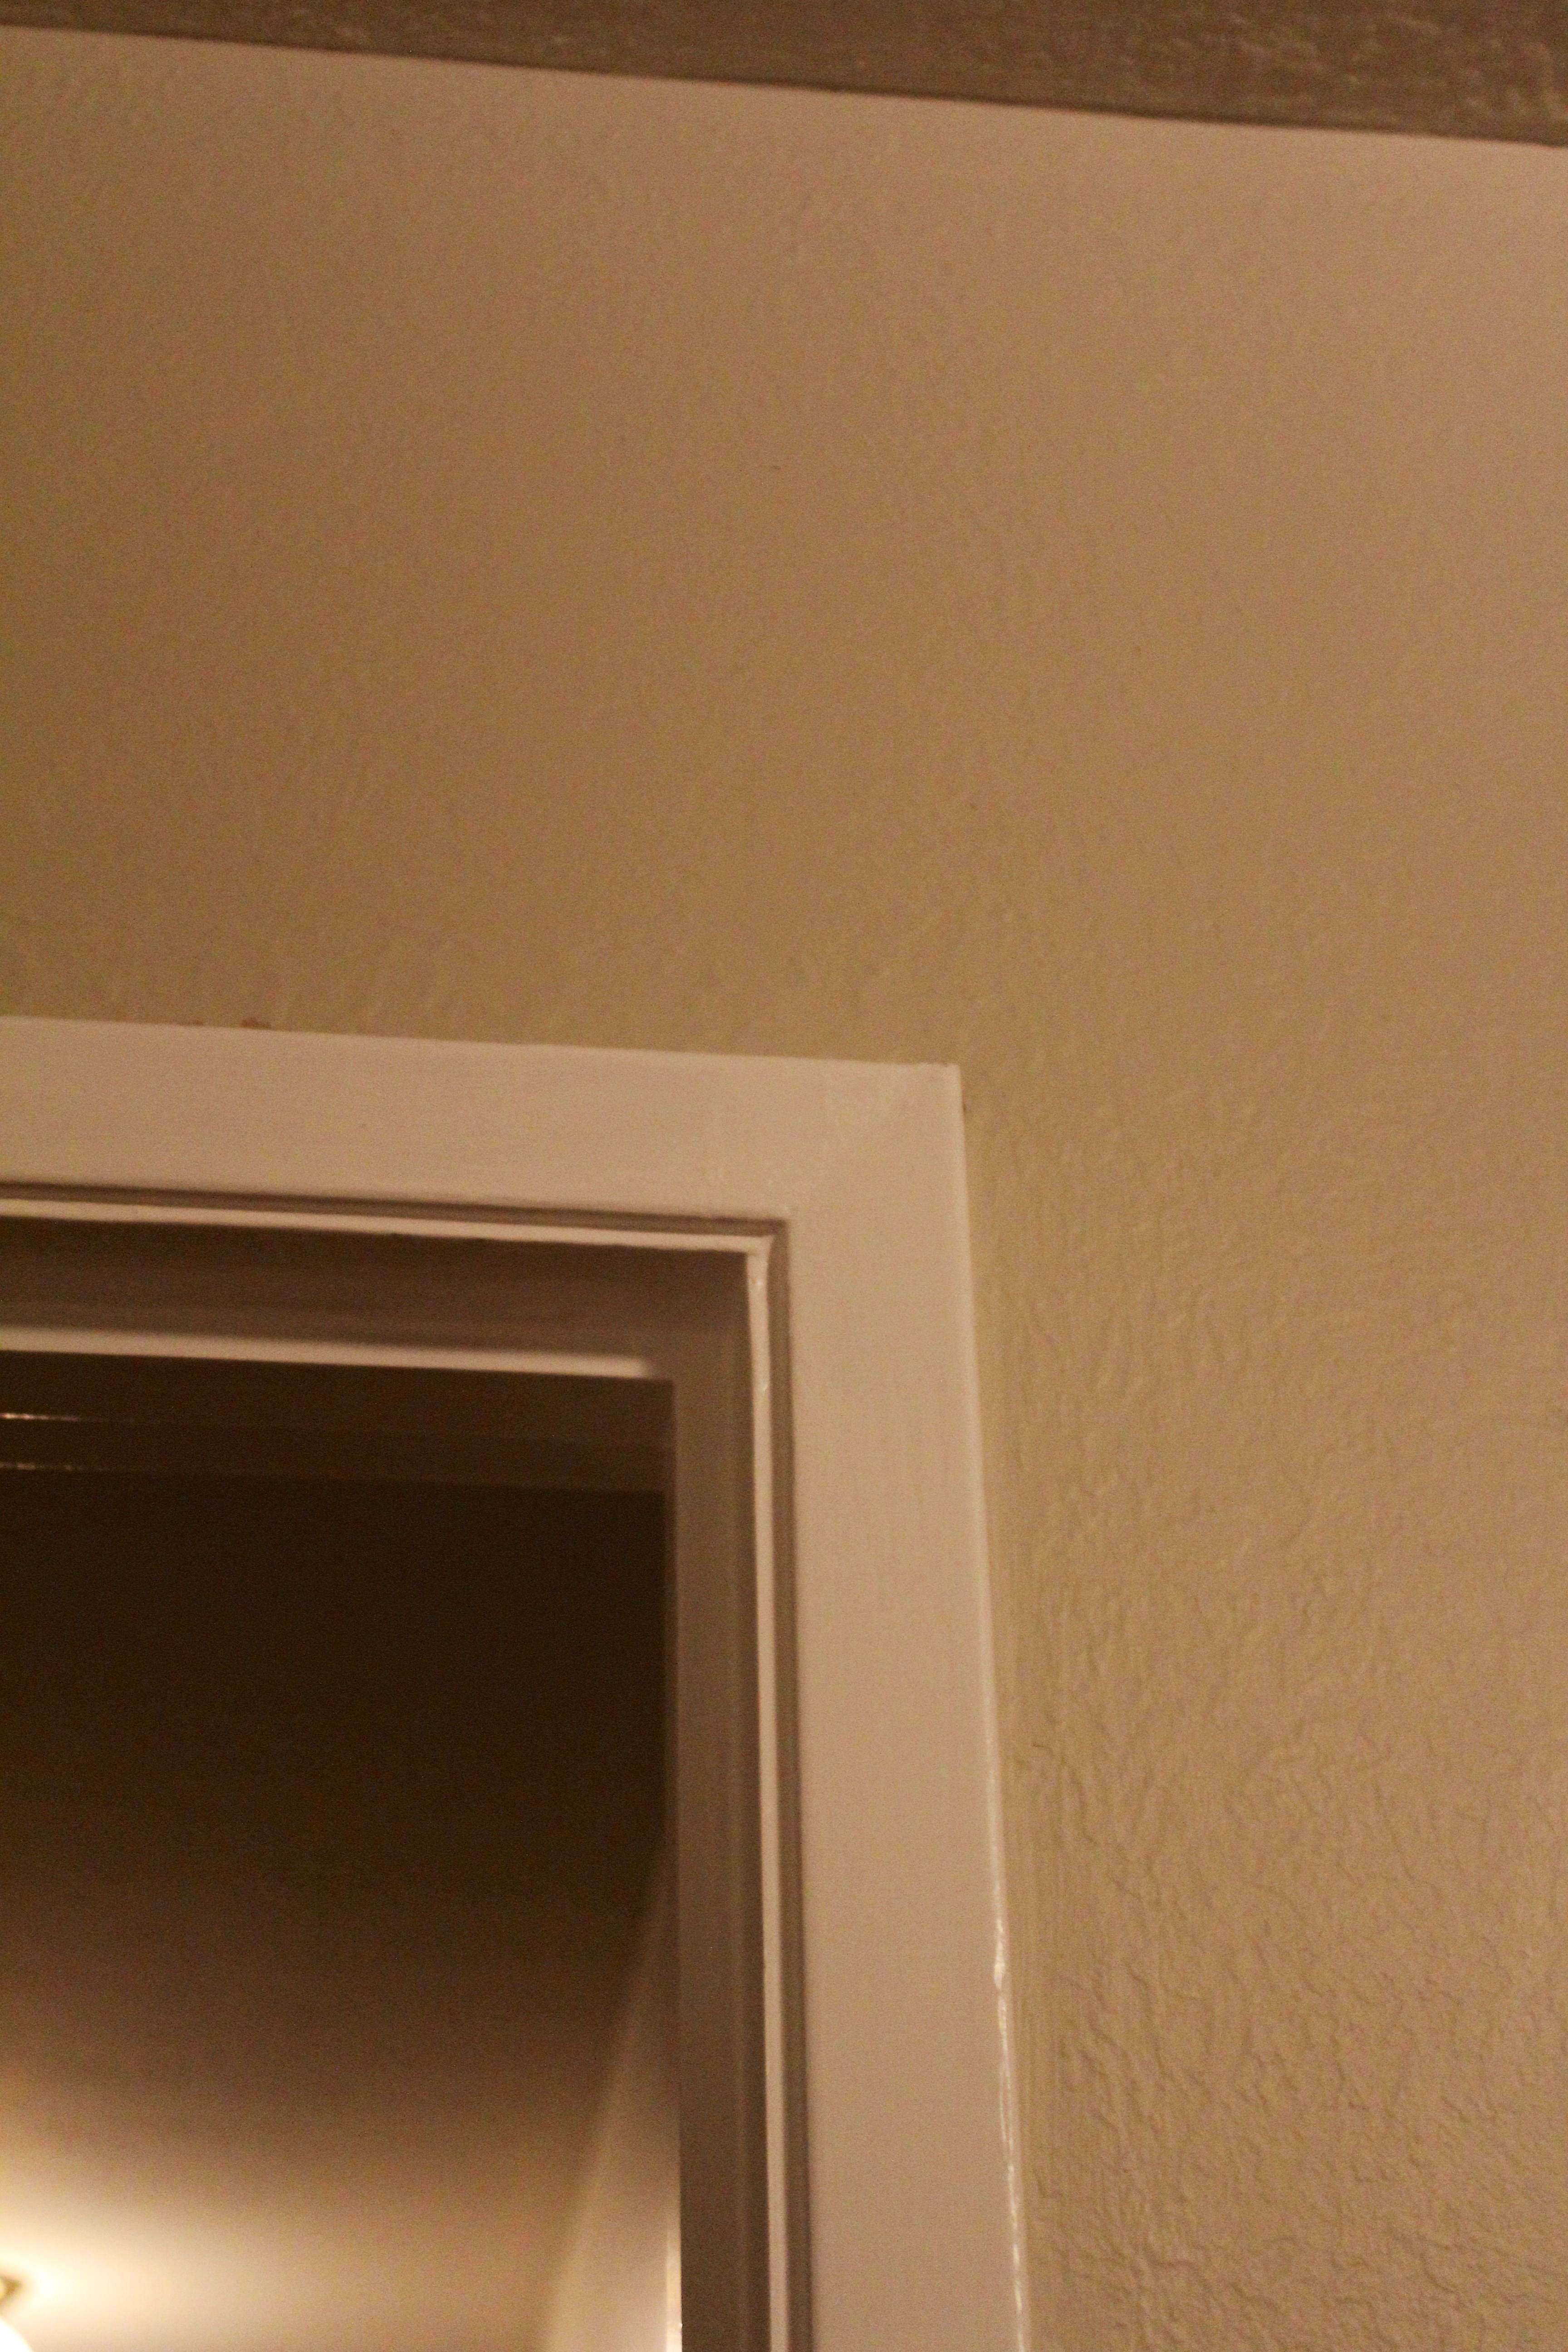
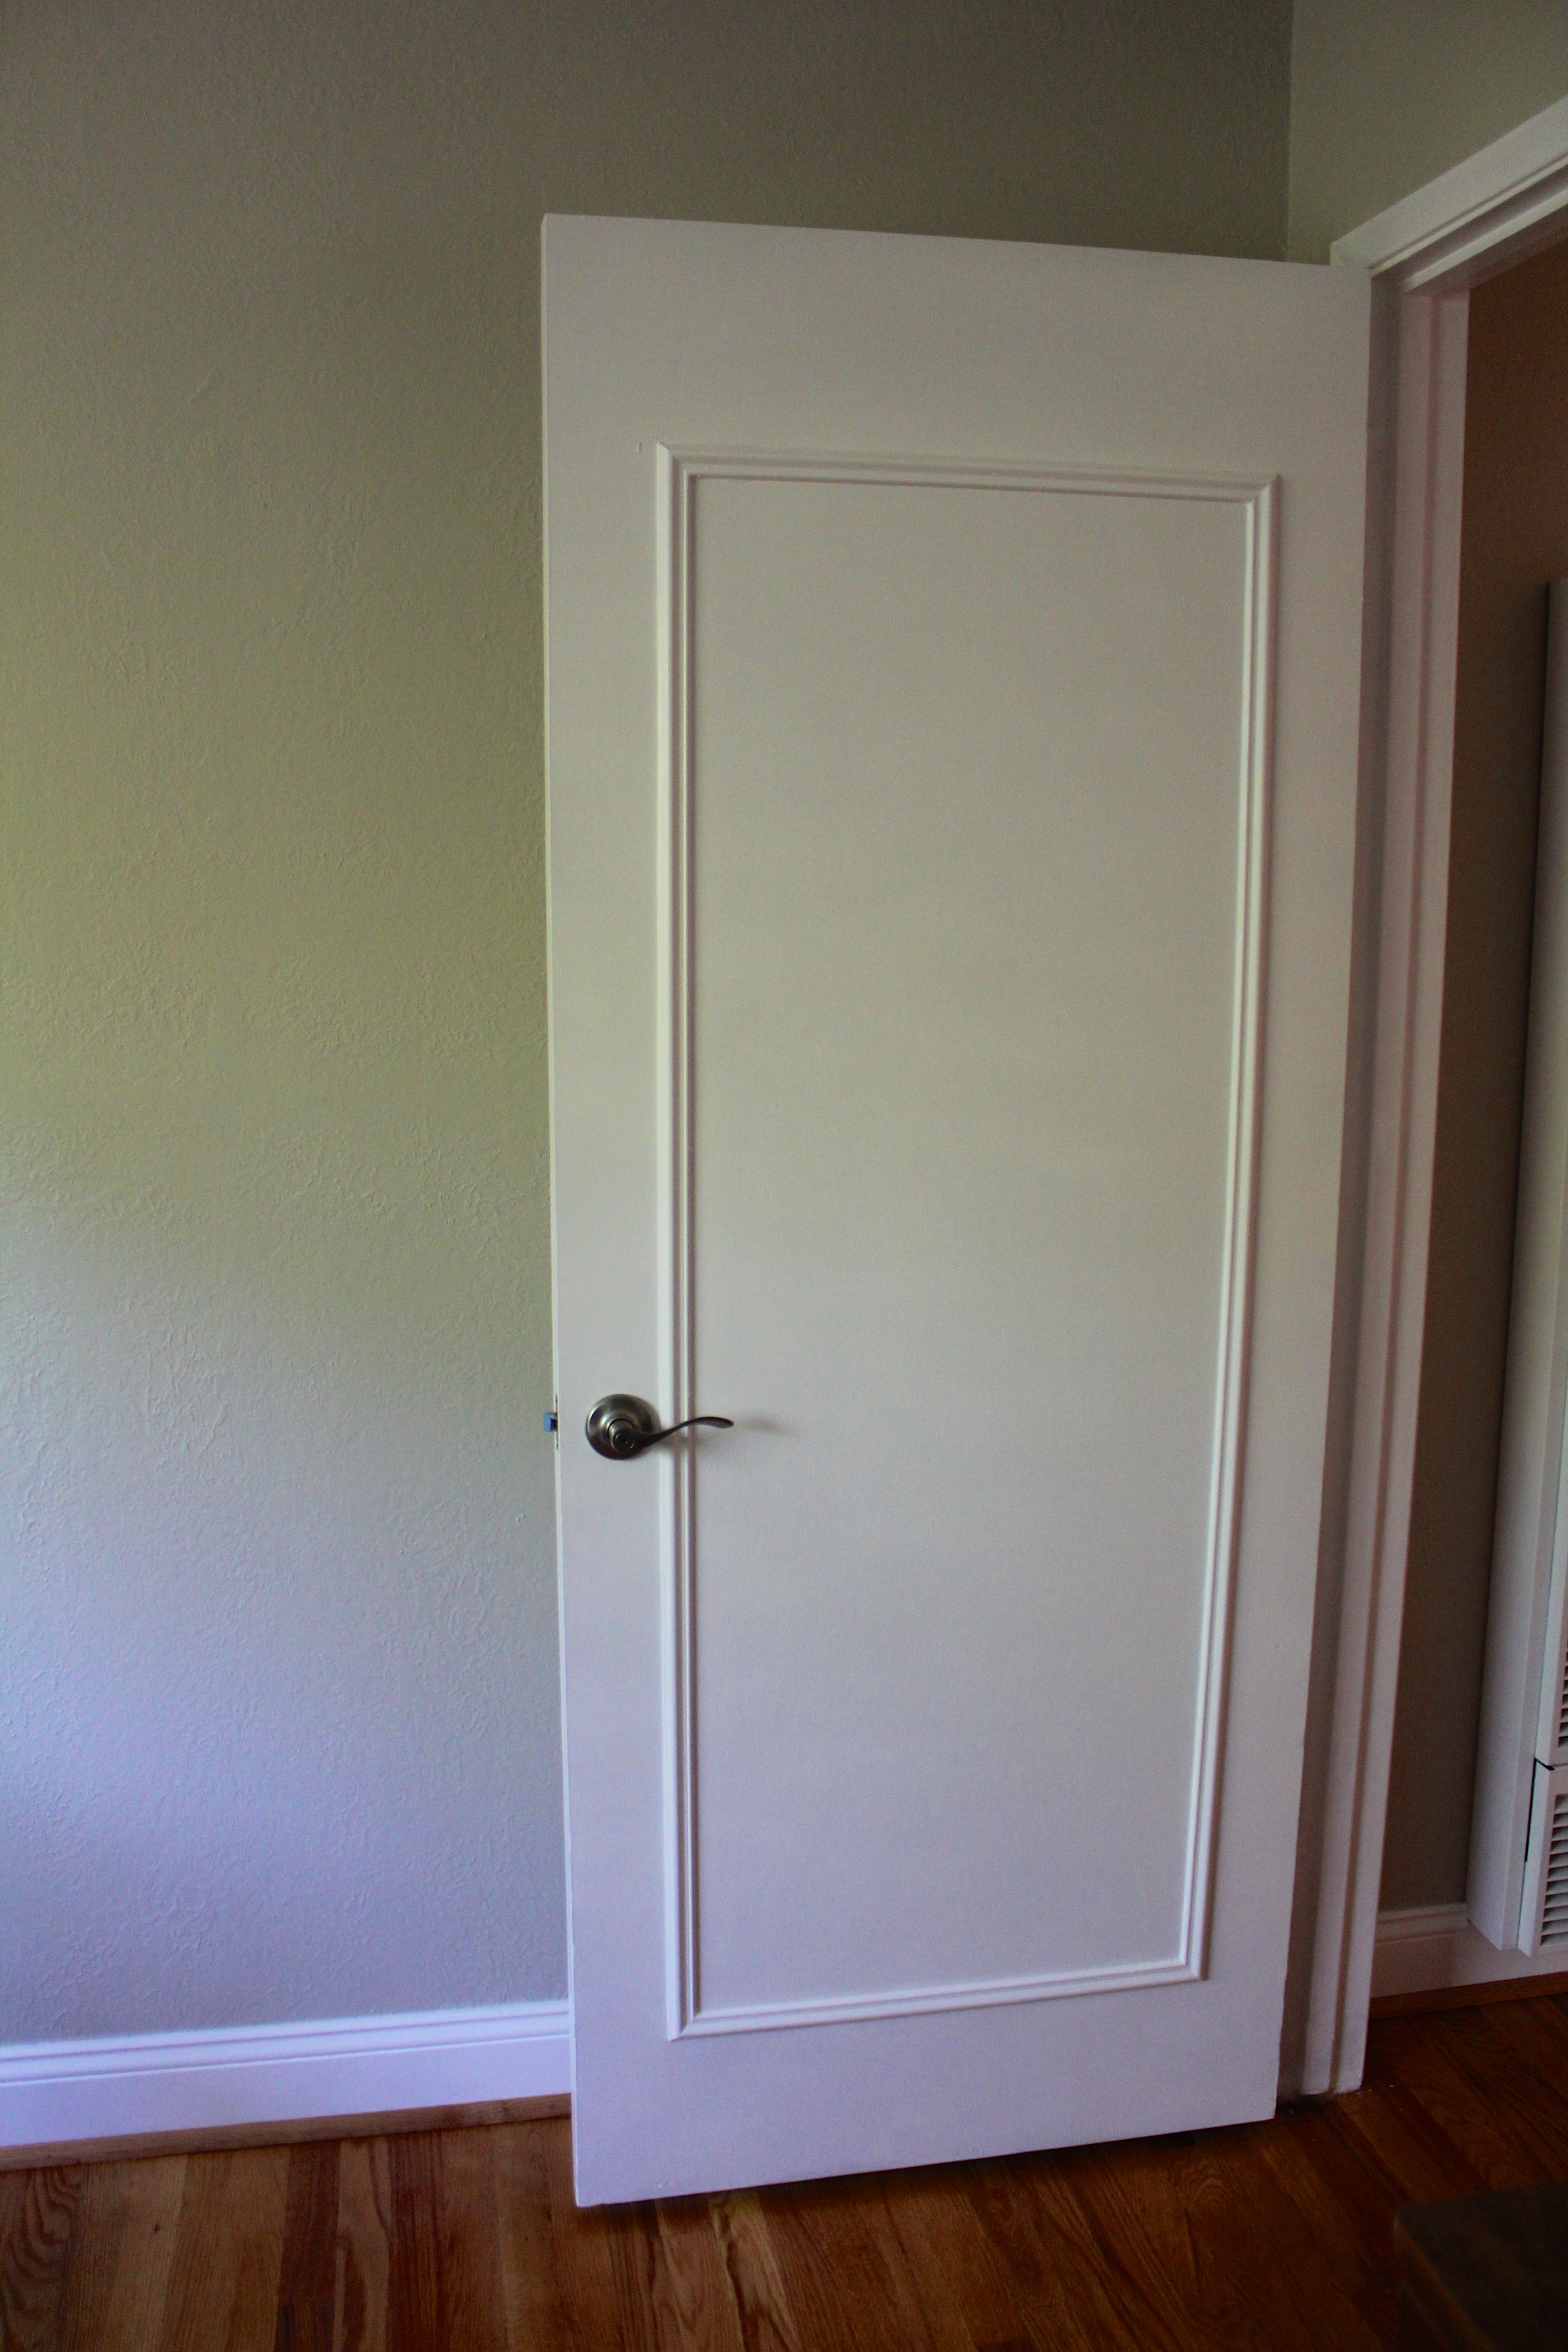
So bright!! The lack of tape helps too

It’s amazing what a coat of paint (or two or three) can do
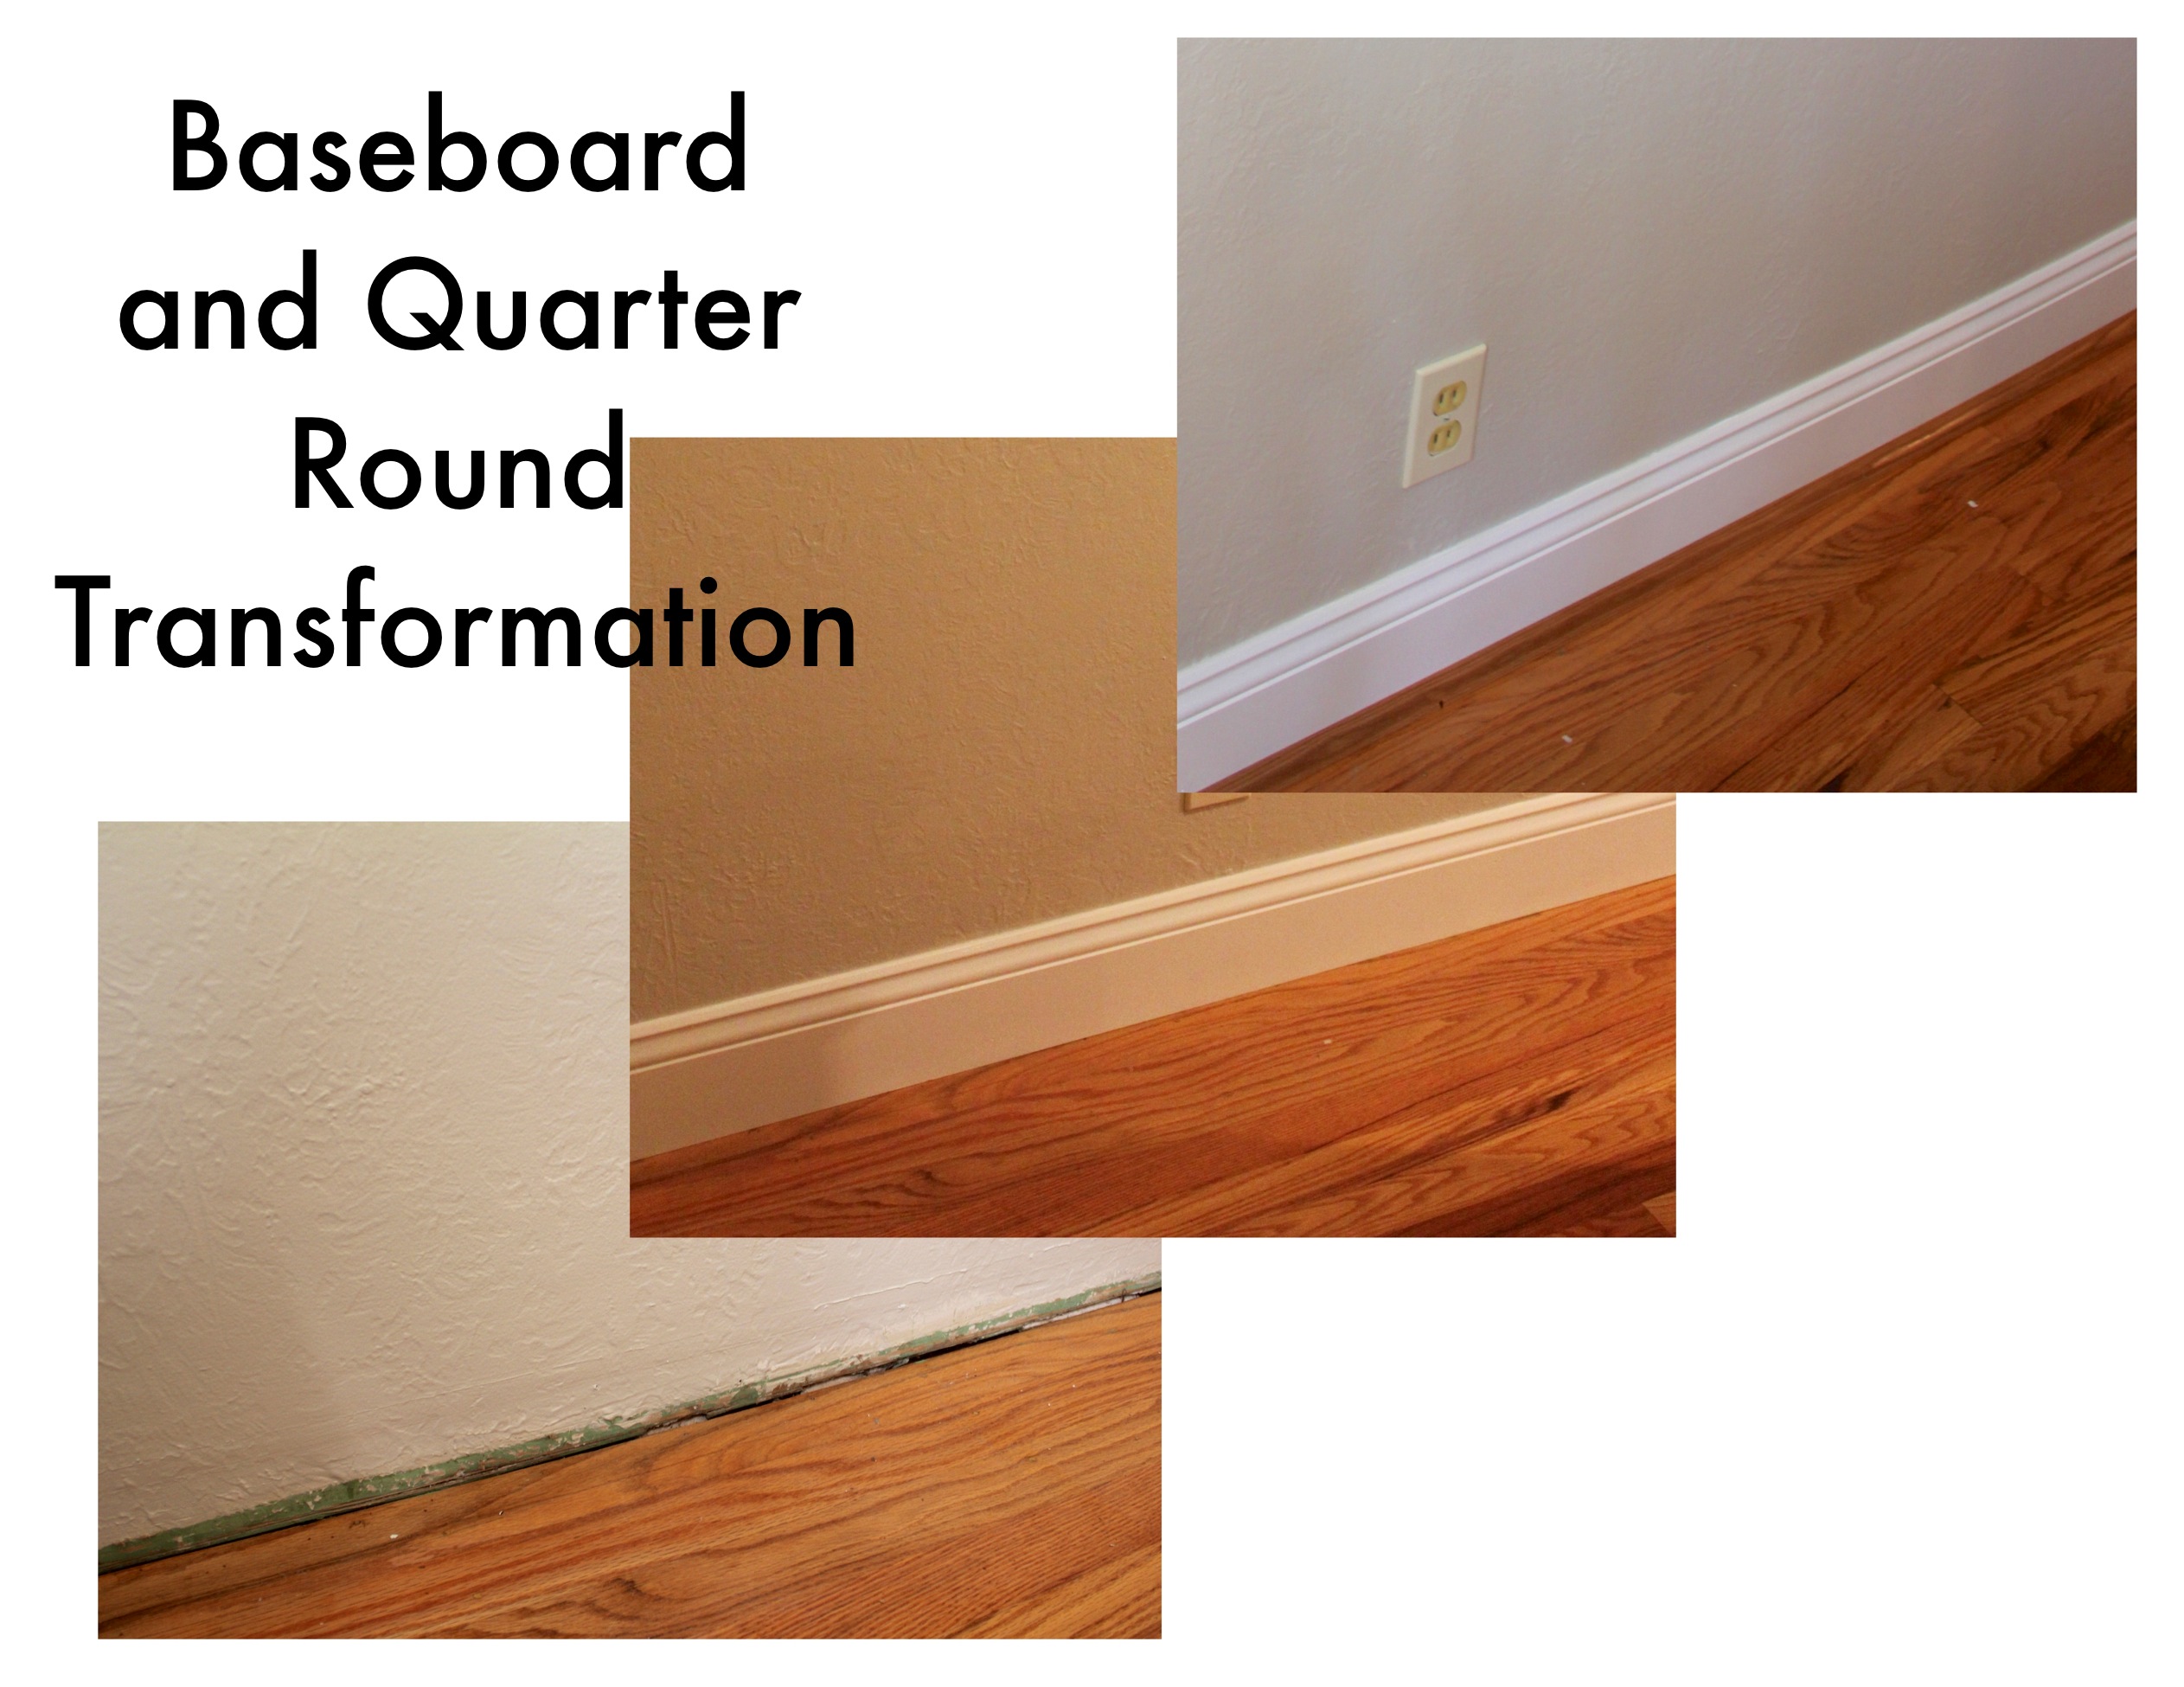
Sometimes you start a project with a completely reasonable timeline. And sometimes said project morphs into 3 or 4 interconnected projects. And then the new, bigger, morphed project ends up taking way longer than originally planned. This is the story of our baseboard installation, that turned into baseboard installation, quarter round installation, interior trim painting, interior door remodel, interior door painting, and new interior door hardware. Yaaa…. We got a little overly ambitious! But let’s start with the baseboard 🙂
Here’s our house, pre-baseboard. I love that you can see all of the previous paint colors used on the walls…
While I was off galavanting around Twain Harte for our annual girls weekend, Justin and my dad were choosing and preparing baseboard for our entire house. That’s right: every room!

Girls Weekend = Boas and Galavanting. You know you’re jealous!
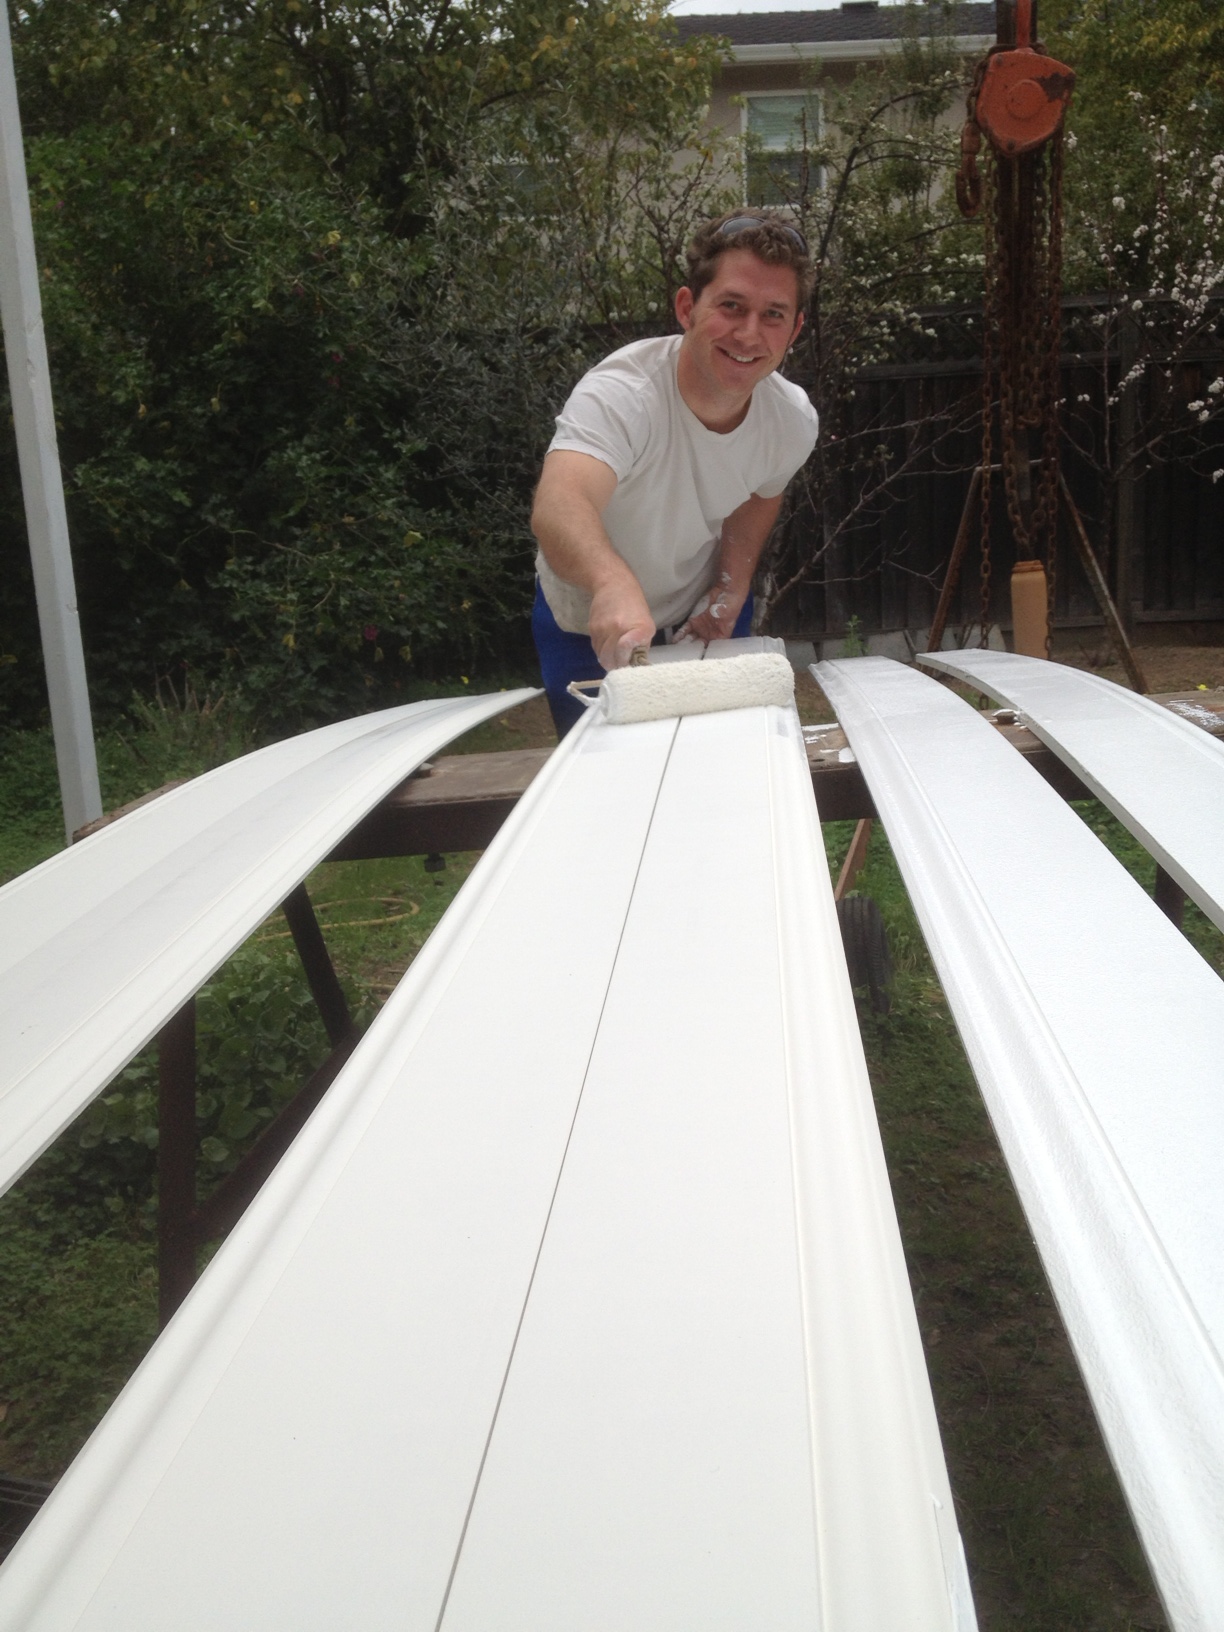
So happy to be painting! Who knew it could be so much fun?
Nancy and Dirk came down for the weekend to help us with this project (after, of course, I had finished galavanting and Justin had finished painting baseboard). After a quick trip to the hardware store (as most project weekends start!), we got down and dirty with our baseboard. Literally, down and dirty… We spent most of the weekend crawling around on our hands and knees and none of us (or the house!) managed to stay clean.
Pre-baseboard installation. As you can see, things started off relatively clean. That didn’t last long though!
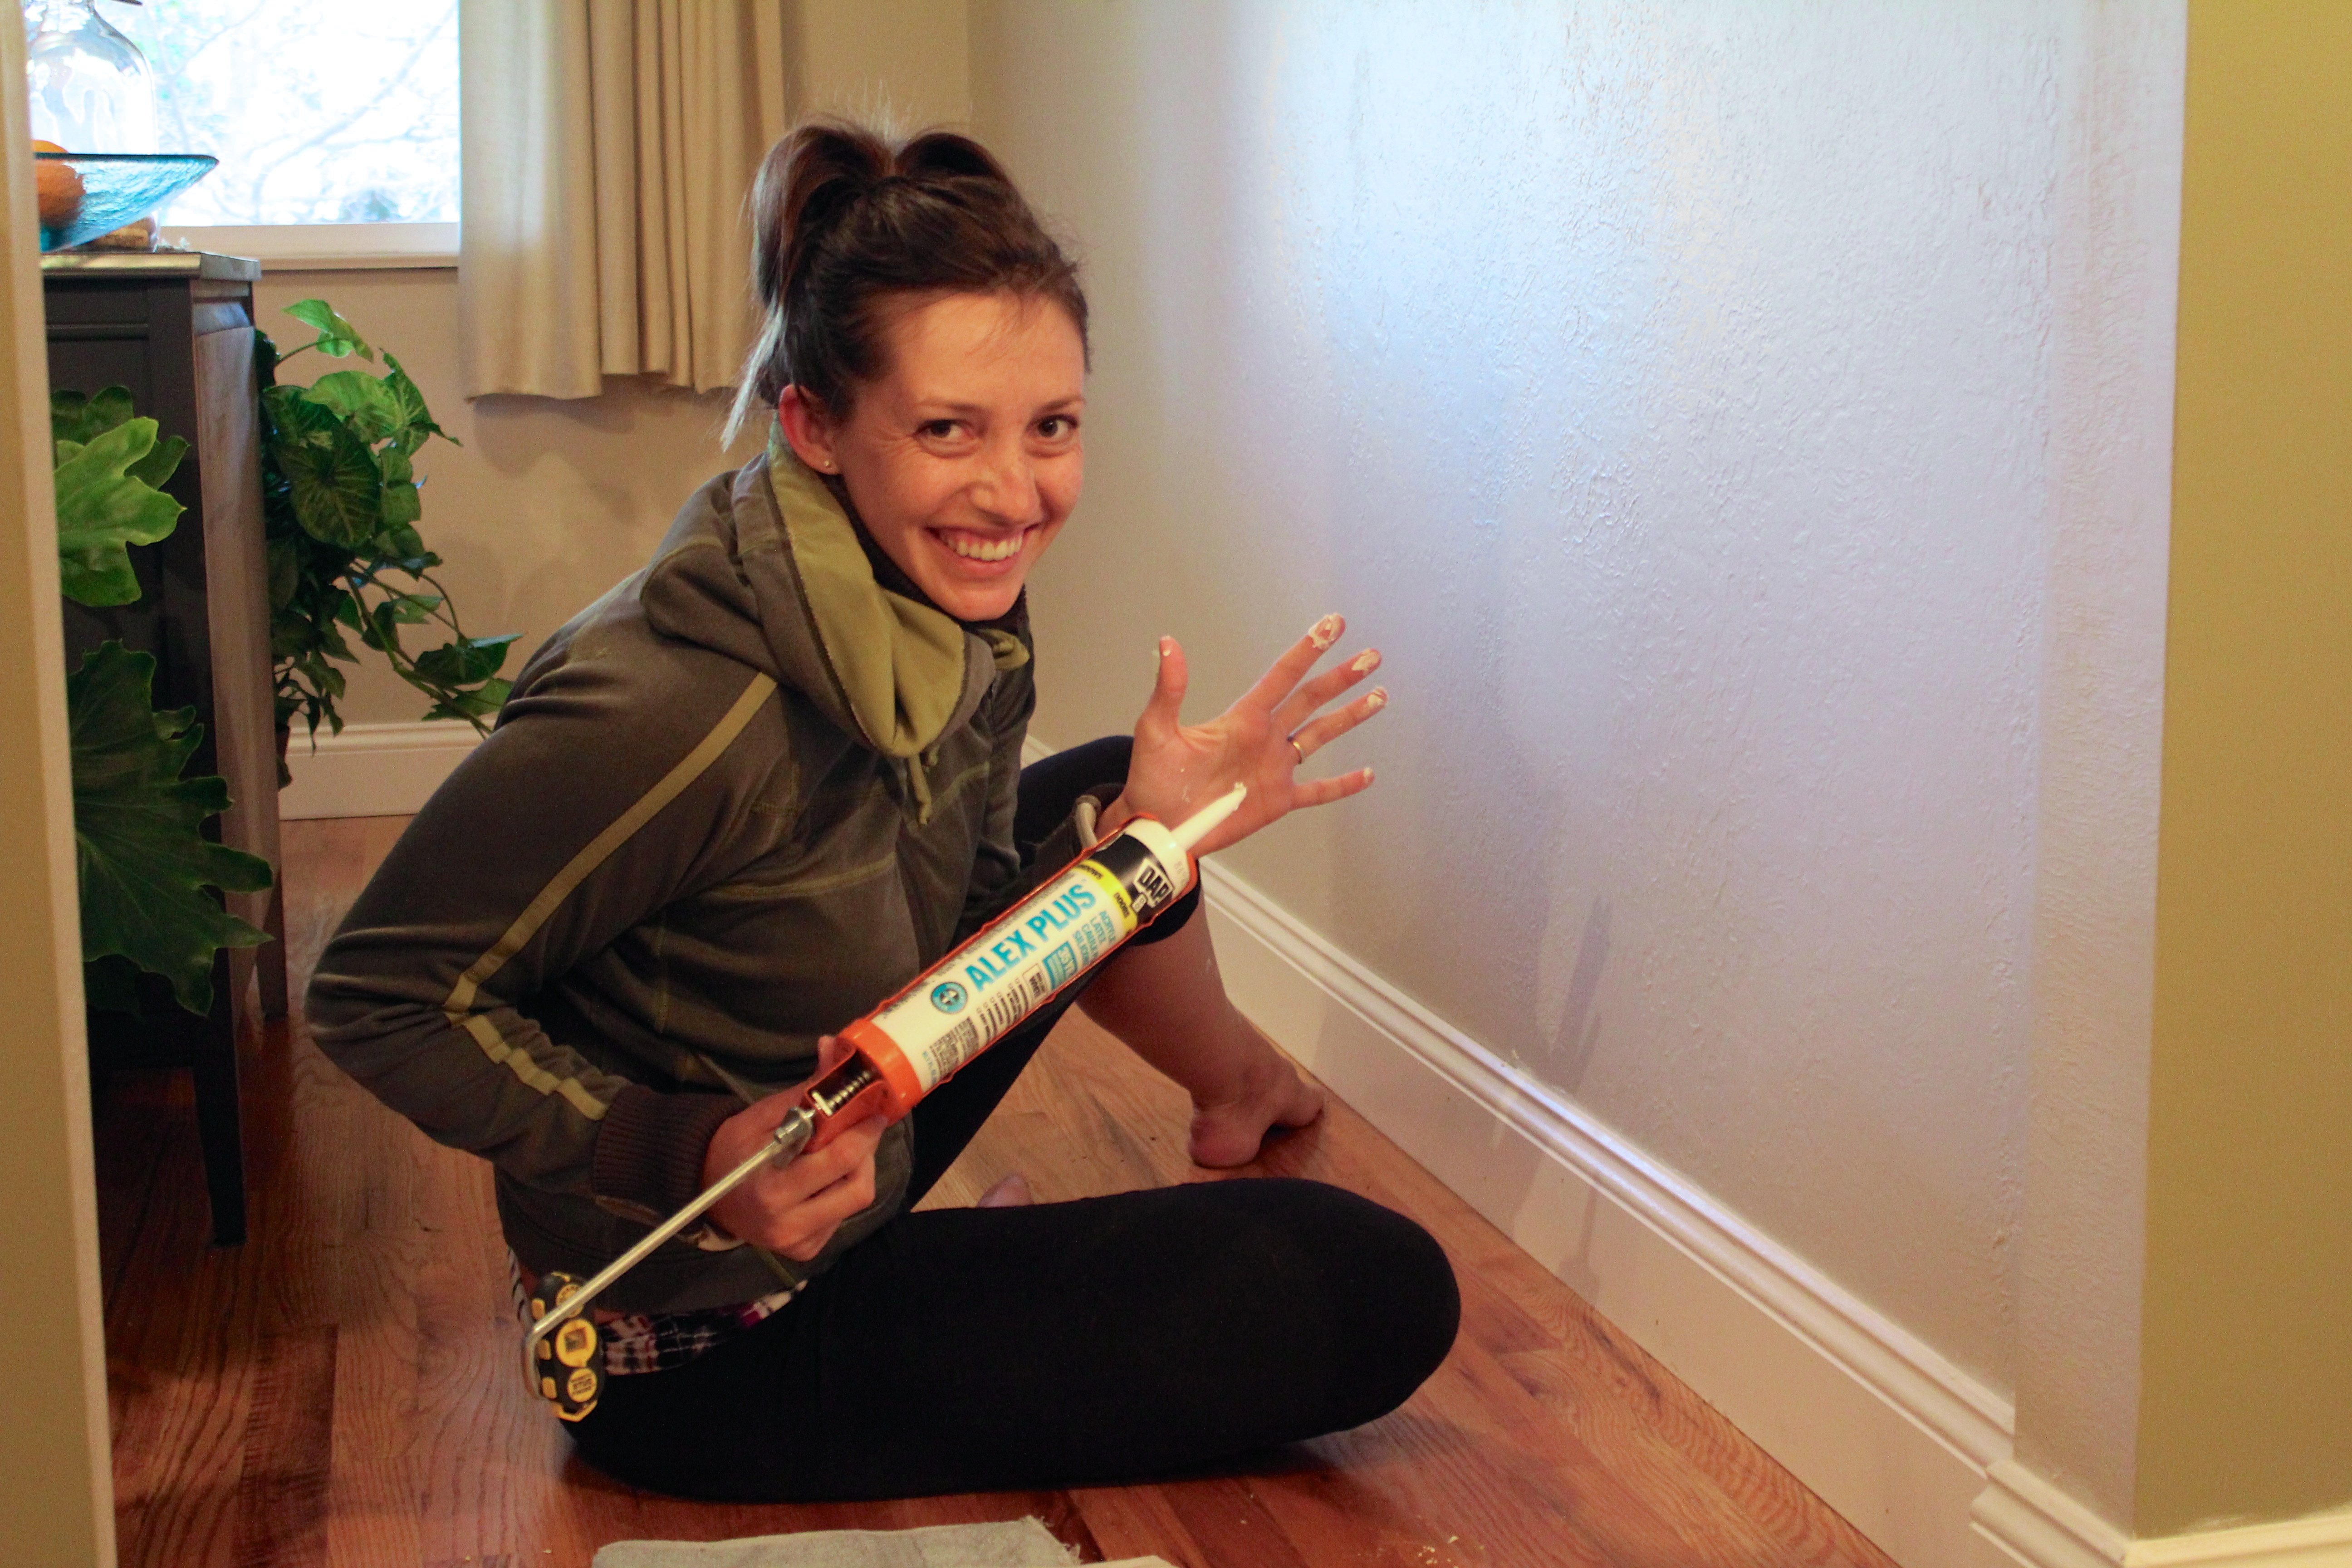
Justin and Dirk measured and cut the baseboard (and re measured and recut at times!) while Nancy and I ran around moving furniture, cleaning, nailing the baseboards in, and caulking the nail holes and the spaces along the top of the baseboard (you know, that gap between the baseboard and the wall). We were such a mess by the end of the day, covered in saw dust and dried caulk. But we had accomplished our mission and finished it all in one day!

Planning
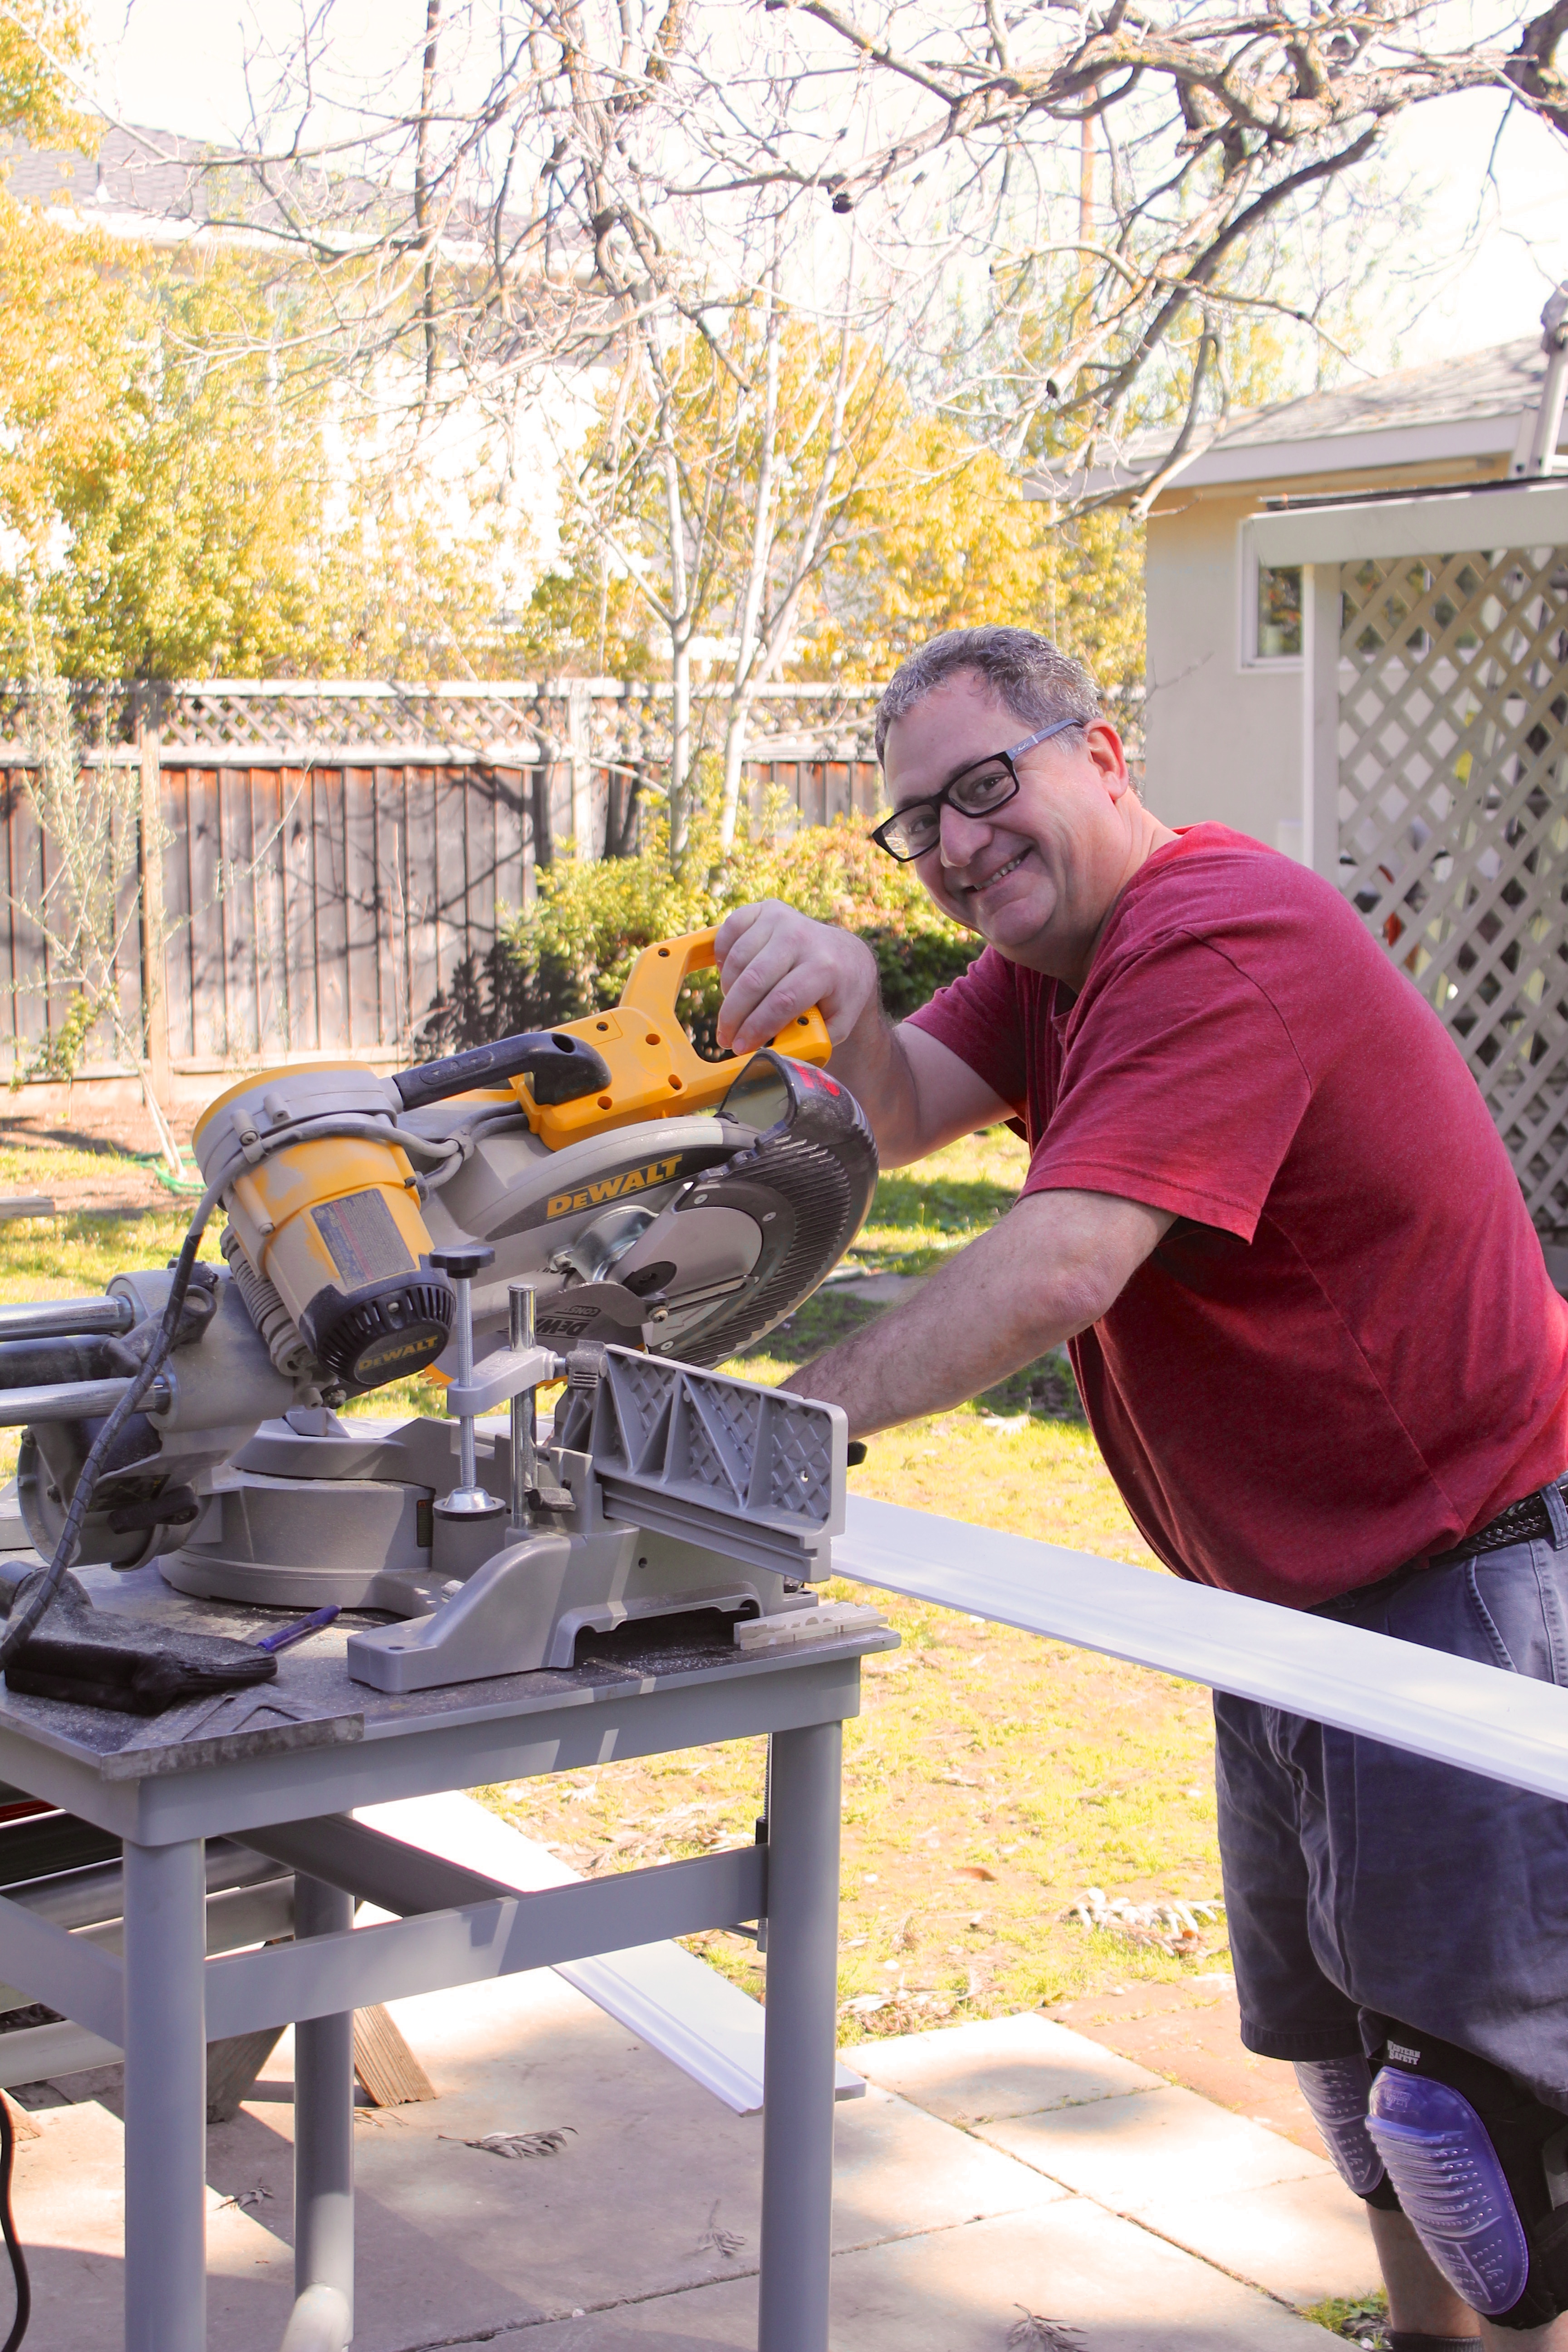
Cutting
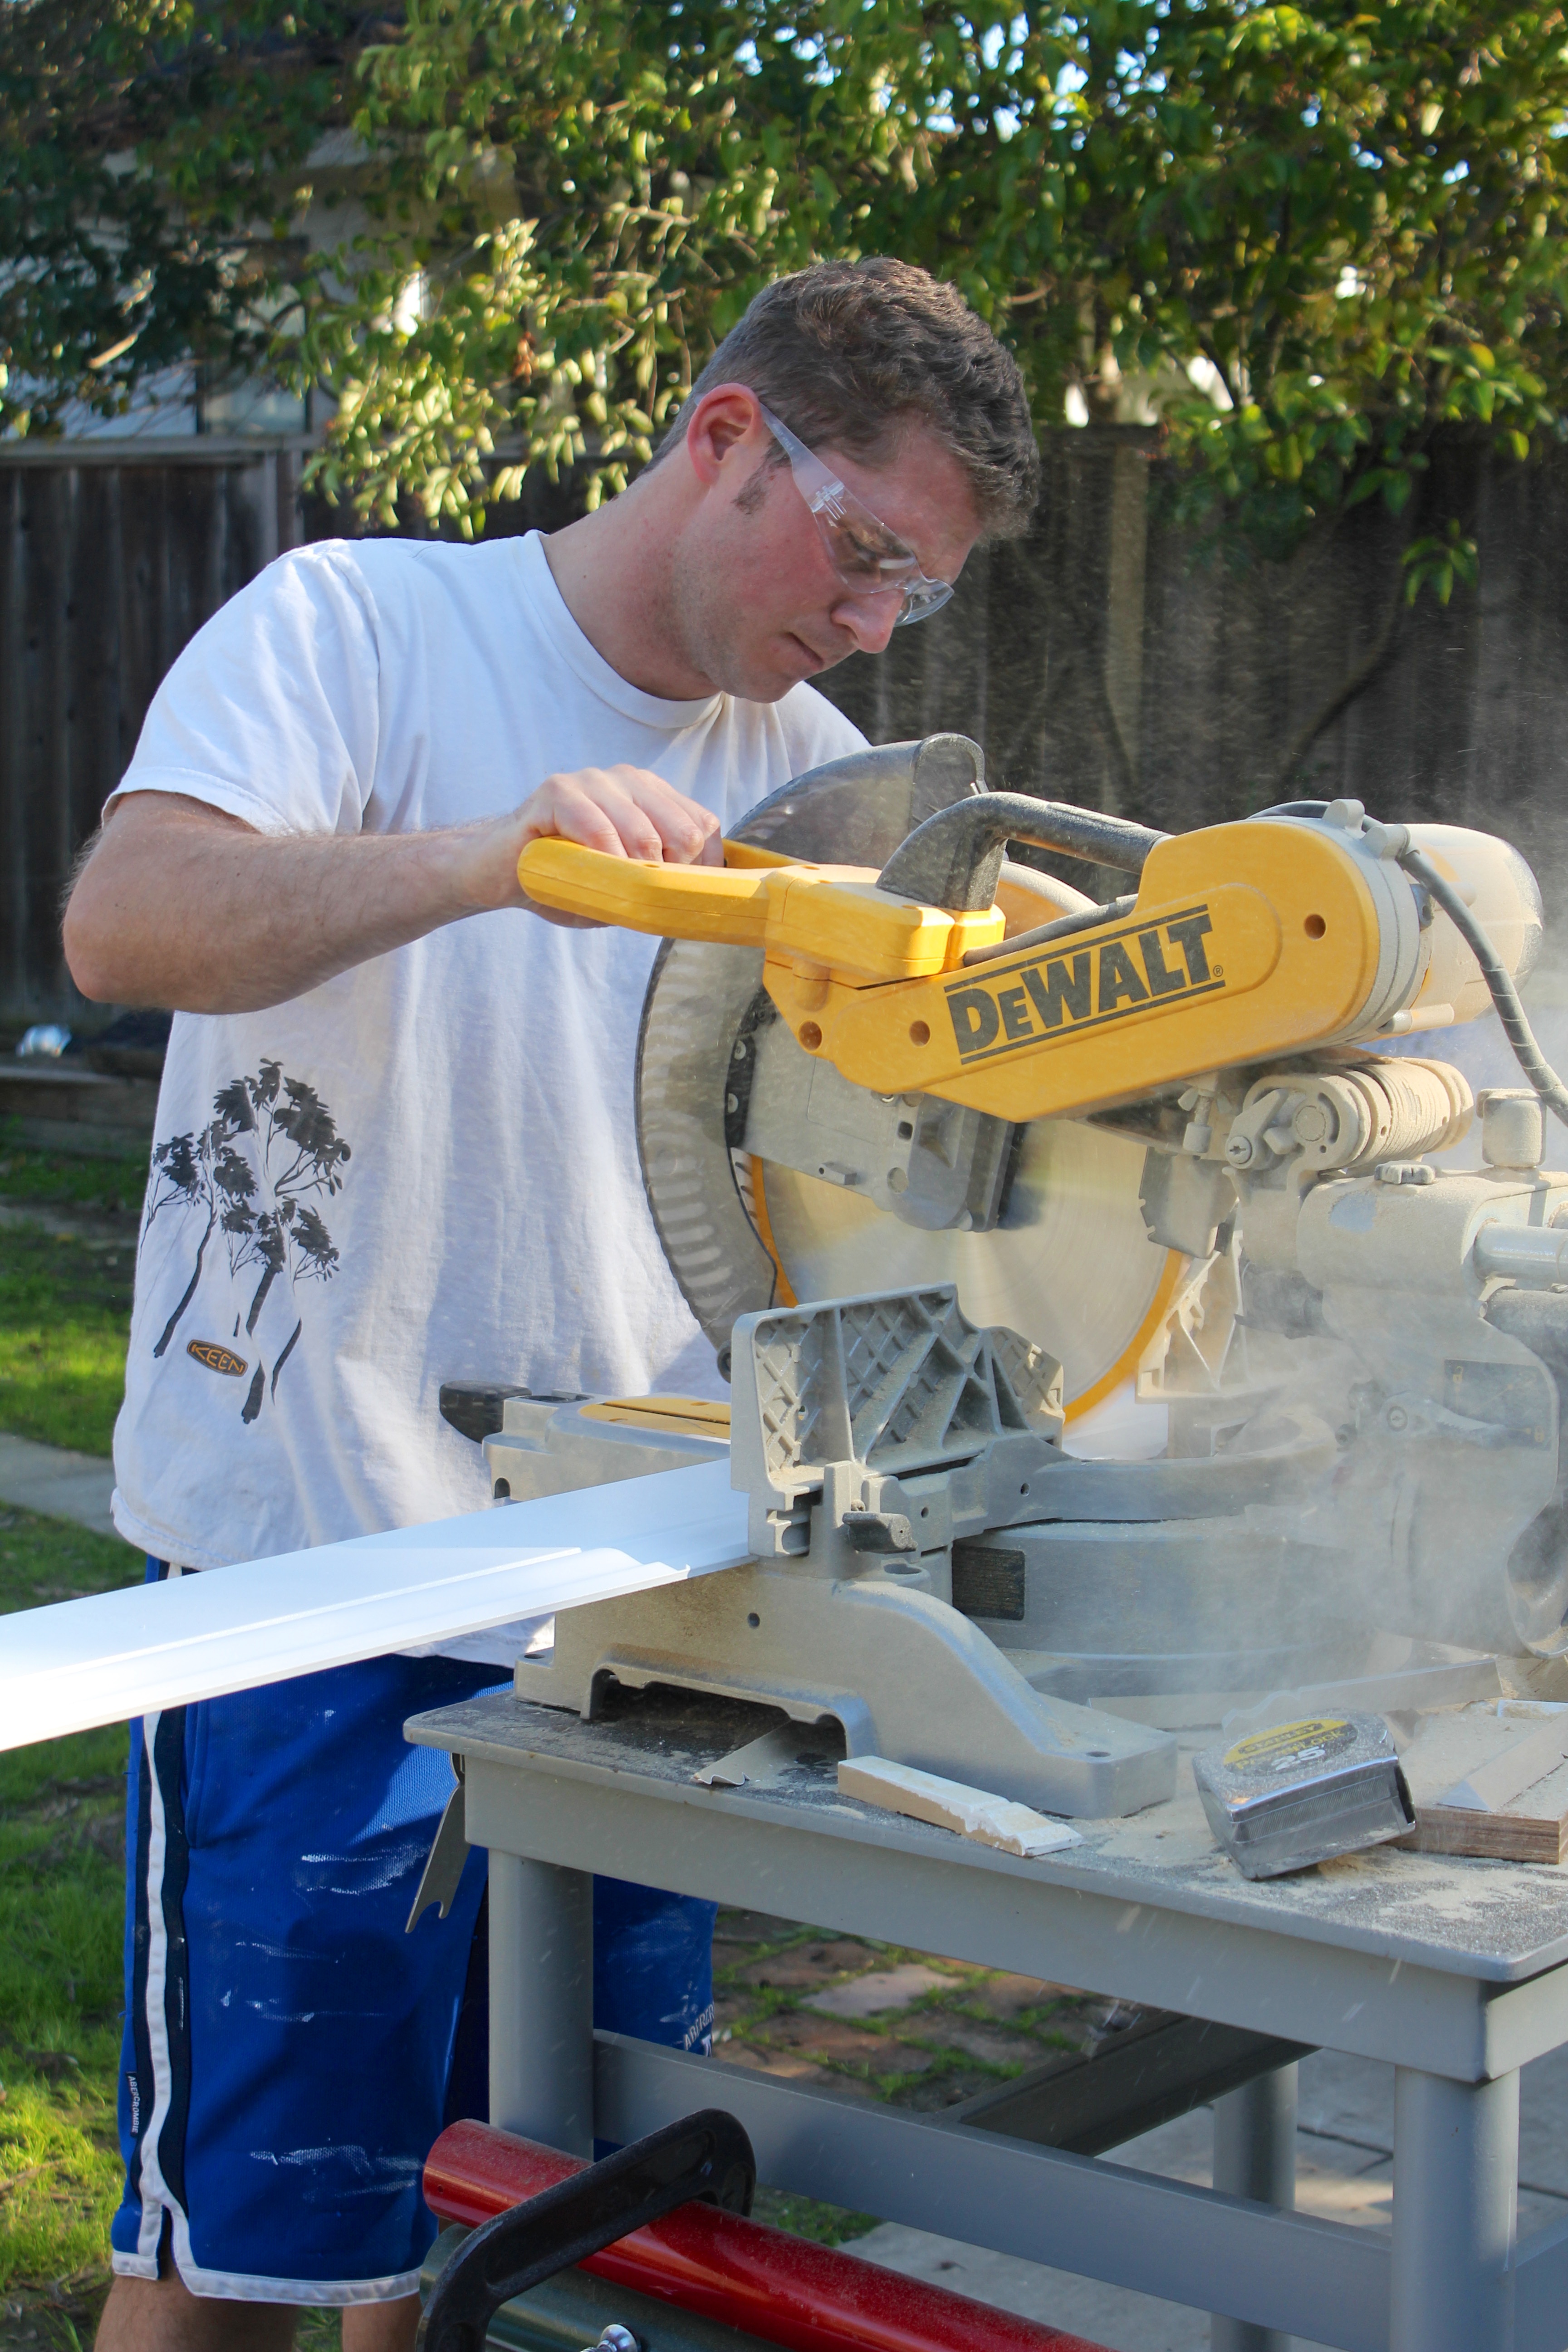
More cutting
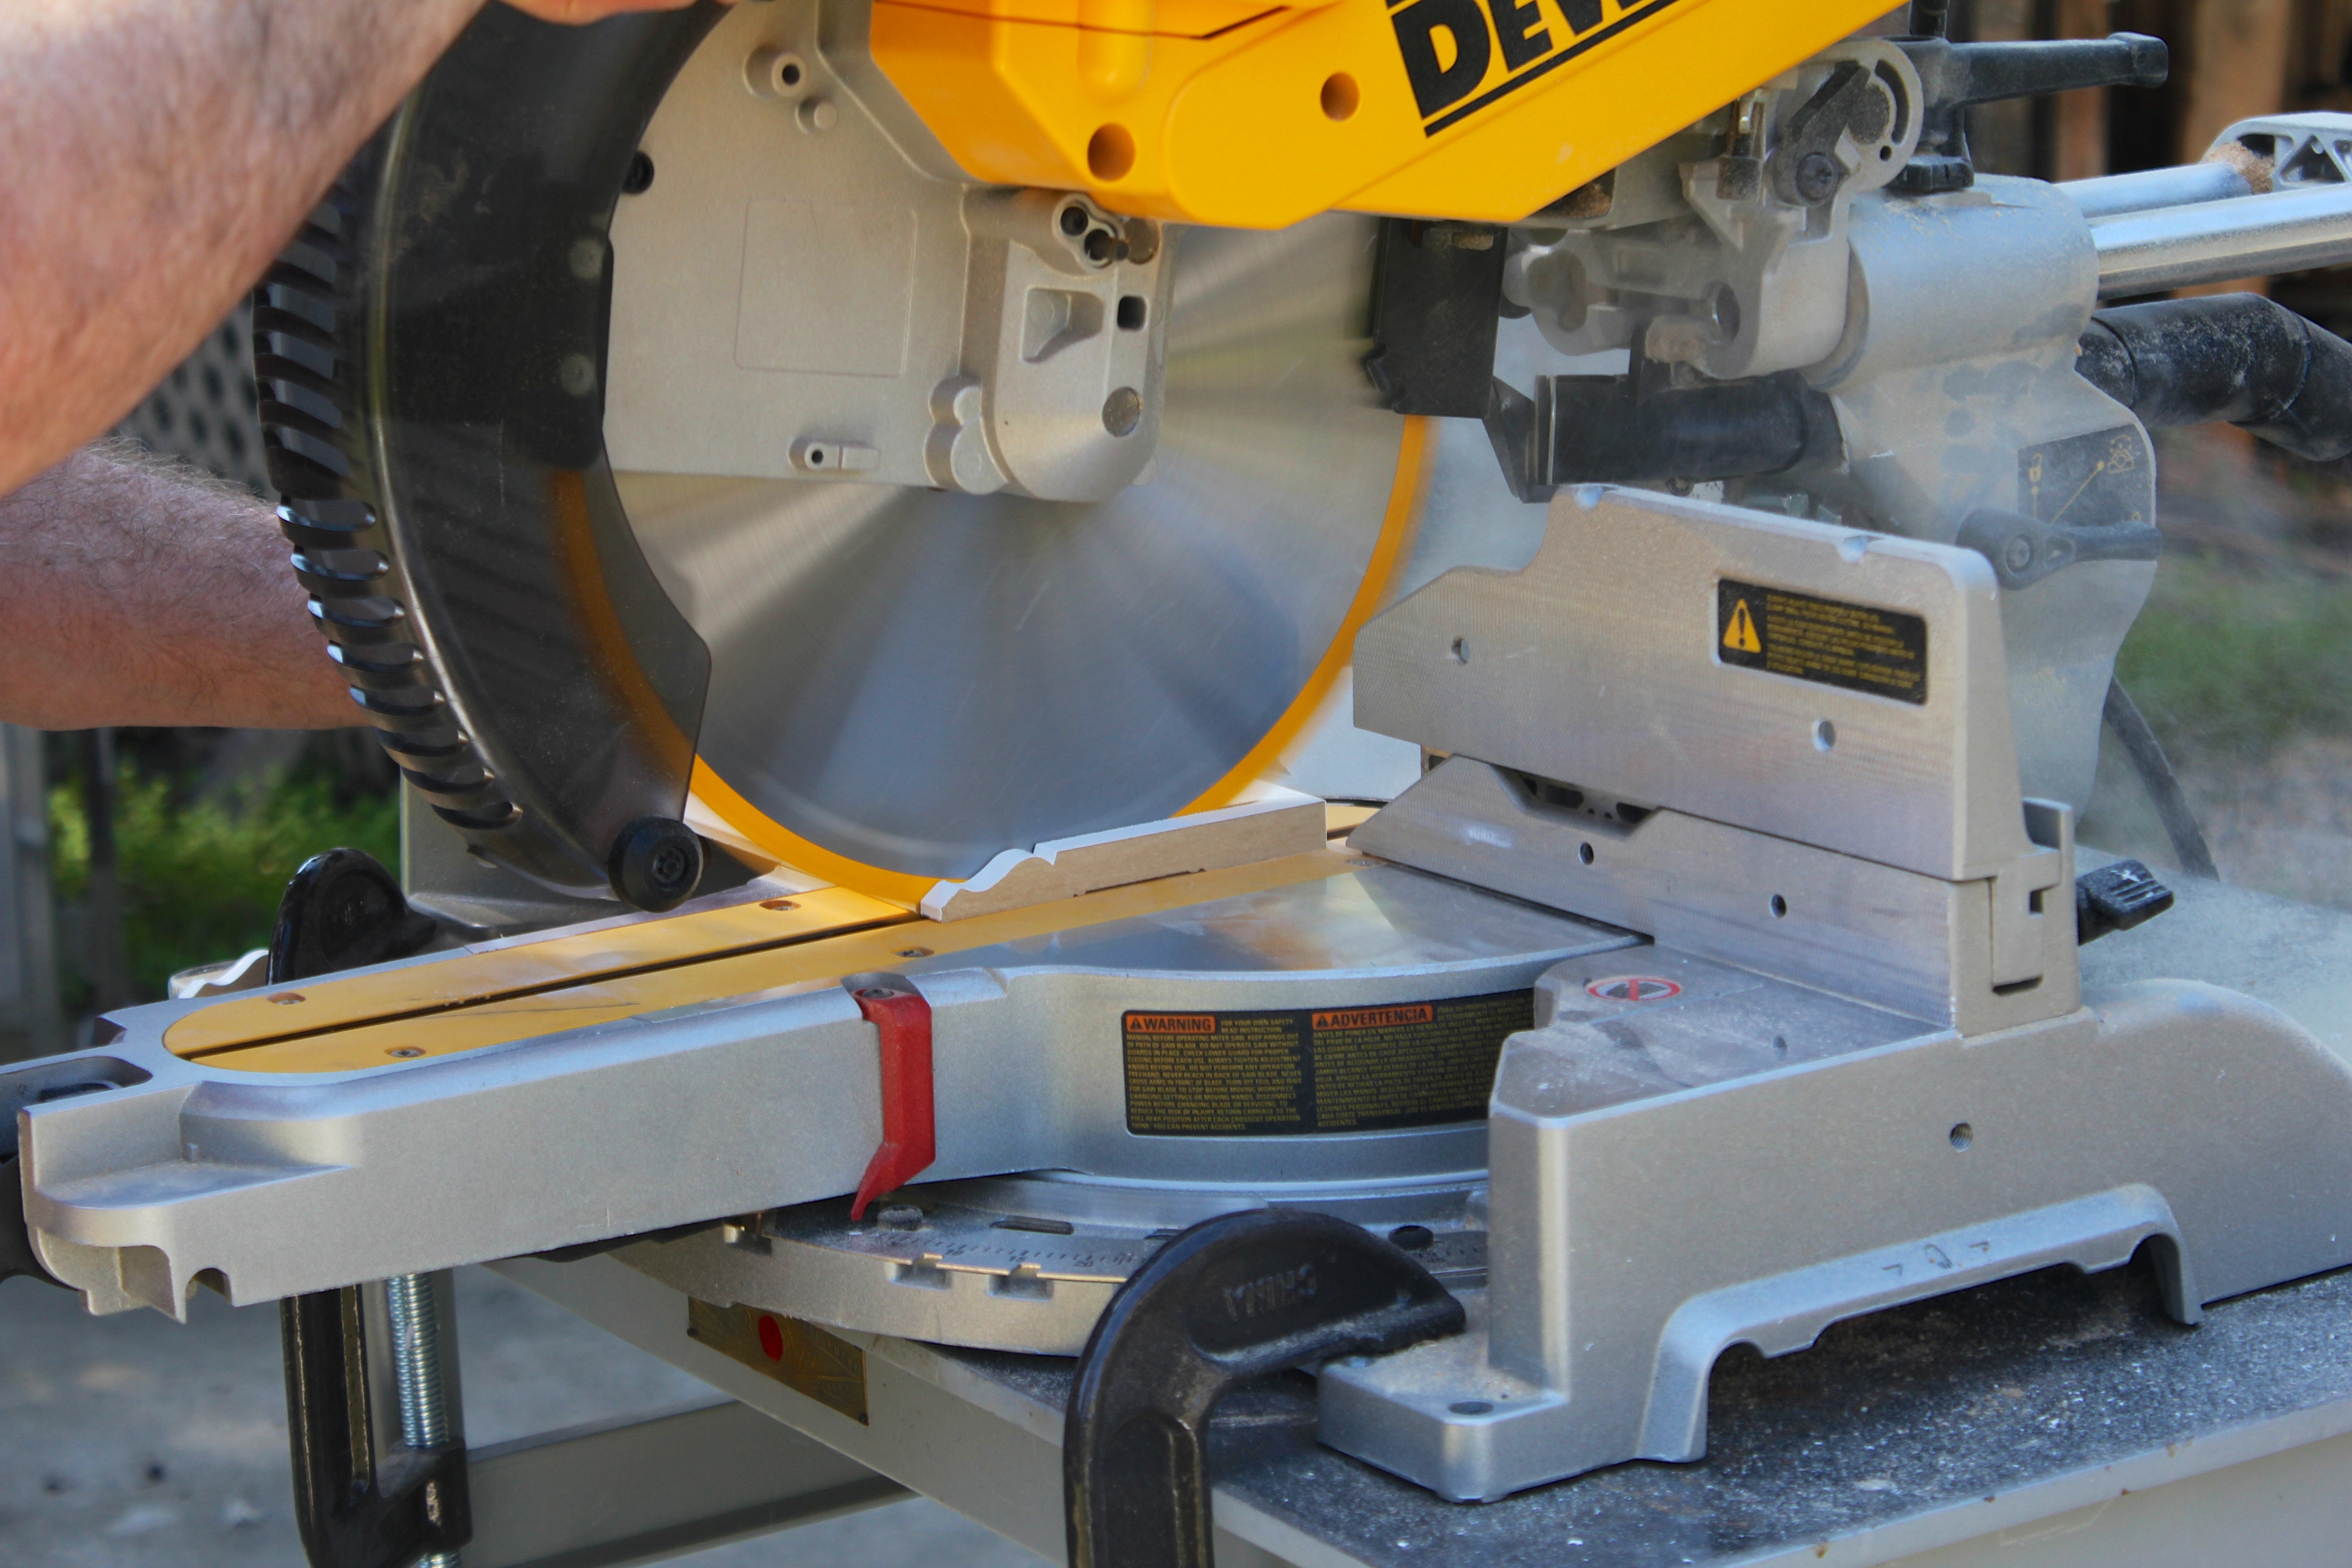
More cutting
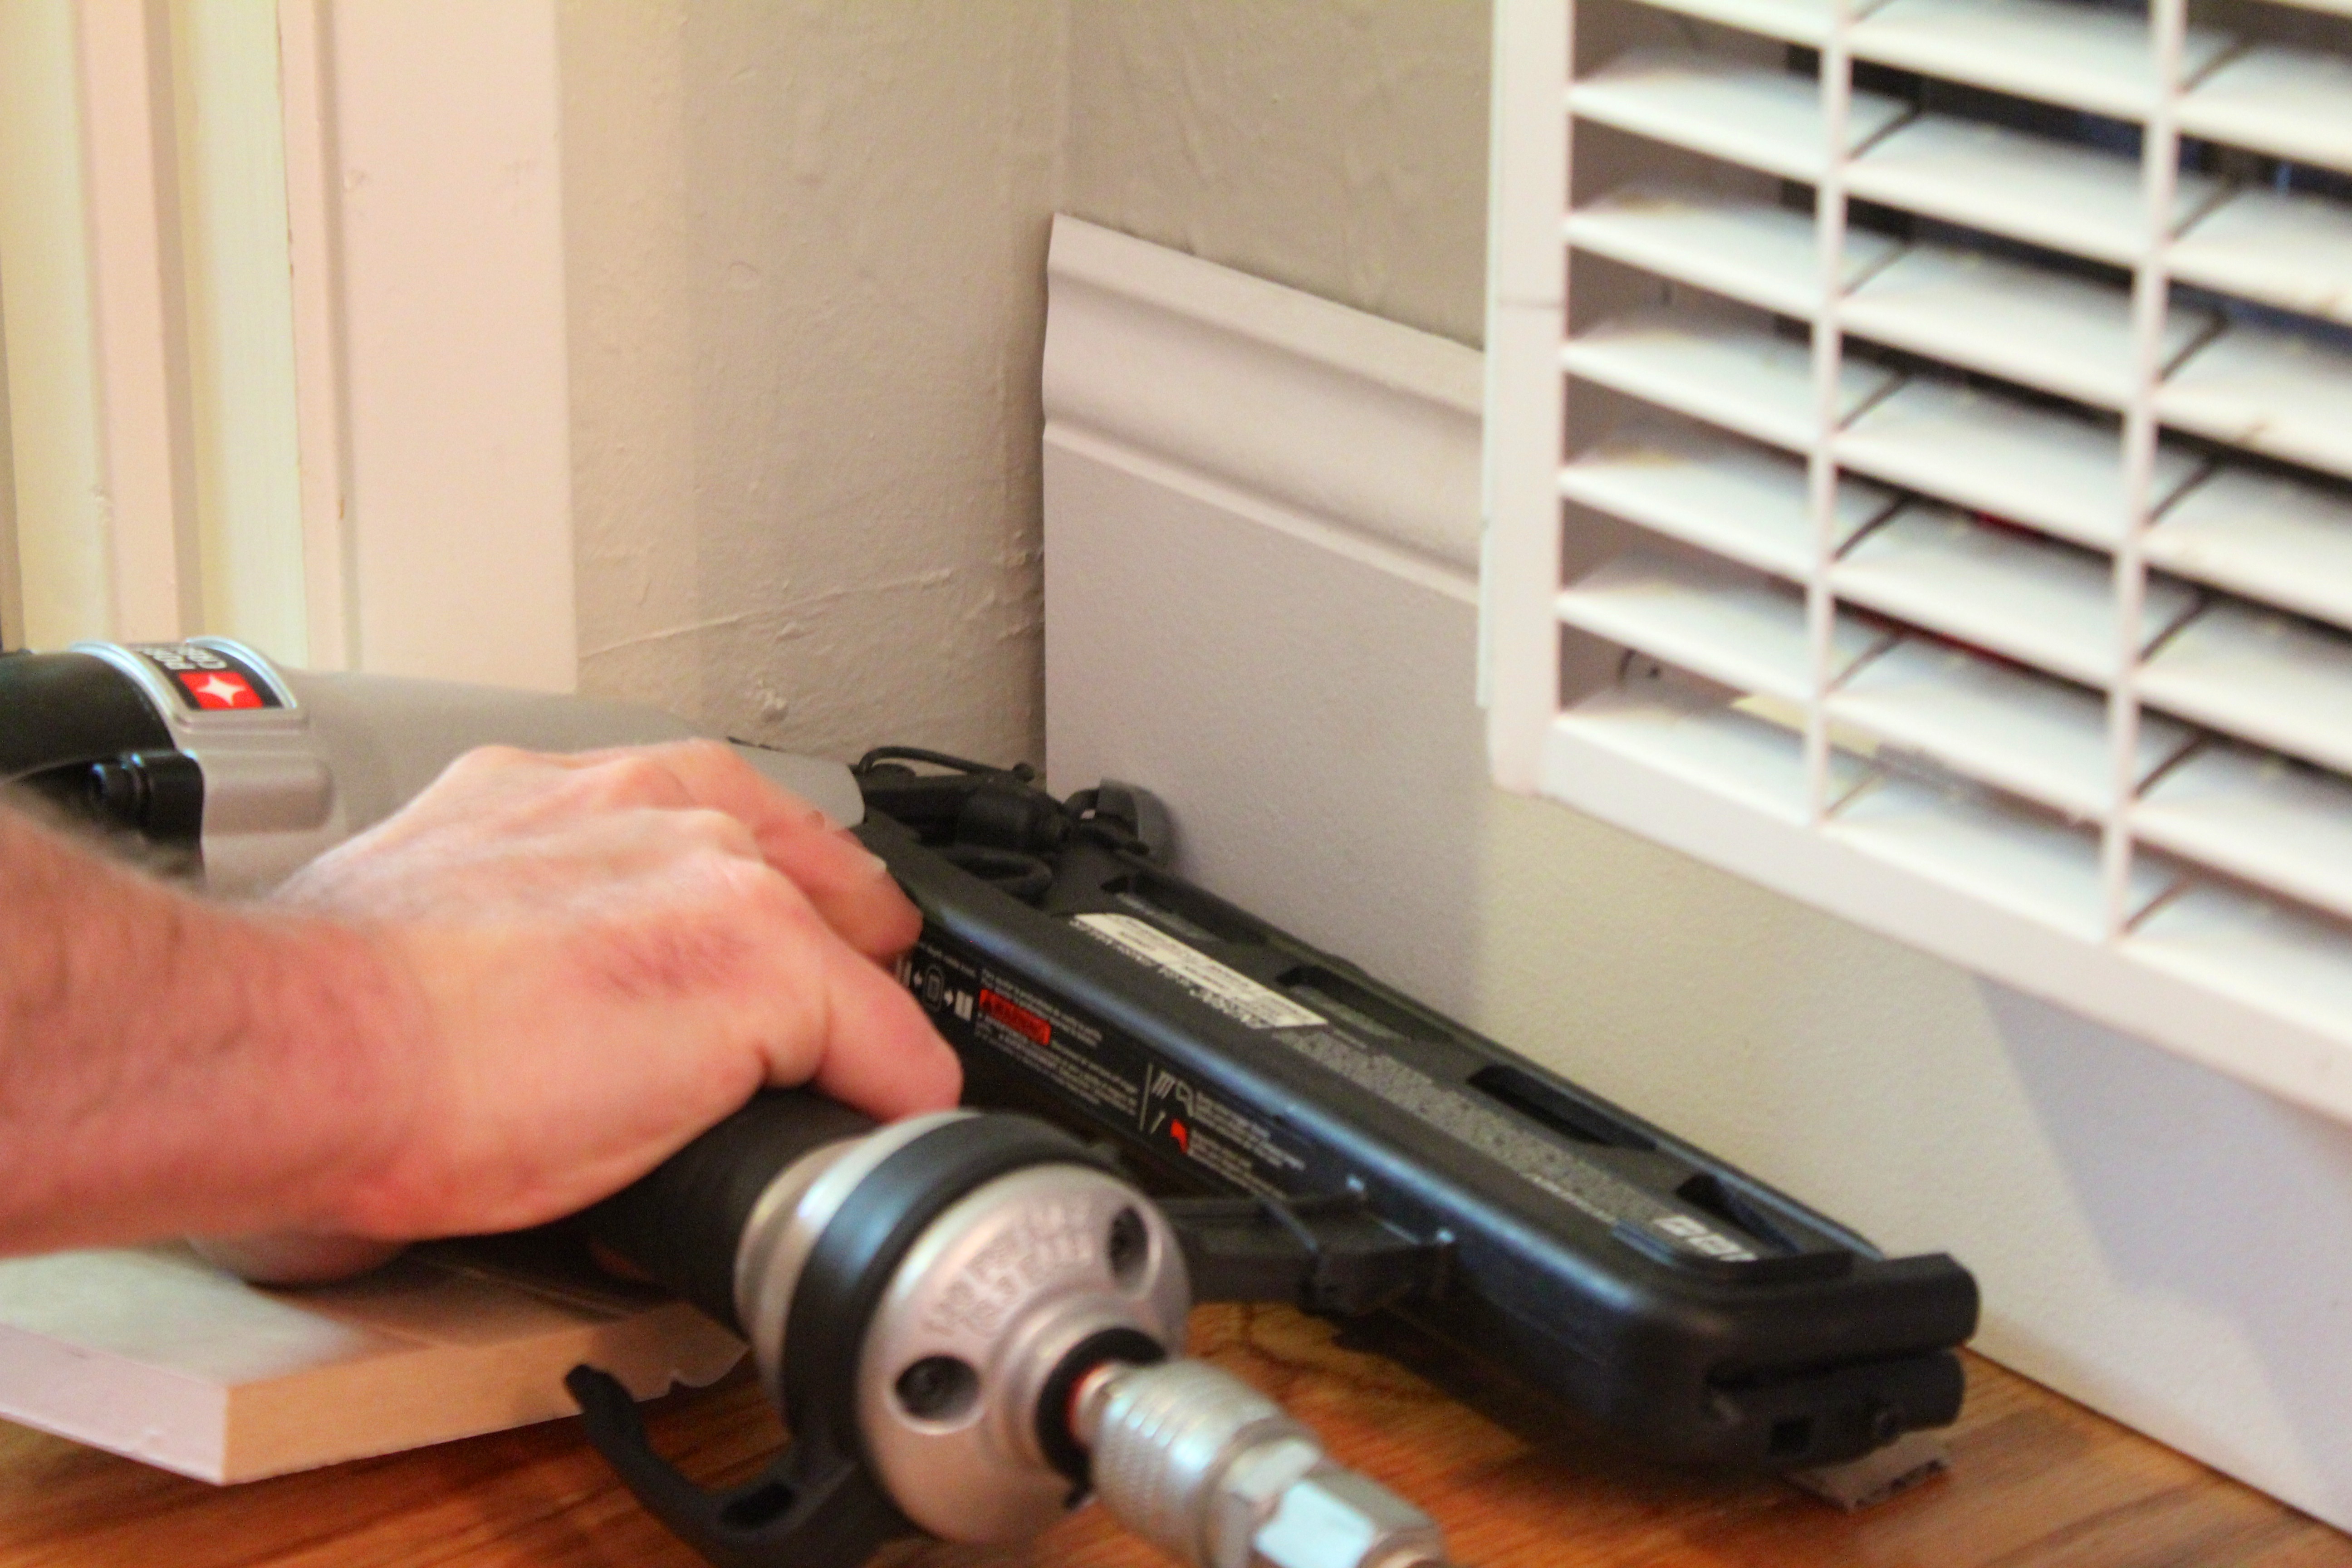
Nailing
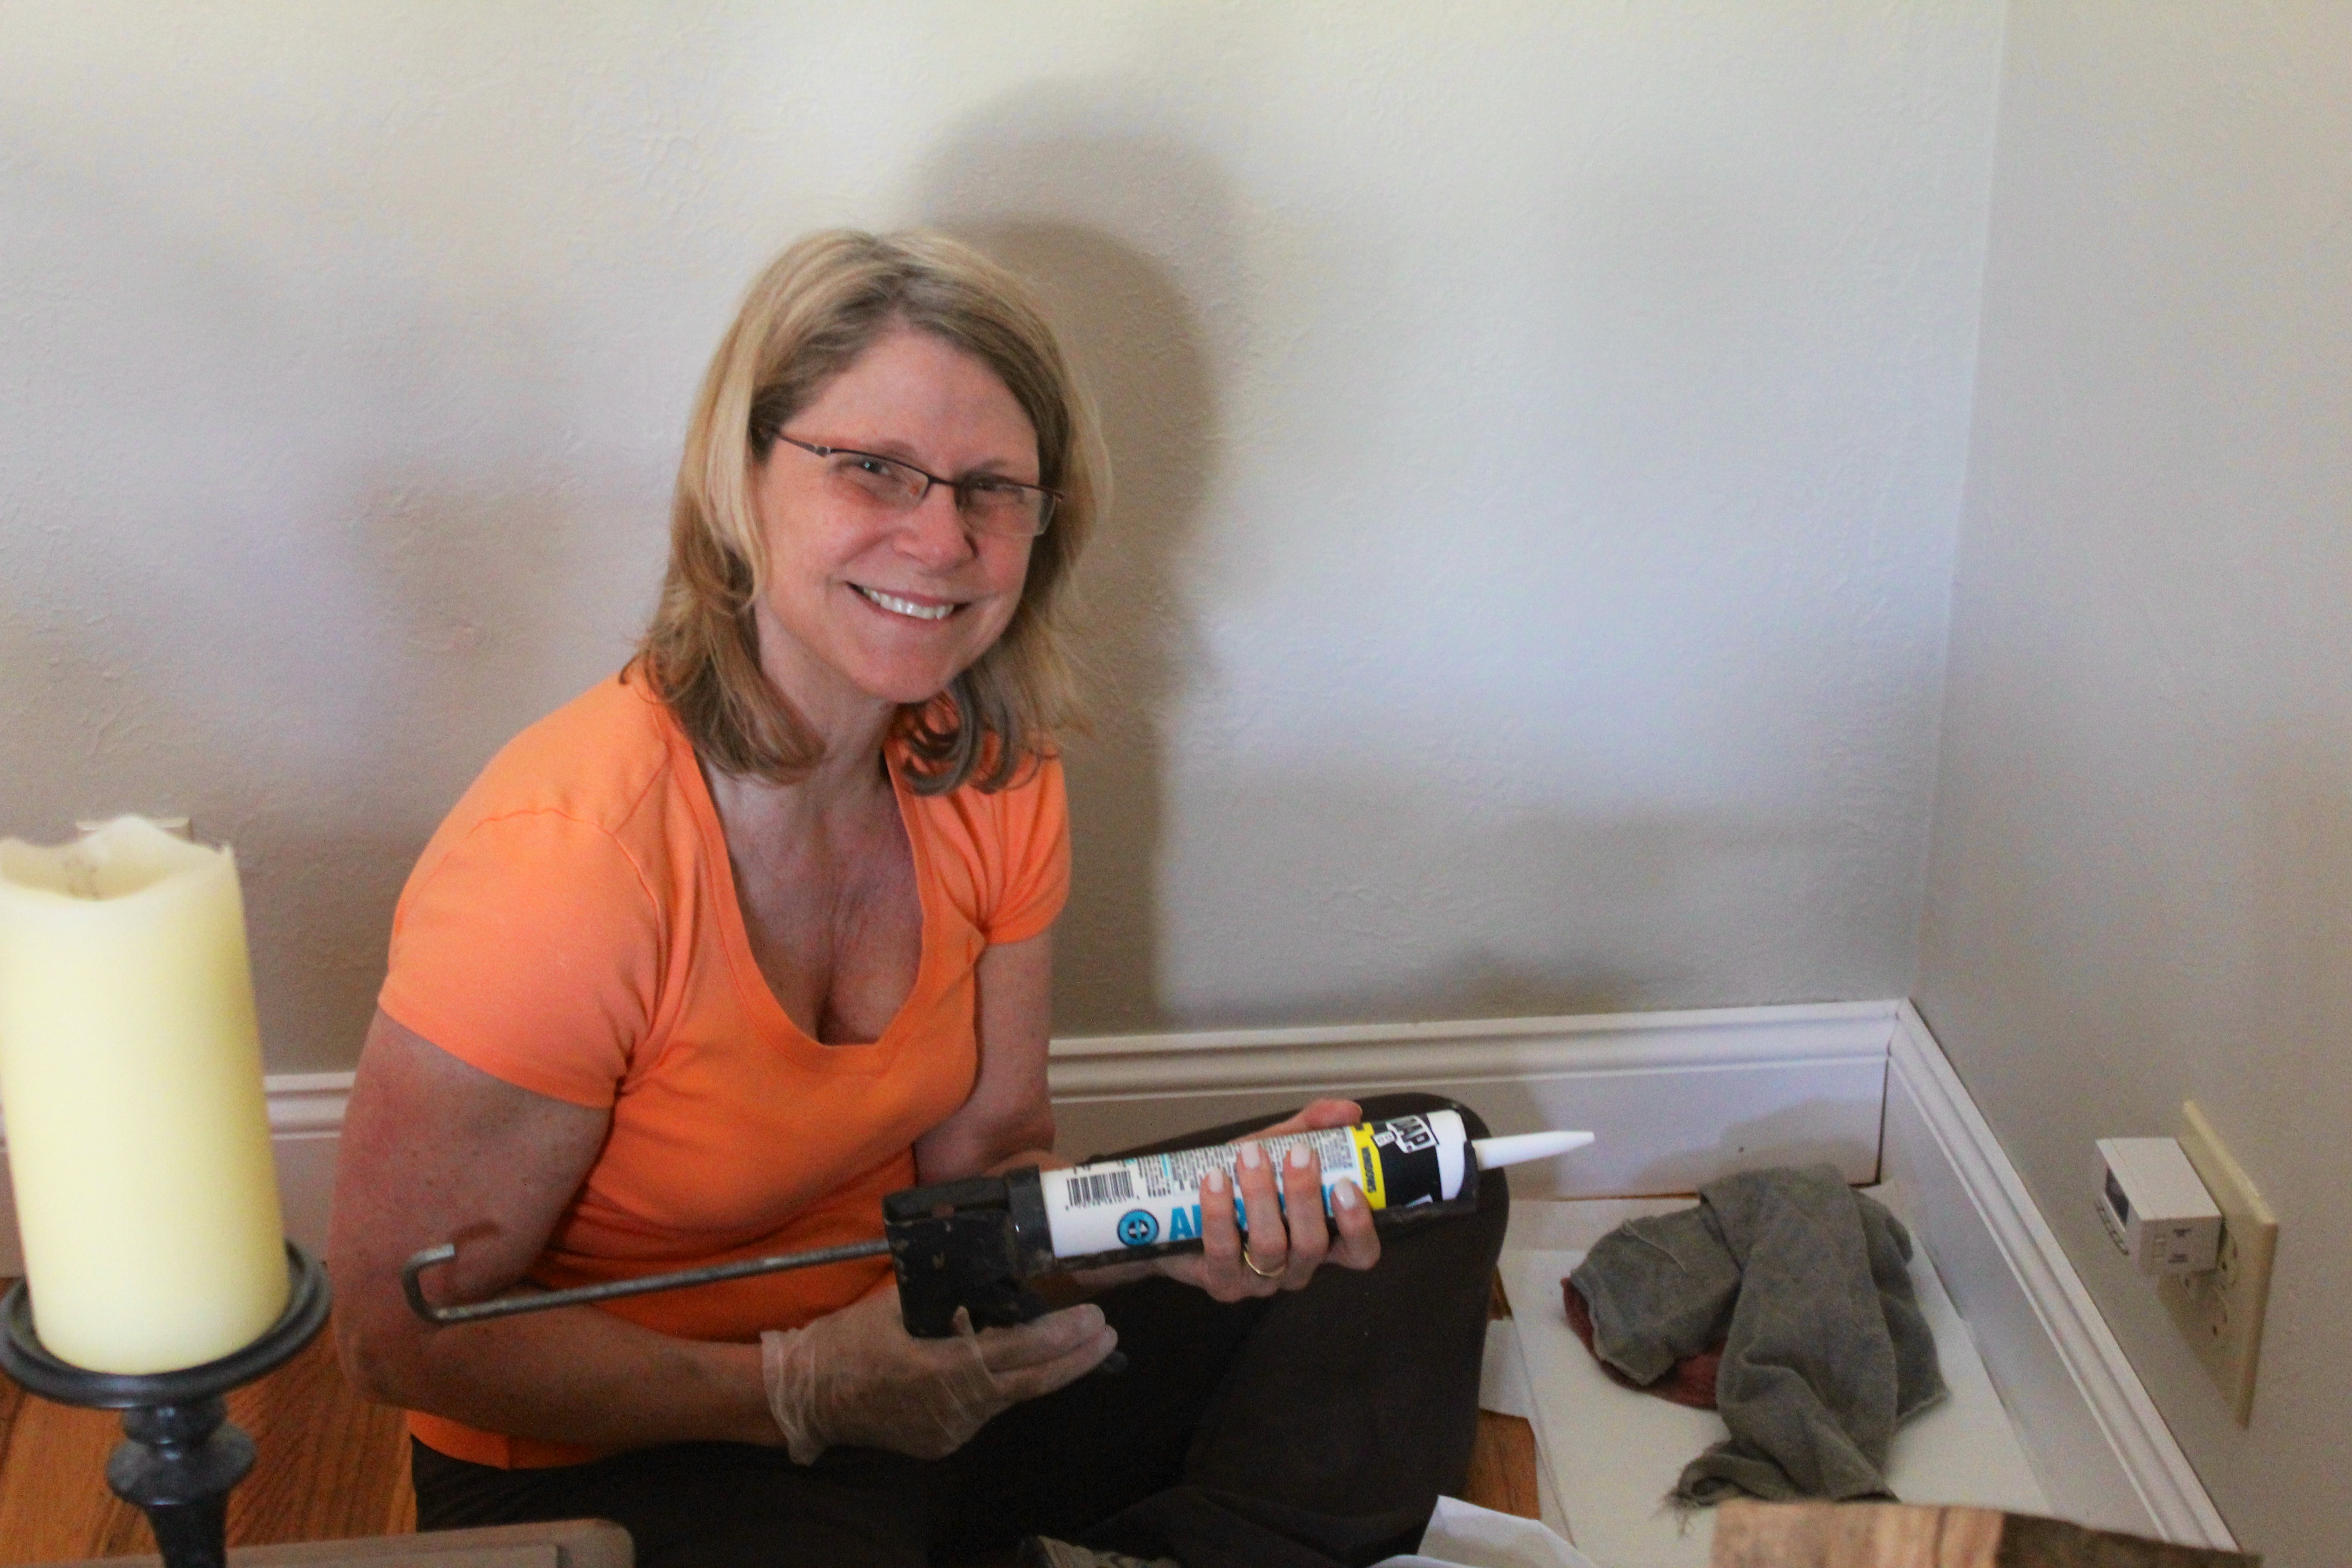
Caulking
More caulking
So we would have felt super awesome about our accomplishment, but about half way through the project we had decided that we would need to add quarter round oak between the baseboard and the floors to really finish off the project. You see, our beautiful floors that we worked so hard on are not quite perfect. In more than one place, there were gaps between the baseboard and the start of the wood floor. Also, our floors aren’t perfectly level and our rooms aren’t perfectly square; all things that were made obvious by our baseboard installation but could be covered up with the quarter round oak. Funny side note: when Justin and Dirk were talking about “quarter round” I thought they were saying “cord around”. I was sooooo confused and could not figure out why they would want to put some stupid piece of cord around the baseboard. Then I figured it out; silly, silly me!
Baseboard = Love
So our baseboard project as originally planned had been accomplished. But we had essentially doubled the amount of work we had to do! So we ordered the quarter round oak and waited (impatiently) to finish this project.

There will most definitely be more than one phase of our backyard improvement! And this first phase was really more of an attack or an assault than anything remotely friendly. We had some serious weeds that needed to go (and more where that came from!) and the first of our many shacks came down. Like I said, Part I…
The spring weather lately has inspired us to get down and dirty in the backyard. As you can tell, we started with lots of weeds, some interesting yard art, and a few ramshackle sheds that really needed to go. We haven’t finalized our vision for the backyard yet, but we do know that we would like to have fruit trees and a few raised garden beds along this fence. So, the shed must go!

One shed, hundreds of weeds, and some “yard art”
While I weeded (and used this awesome old school lawn mower, that works like a charm!), Justin went to town on the garden shed.
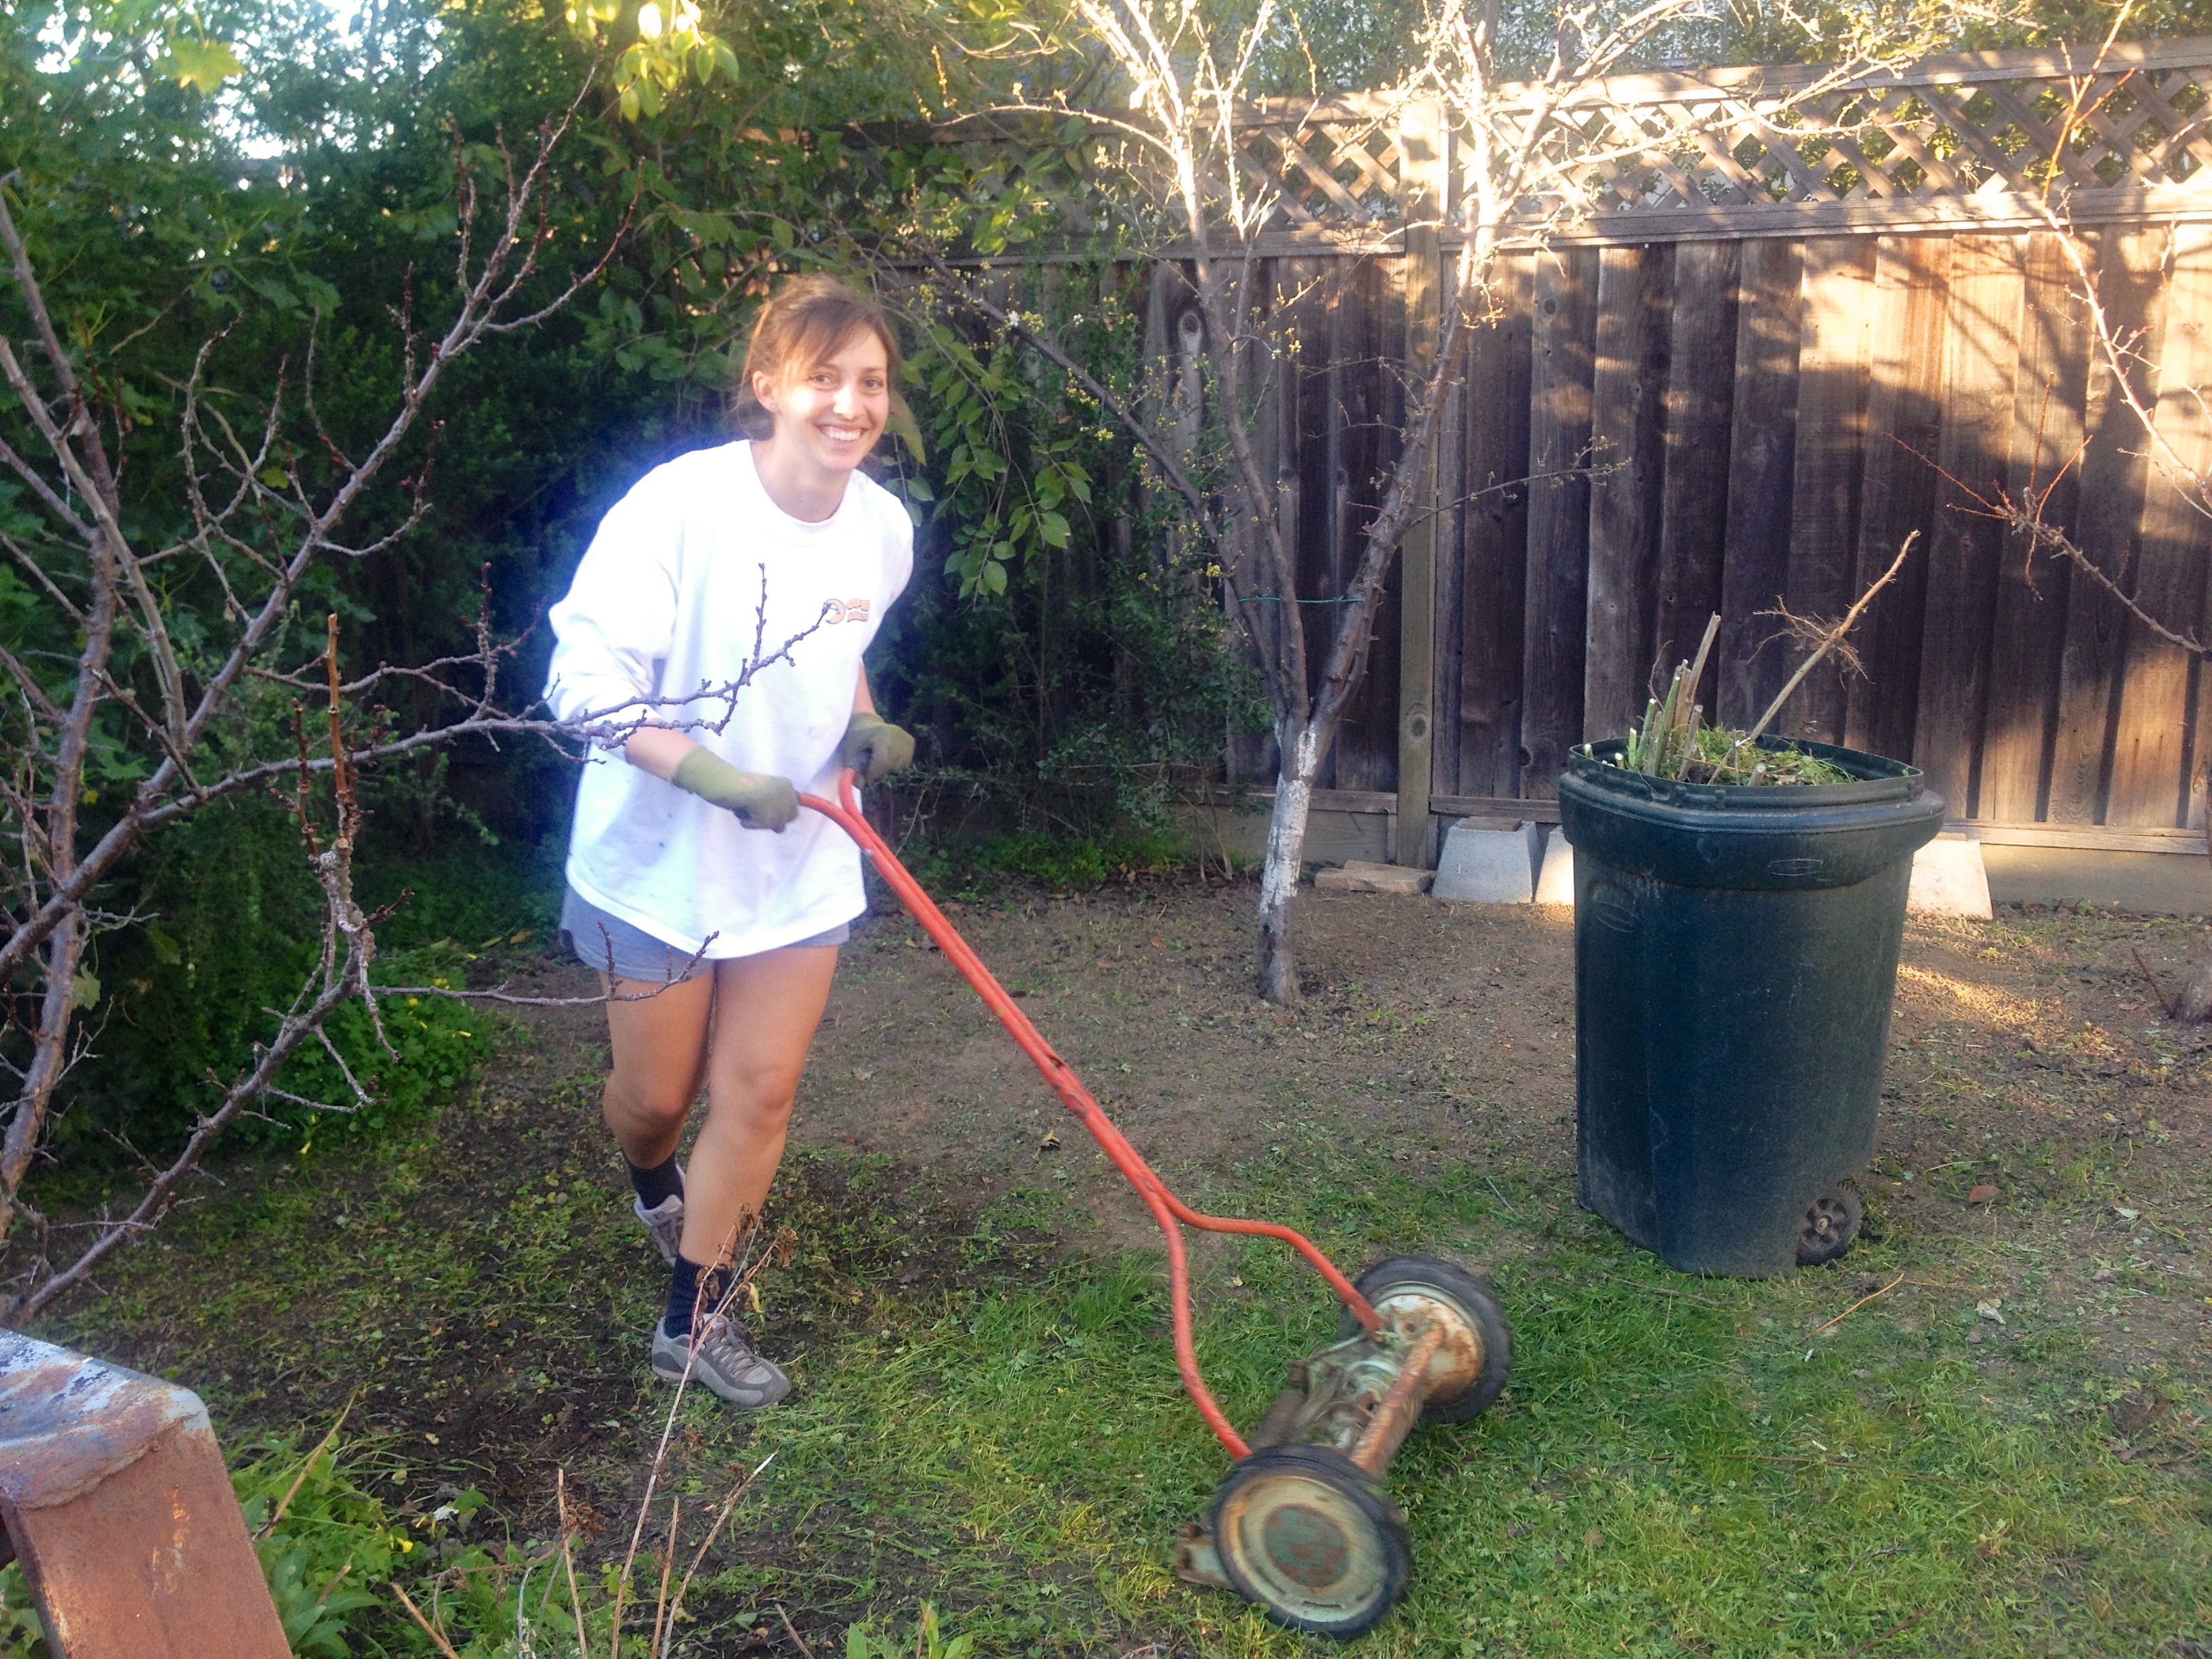
The answer, in case you were wondering, is yes. I always look this good when doing house/yard work. So prepare yourself if you come visit!
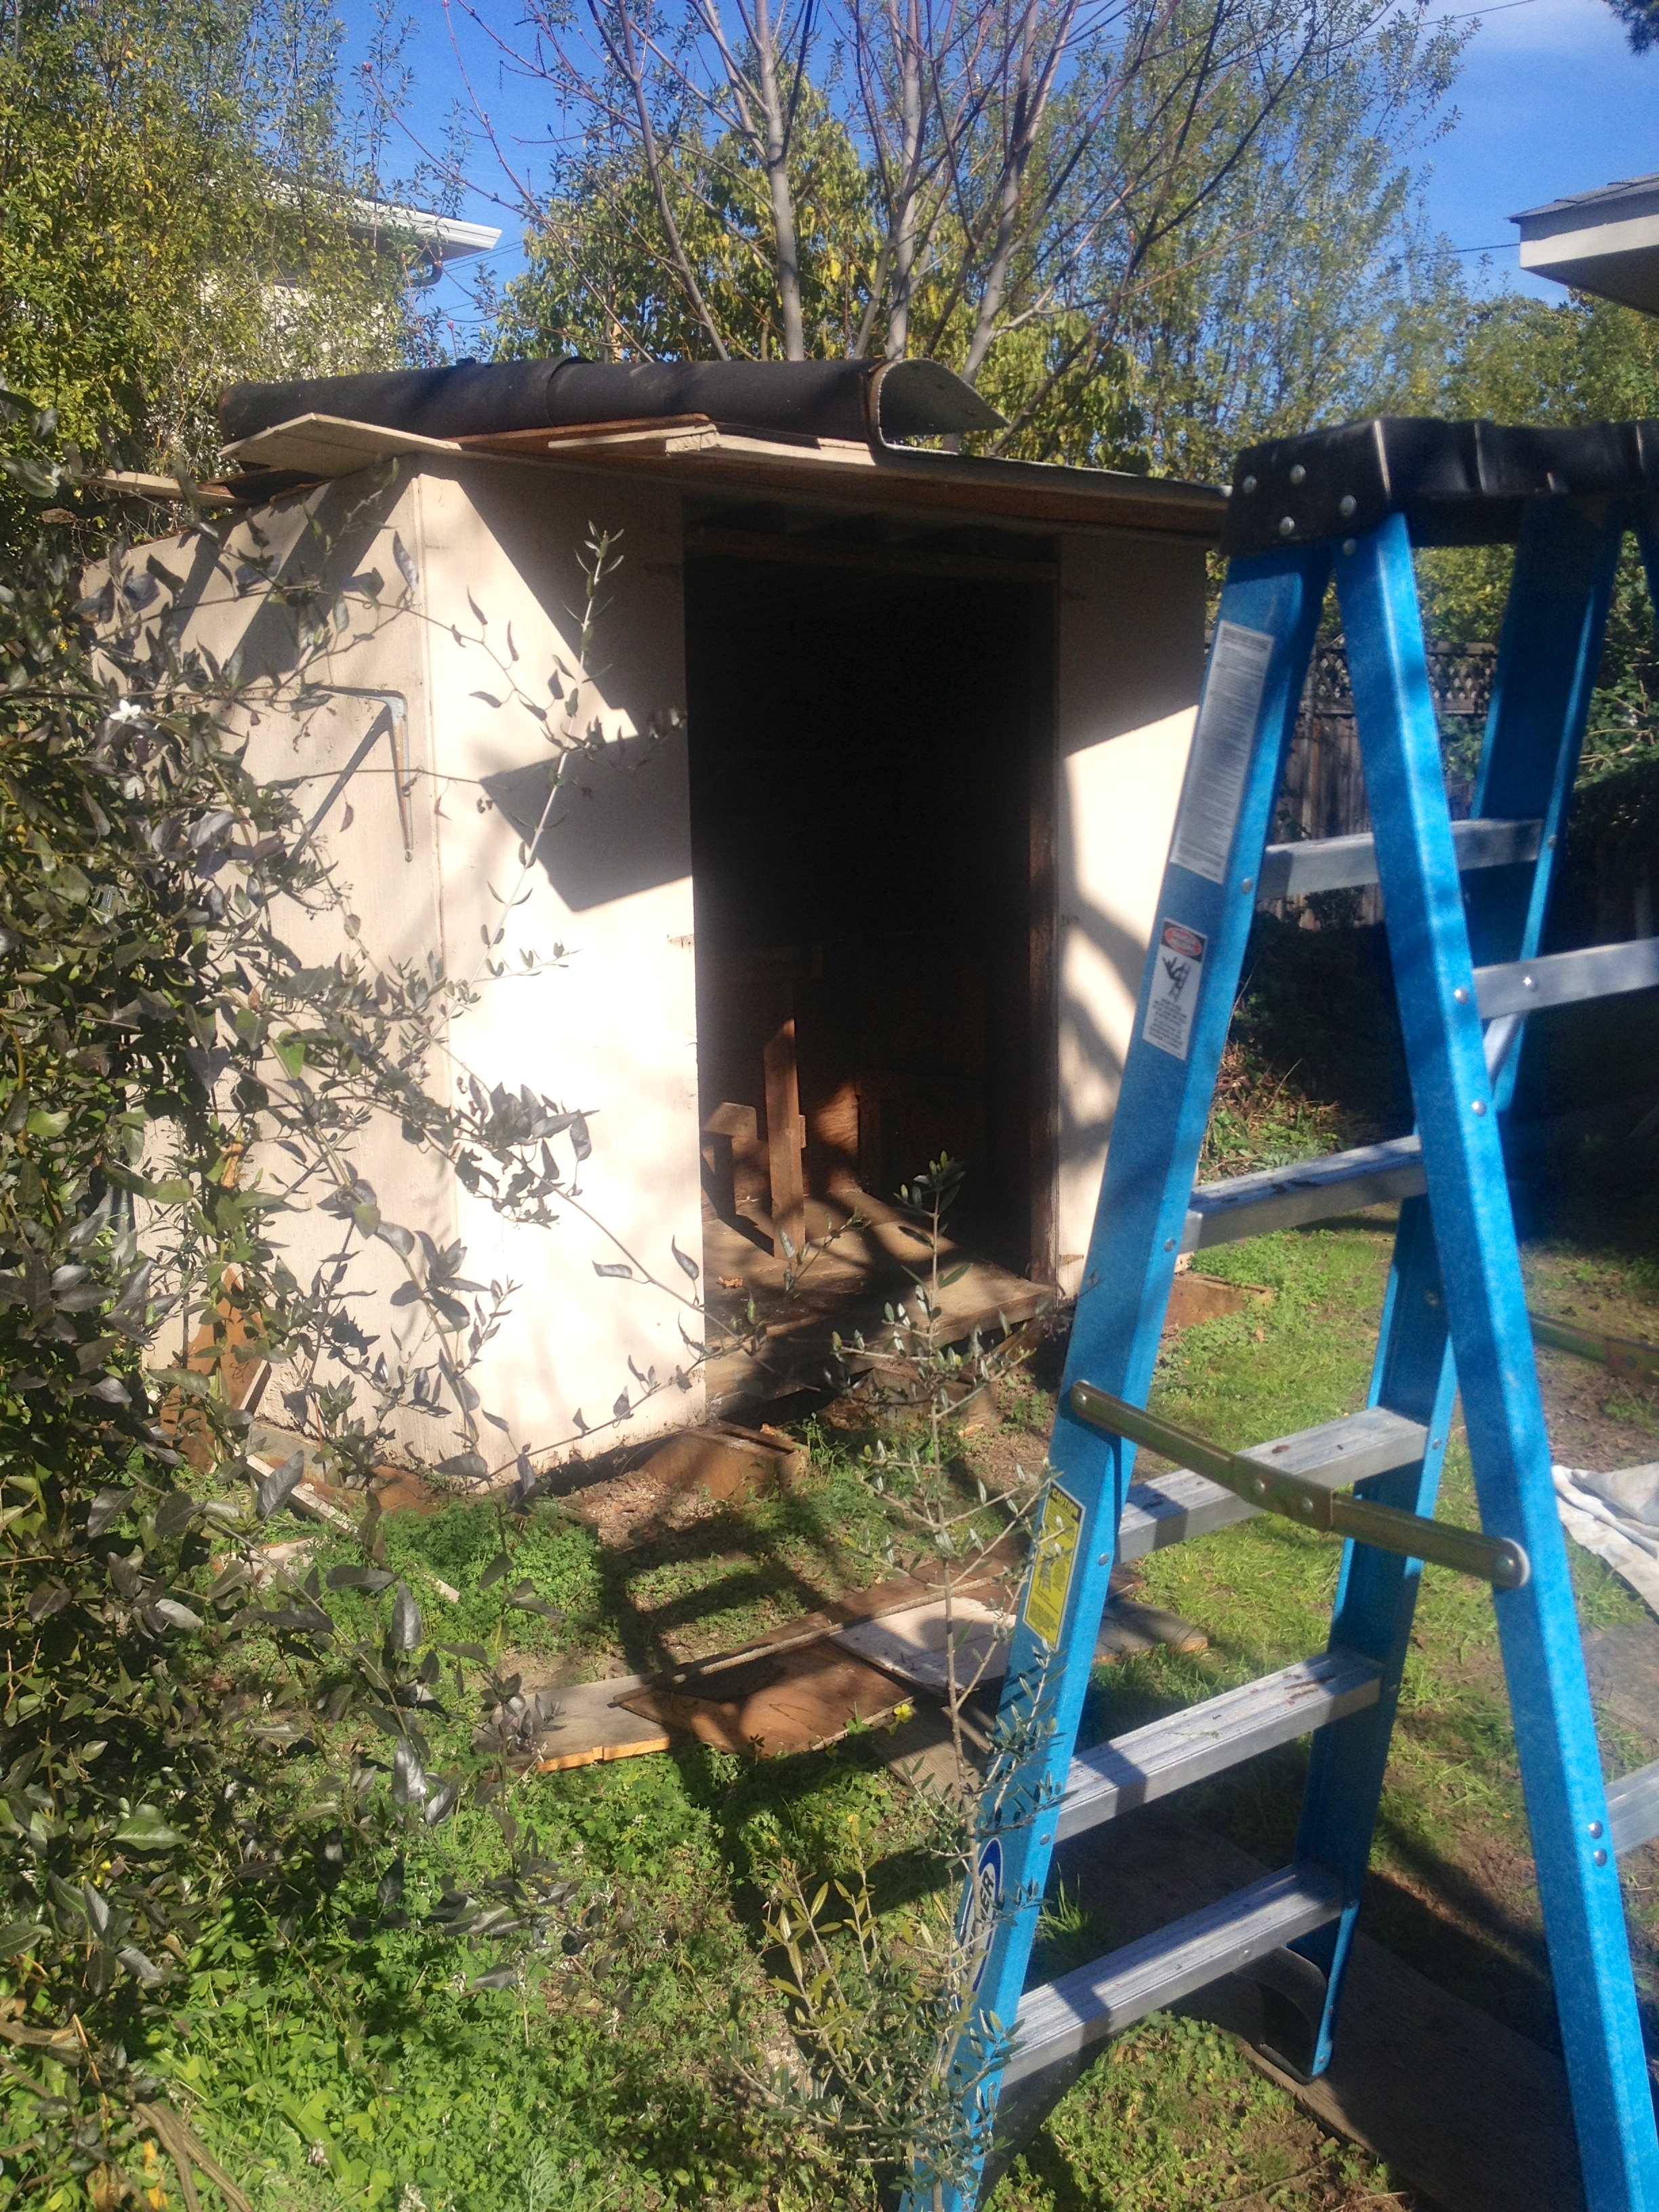
The shed, prior to demolition
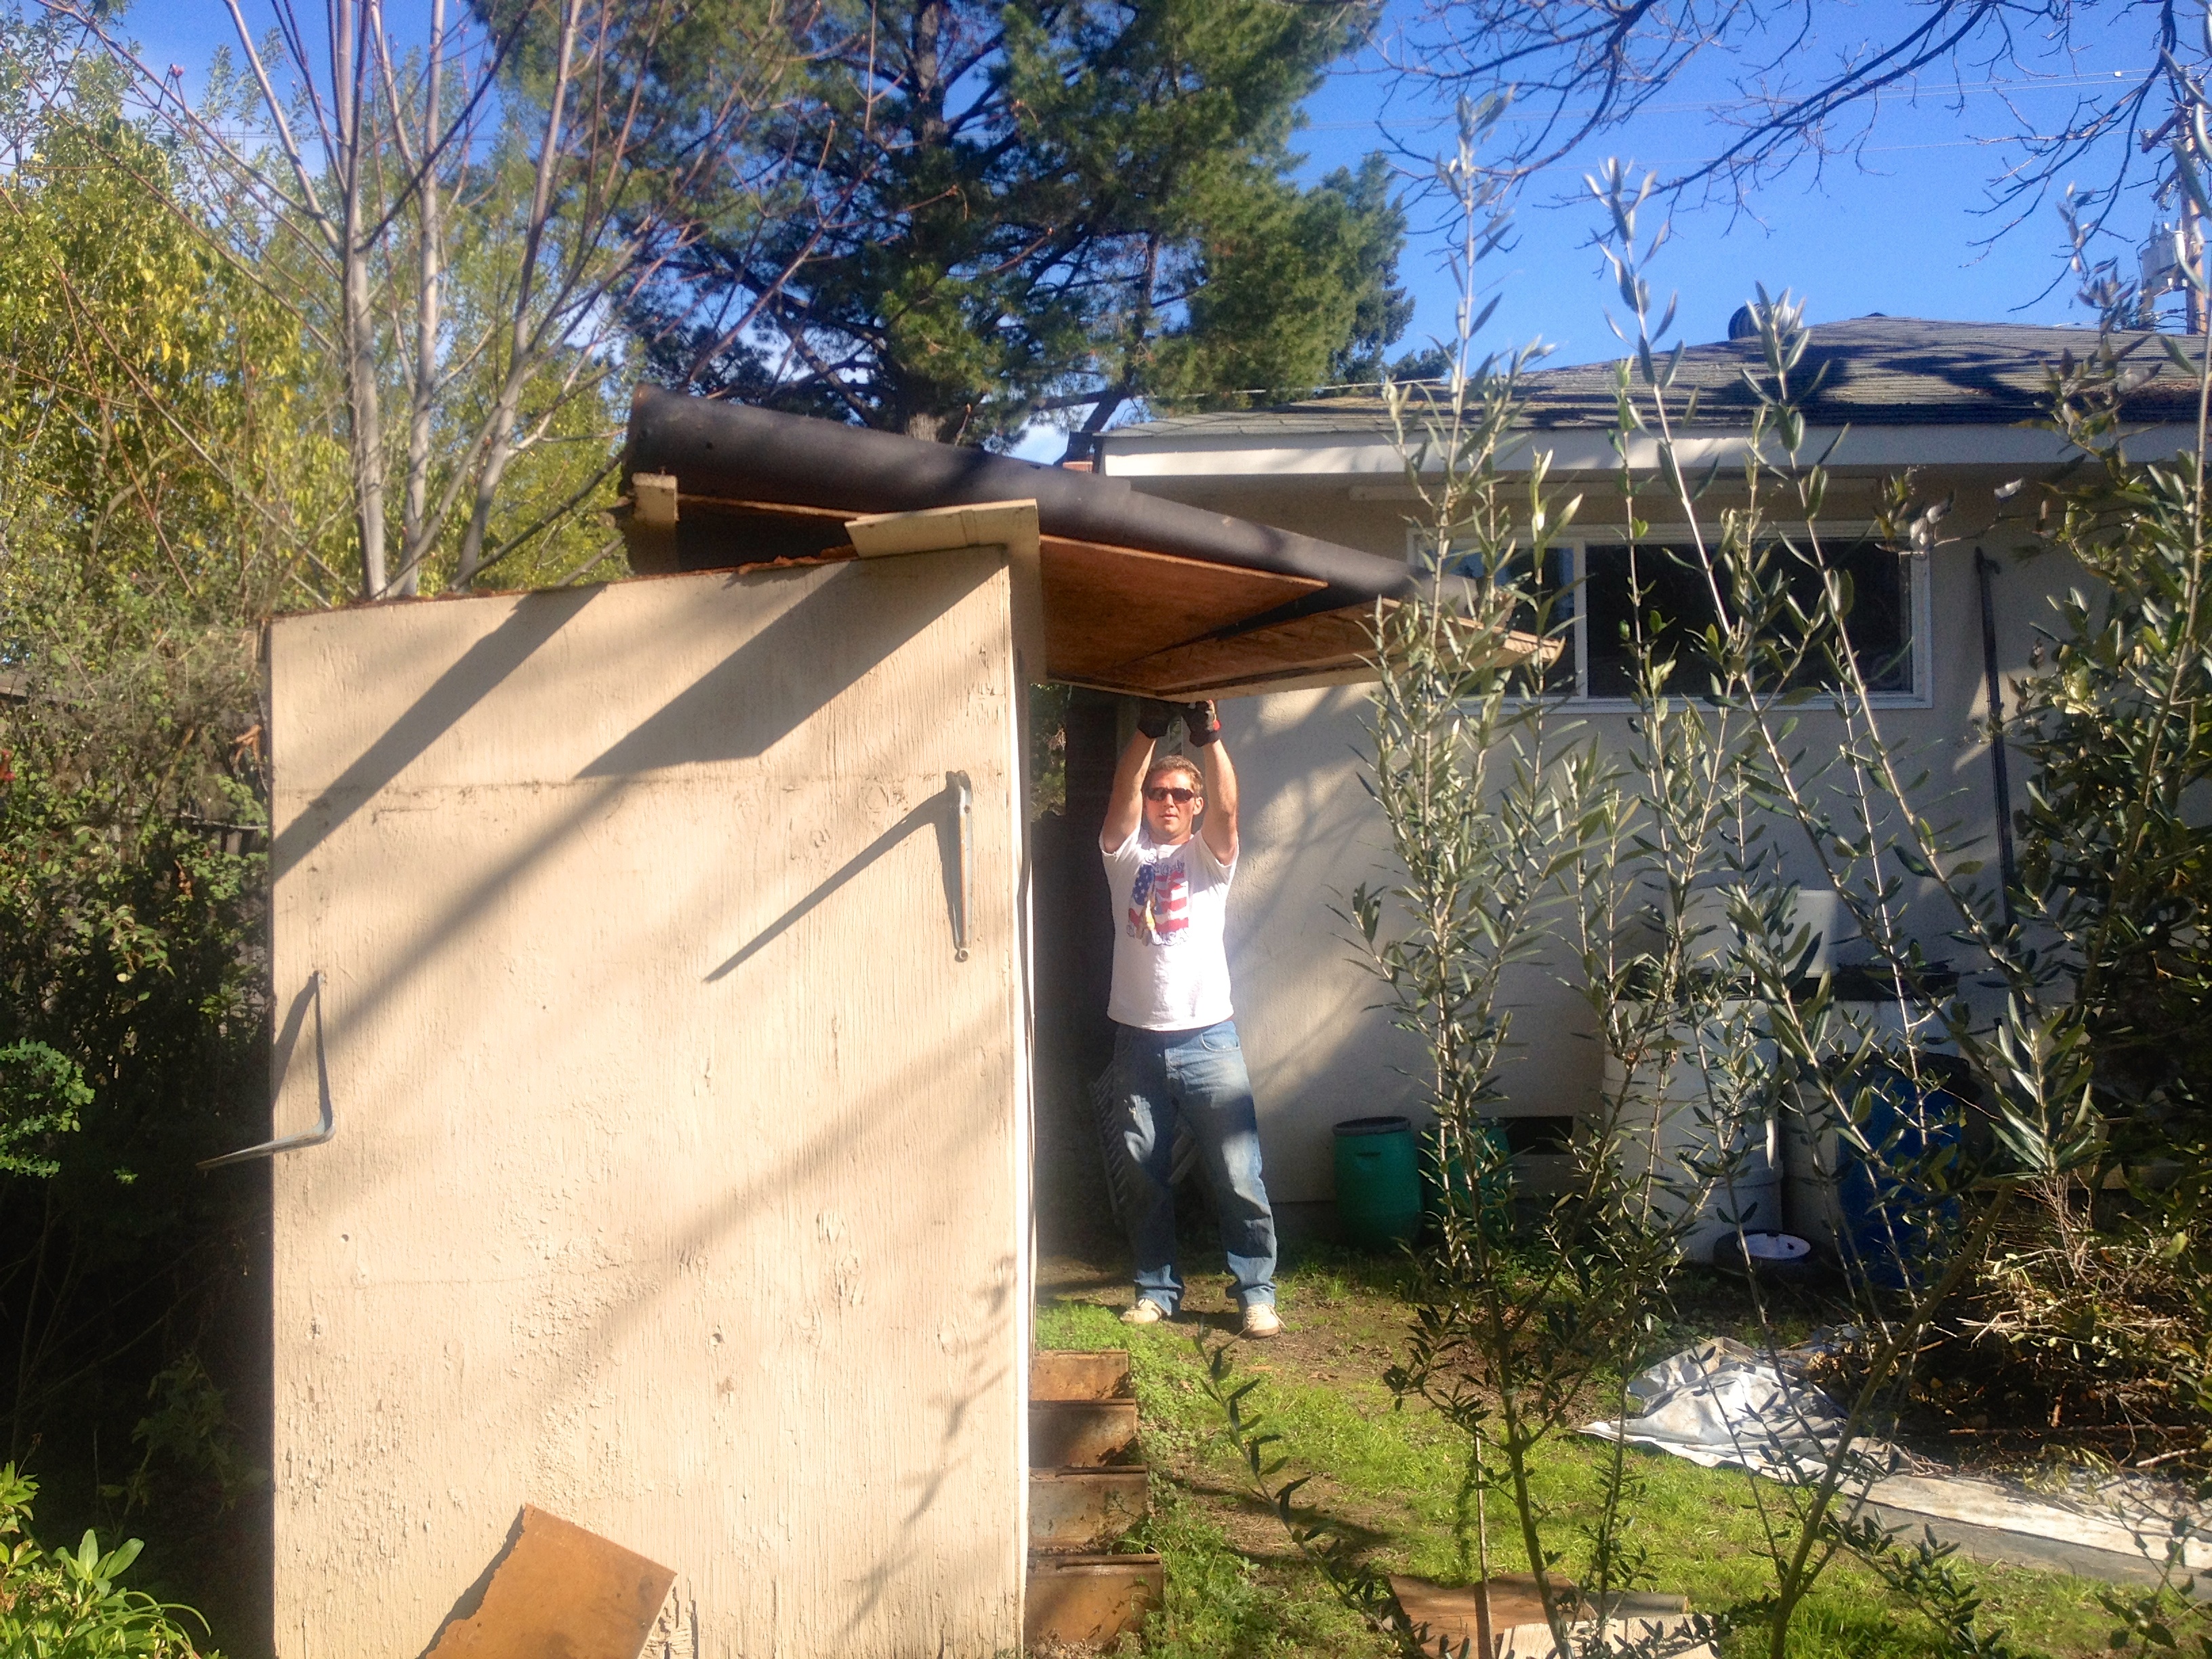
During demo. Bye bye roof!
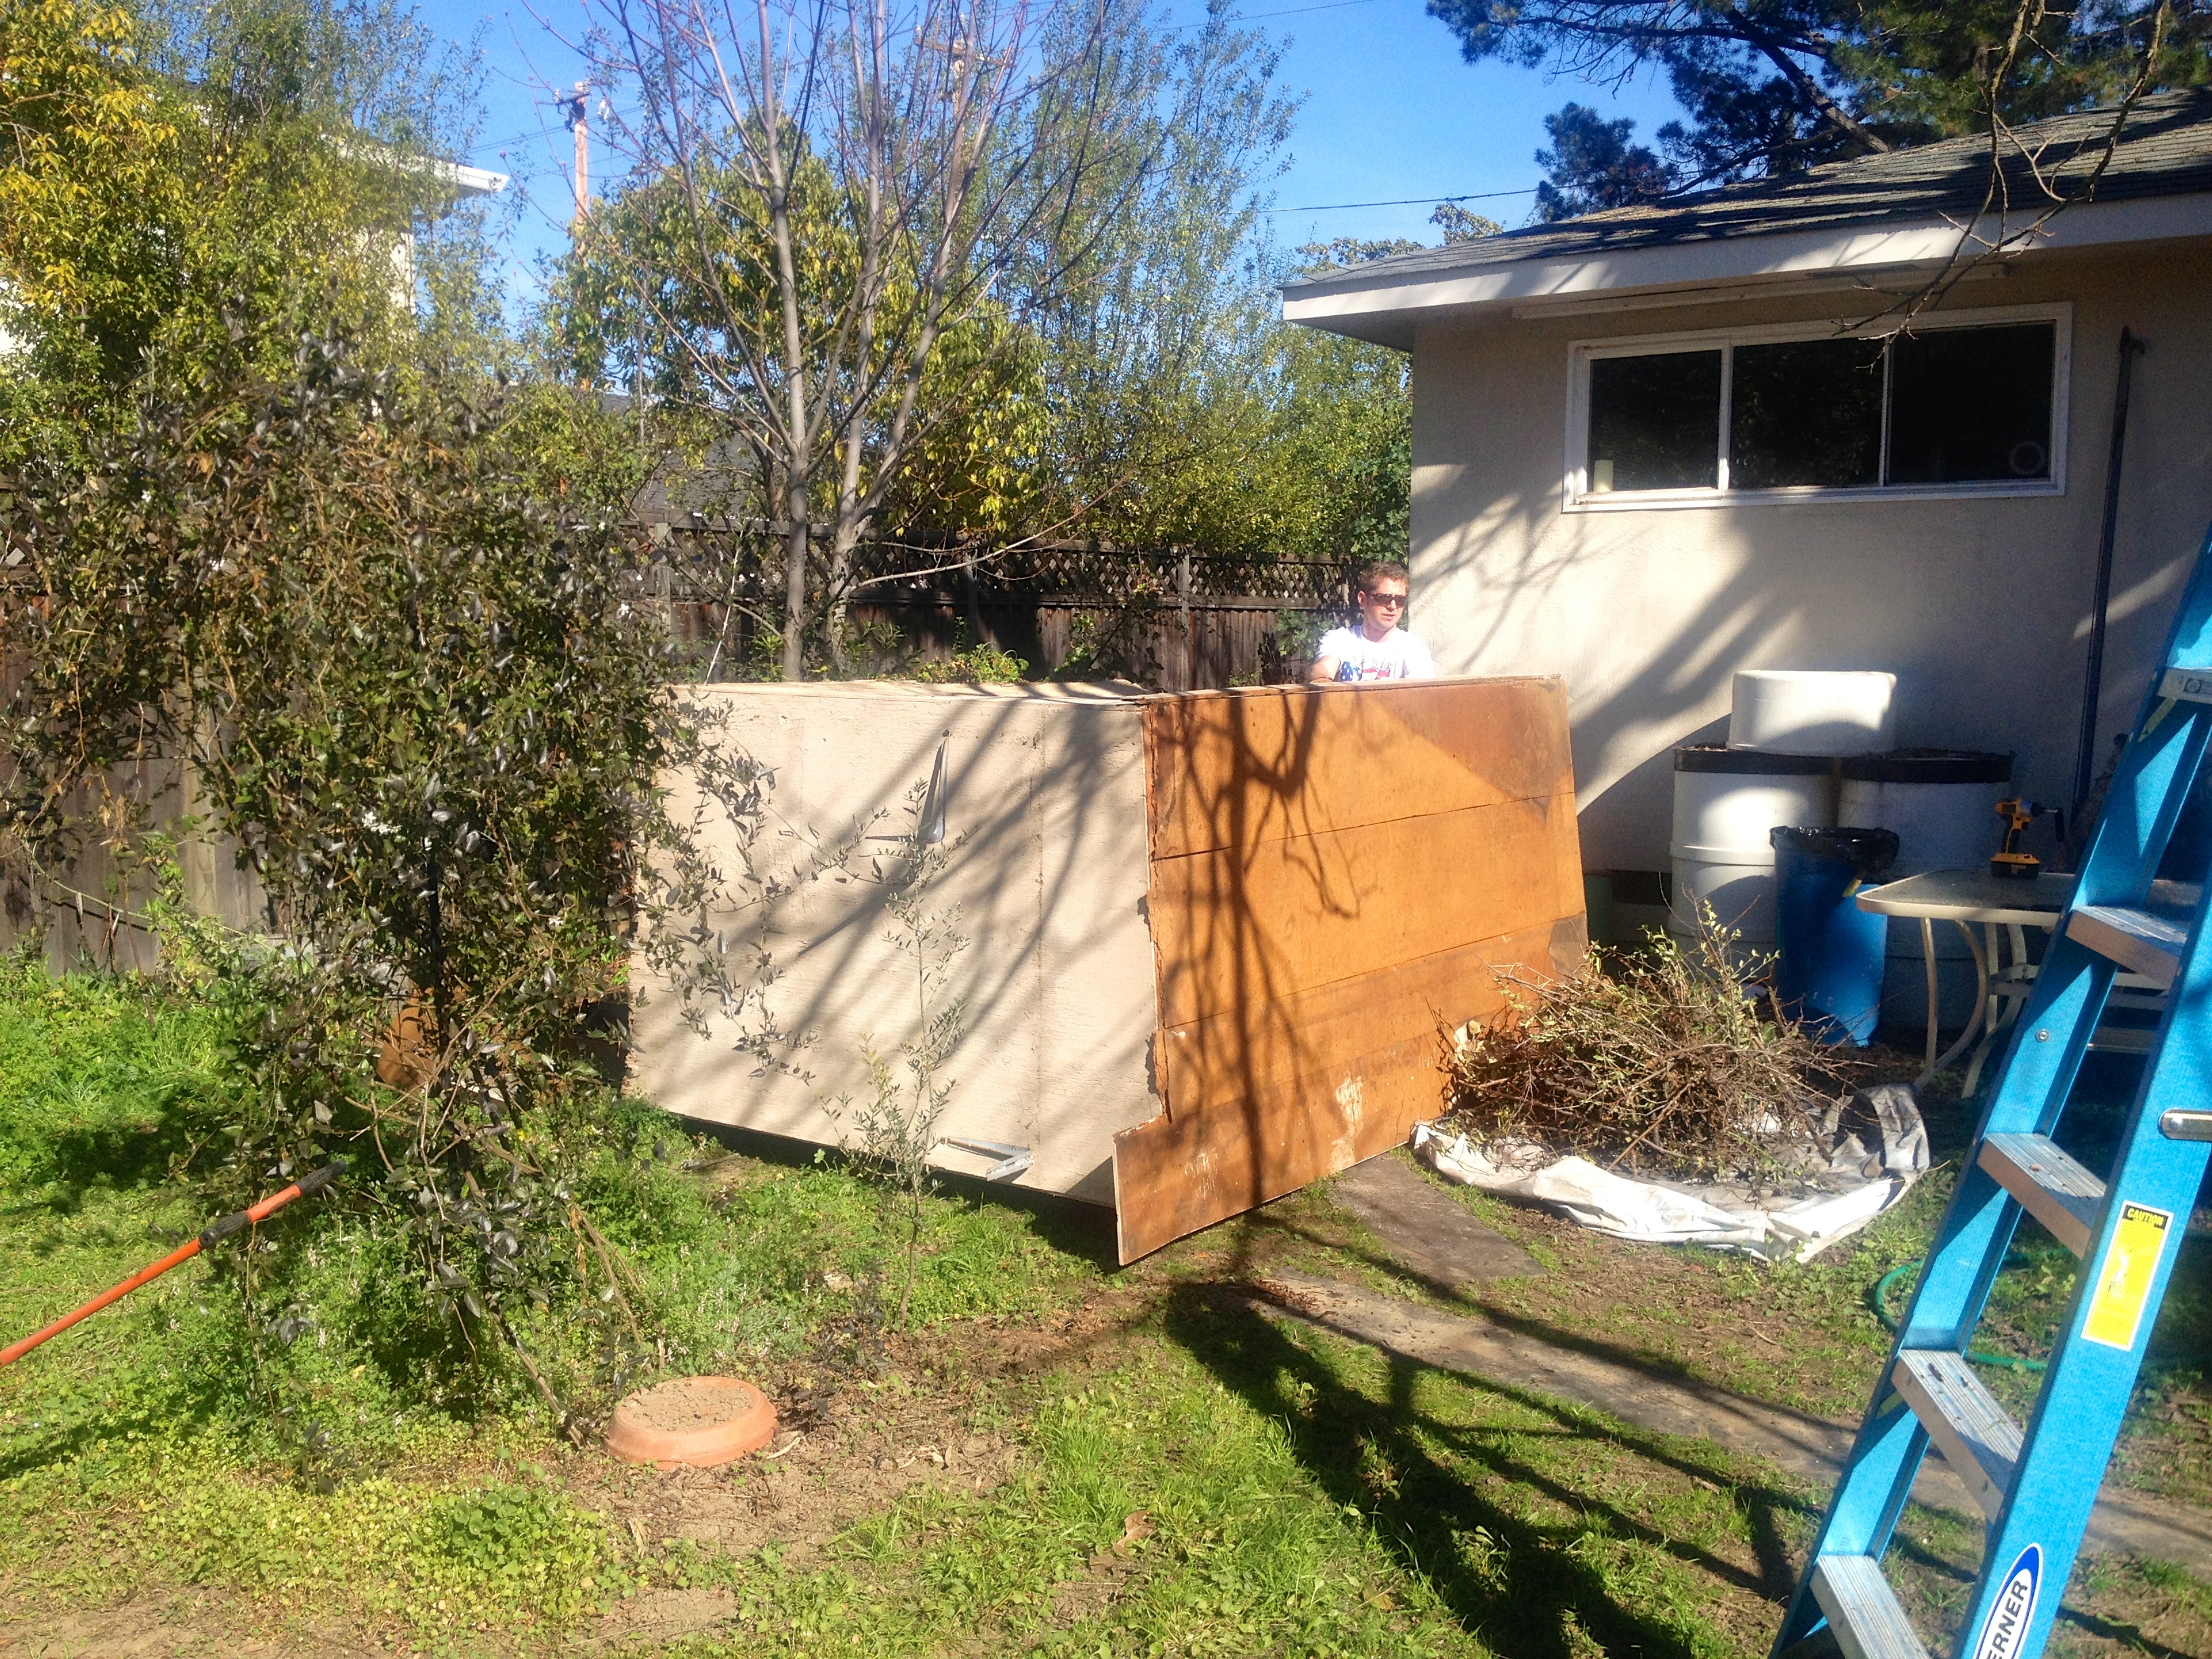
During demo 2: the shed has been toppled!
After a few hours of manual labor, we ended up with this.
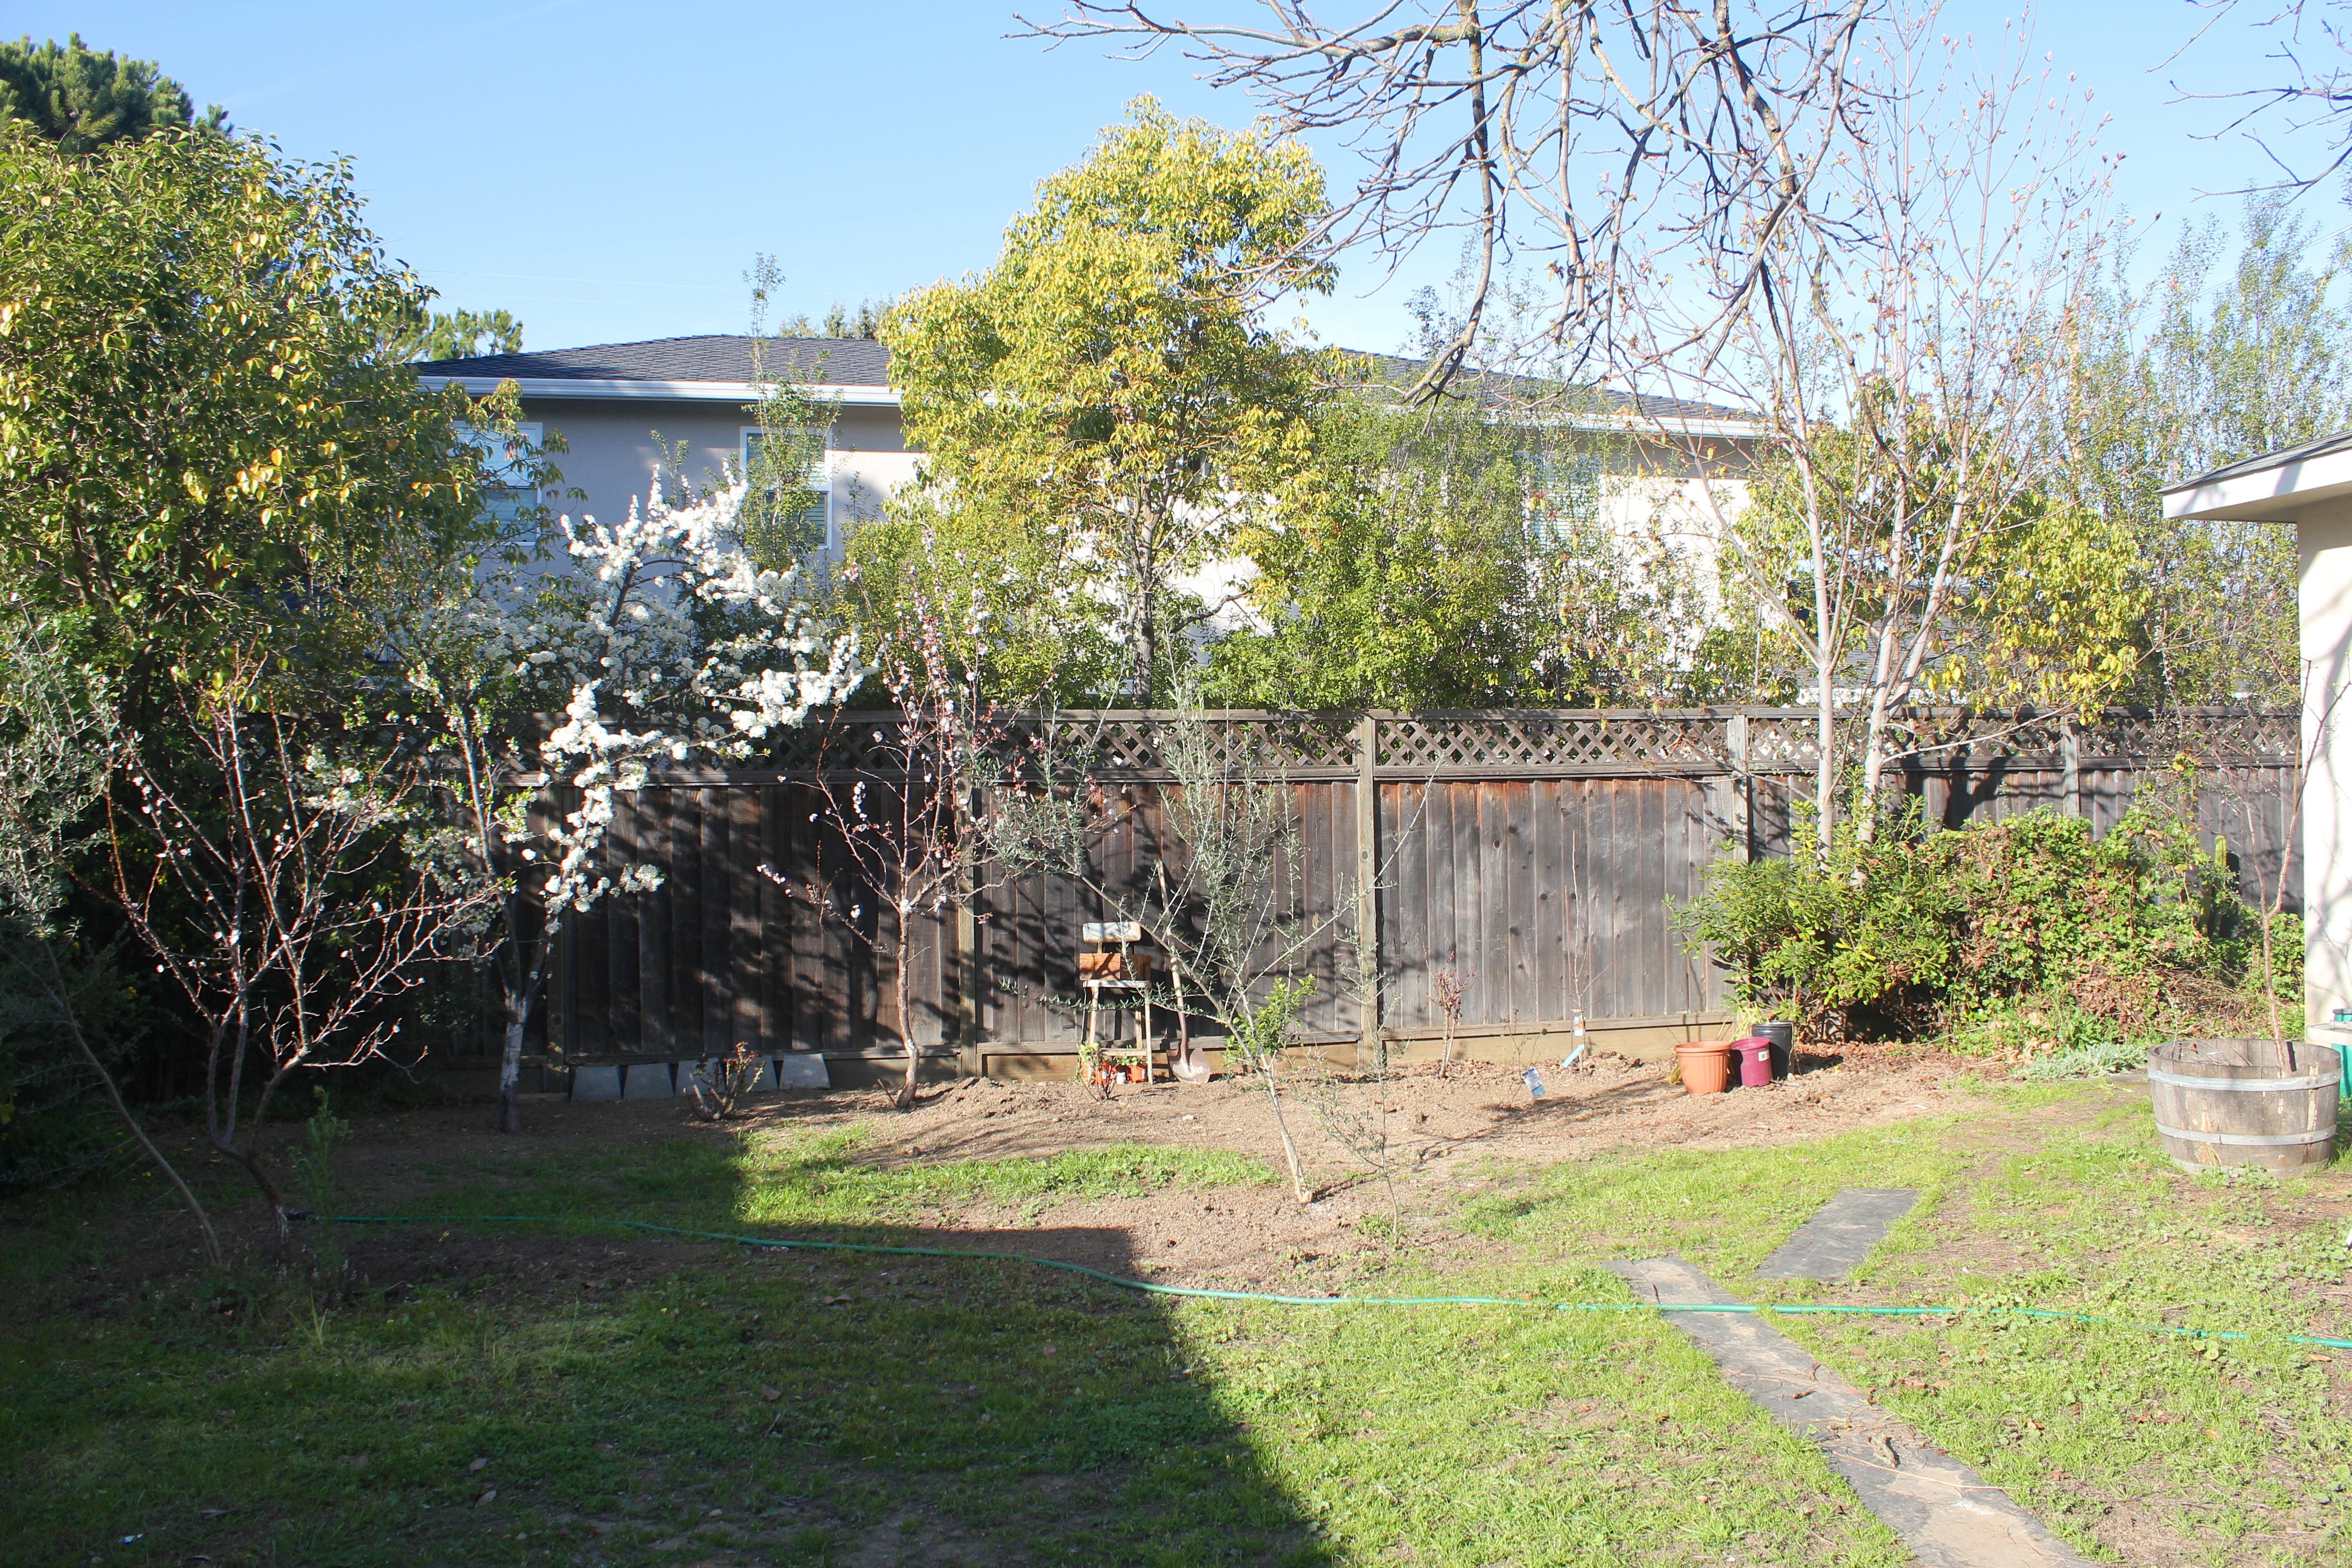
No shed, less weeds, and our own yard art!
And we removed our yard art! But our old yard art was soon replaced by new yard art: we found this old high chair and have sweet peas planted near its legs. We are hoping they grown up over the chair and engulf it, but we’ll see if that works!
I’m not entirely sure what fruit trees we inherited (I think apricot and cherry?), but we added a lime tree (thanks Chels and Brand!), a blueberry bush, and a honey crisp apple tree. We were also able to salvage two rose bushes, and I was given a third from a job site (maybe not given… It was in the green waste bin and I asked if I could have it!). So our four fruit trees are separated by three rose bushes.
Raised planters coming soon 🙂
First, I must apologize to anyone who actually follows this blog for the almost-month-long hiatus. Justin and I have been so busy with projects (and me settling into my new job) that there has been no time for posting! However, now that our many projects that have spiraled into many more are at a good resting point, I’m going to try to post one blog (or two?) every day this week to get you all caught up 🙂
Now, on to the projects!
Remember when we first moved in and tackled our weed patch of a front yard? Well, we have been living in denial that our approach worked to kill the weeds. The weeds came back, and with a vengeance.
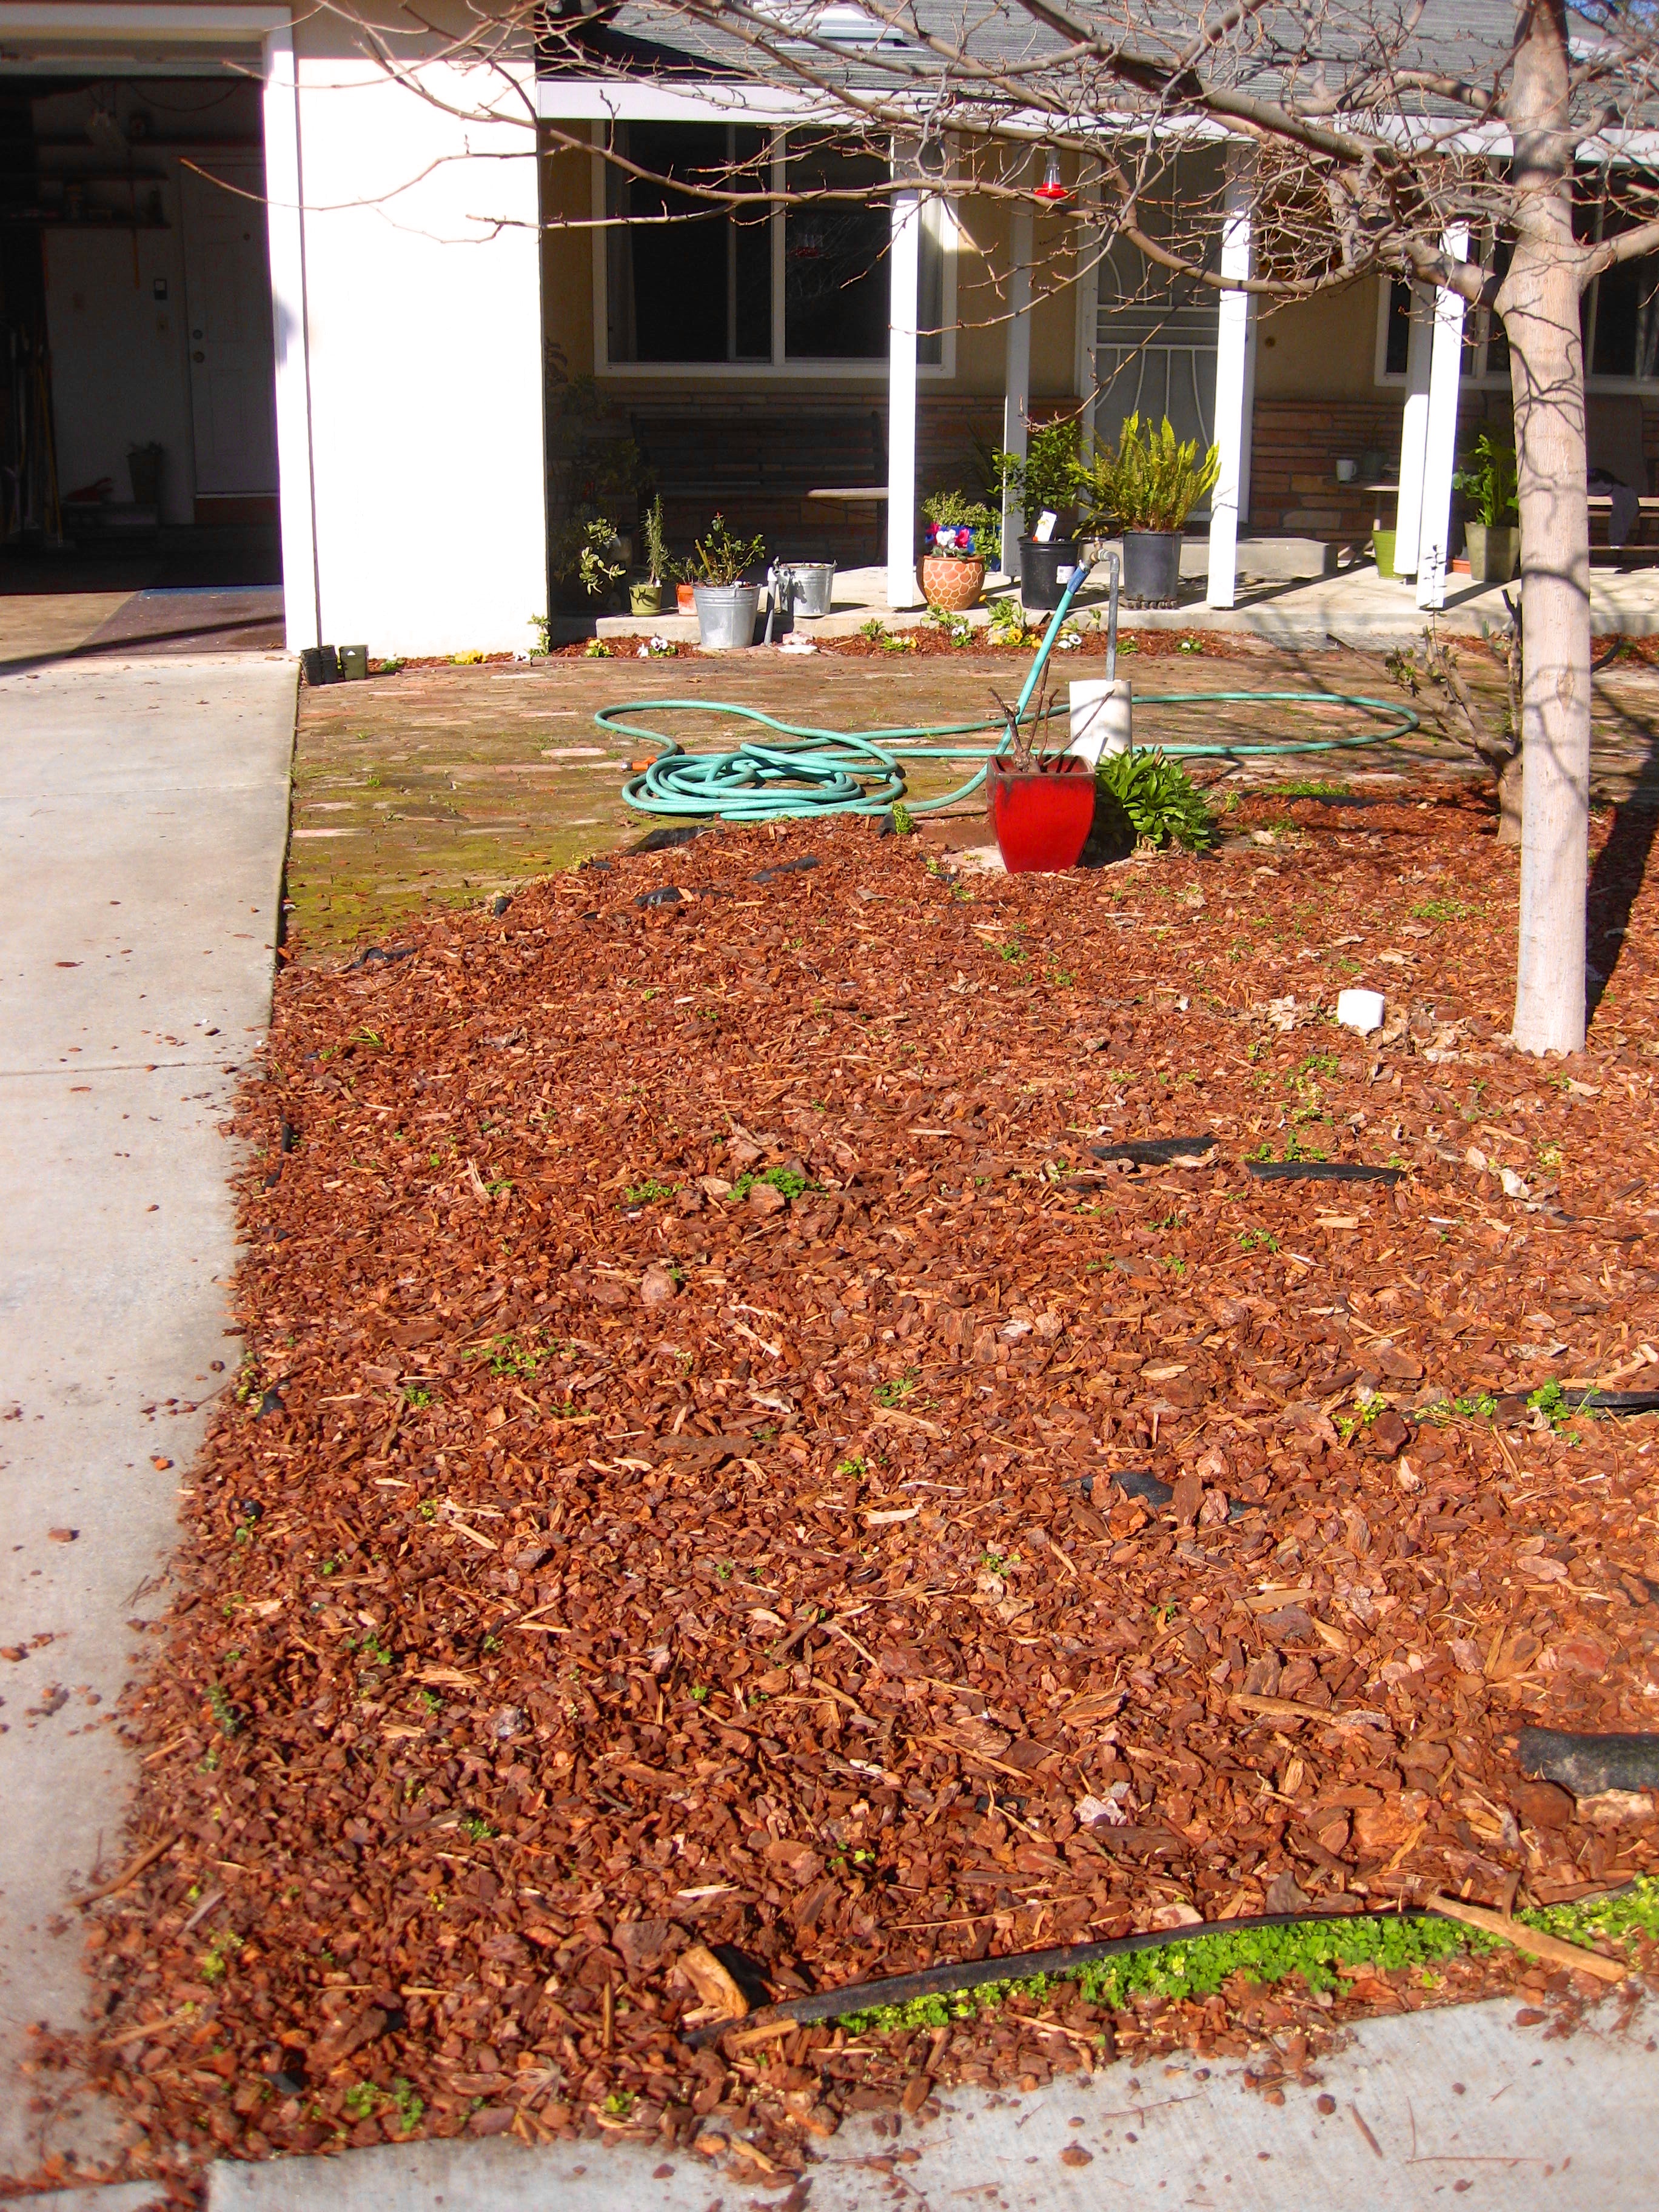
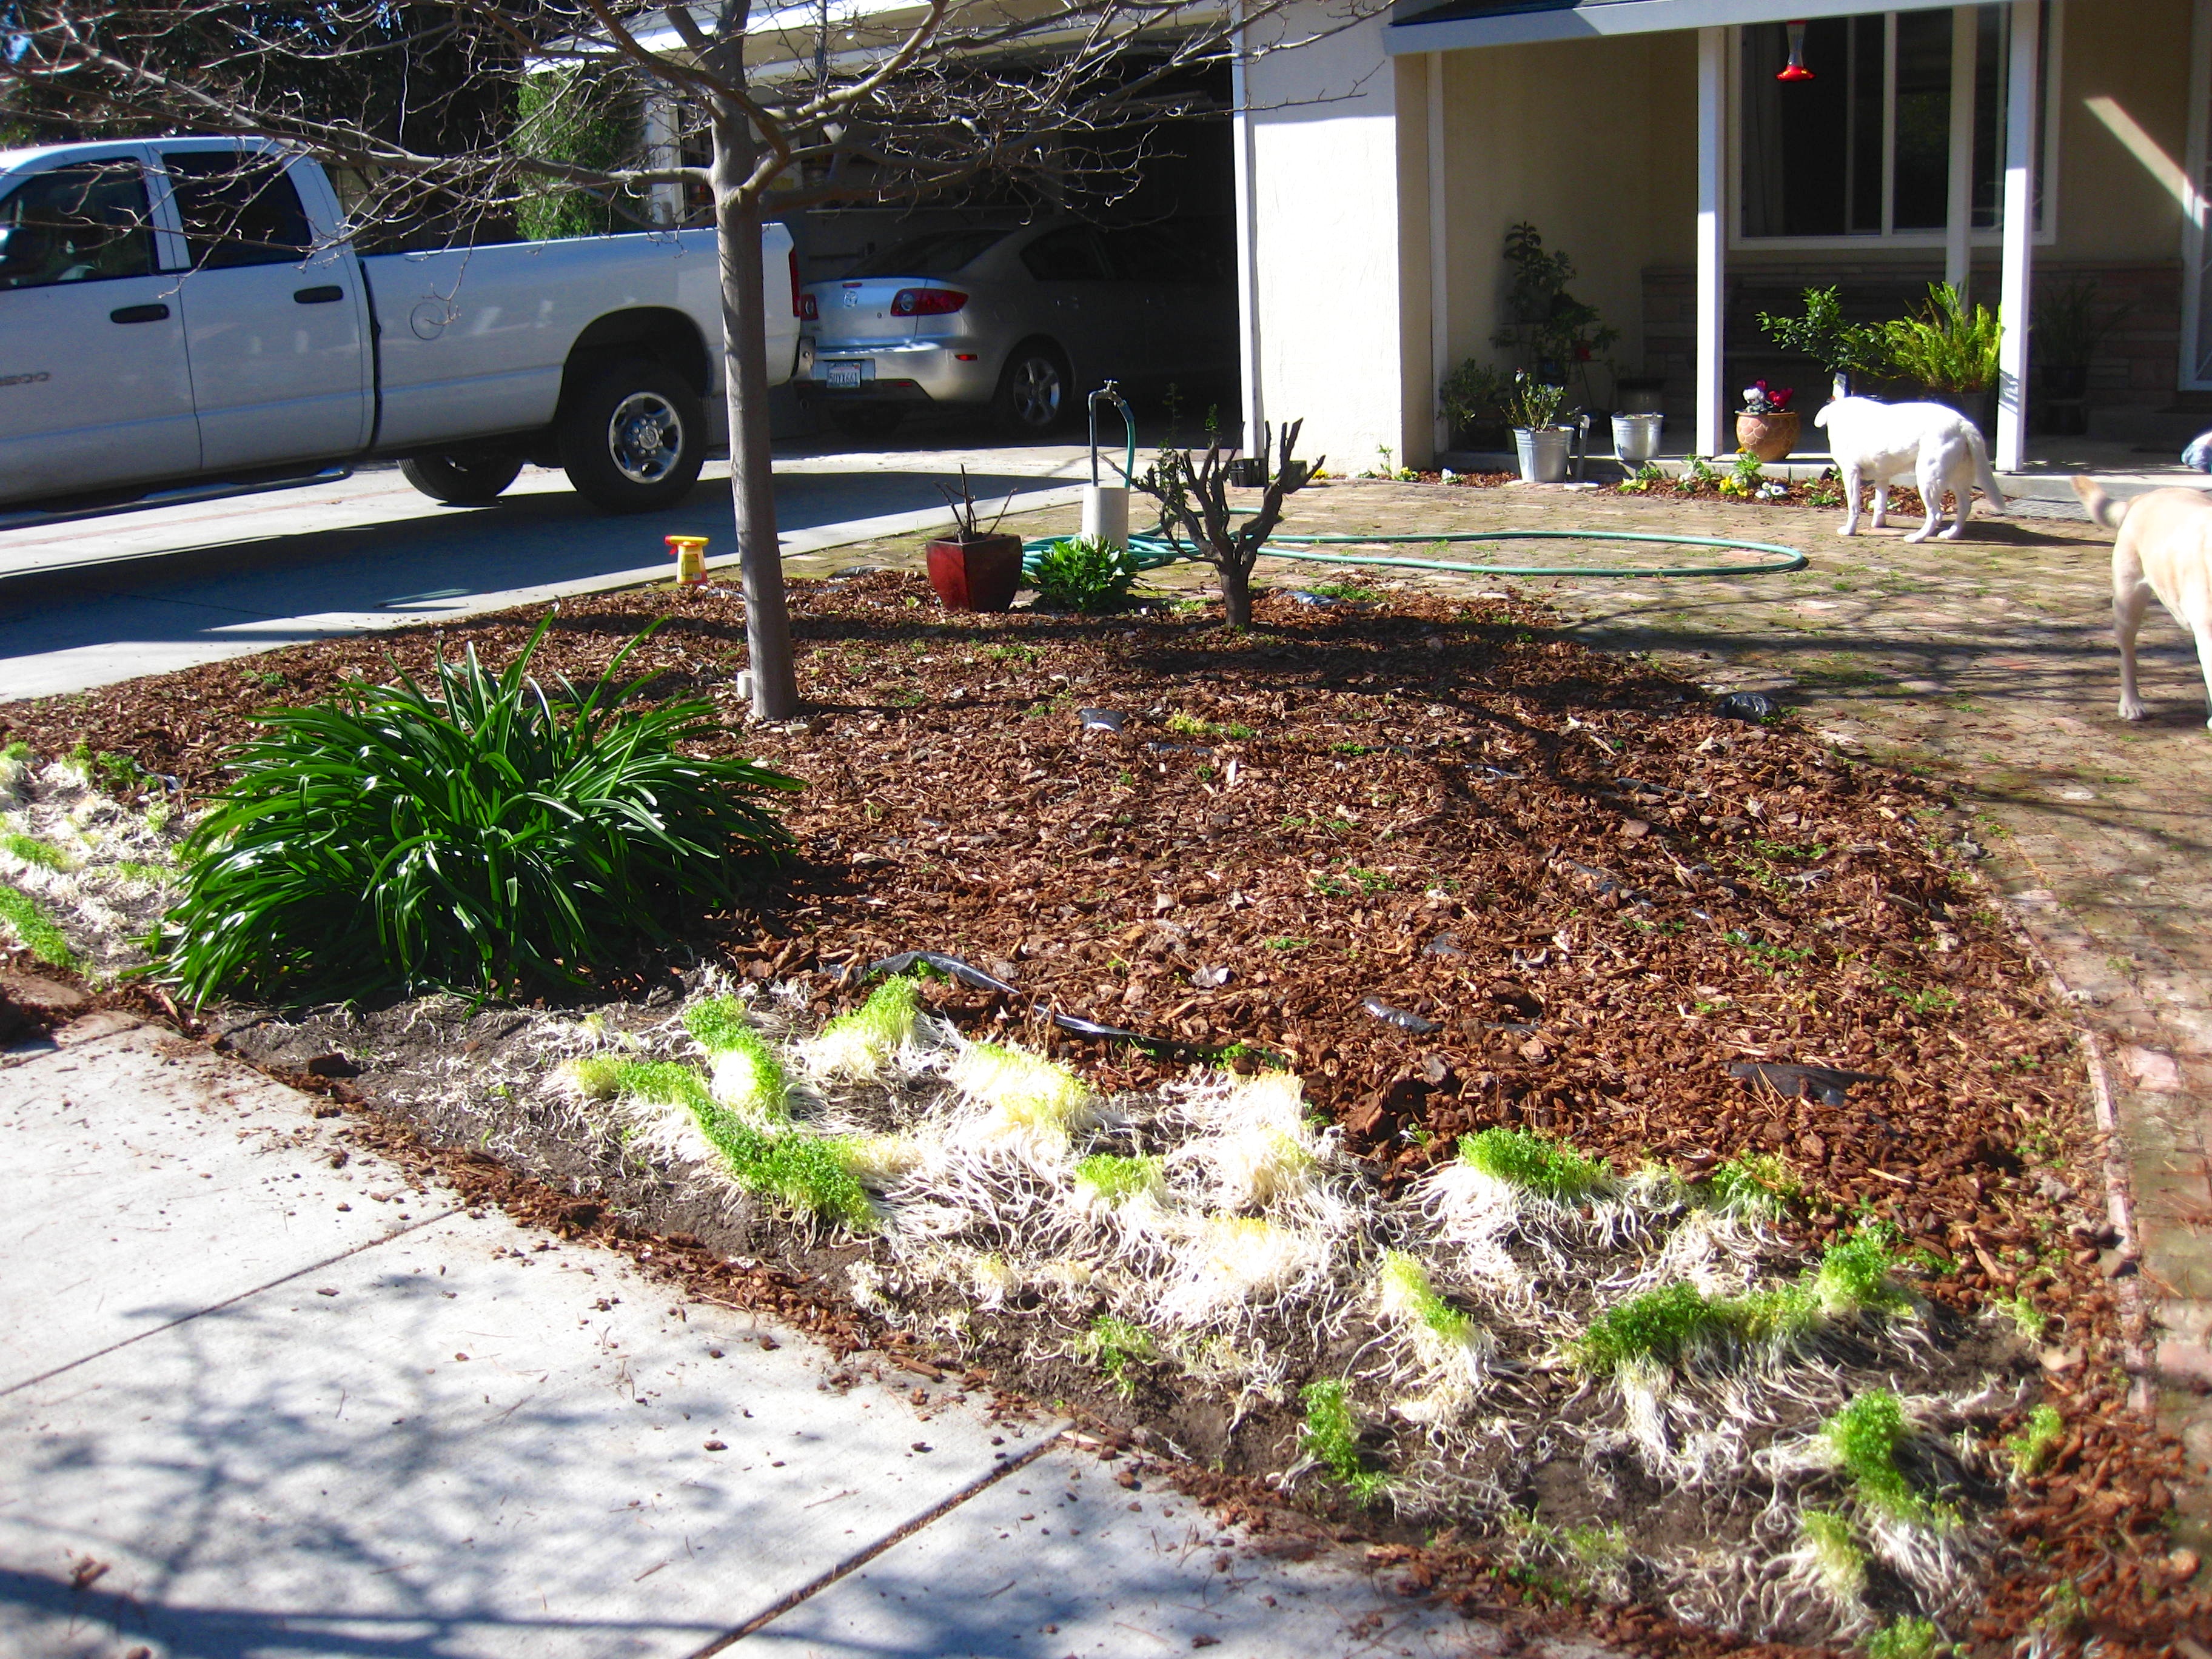
When we pulled up all the weeds the first time around, we lined the whole area with weed cloth, then covered it with redwood bark. Over the last few weeks/months, we have started to notice that the front yard seems a little hilly. Like the weeds were growing up under the weed cloth and causing little mountains of redwood bark. Actually, it didn’t seems that way. That was exactly what had happened!

I don’t think this picture really does it justice. Maybe the next one is better? But if you look closely, you can see lines of green weeds that have come up between the layers of weed cloth…
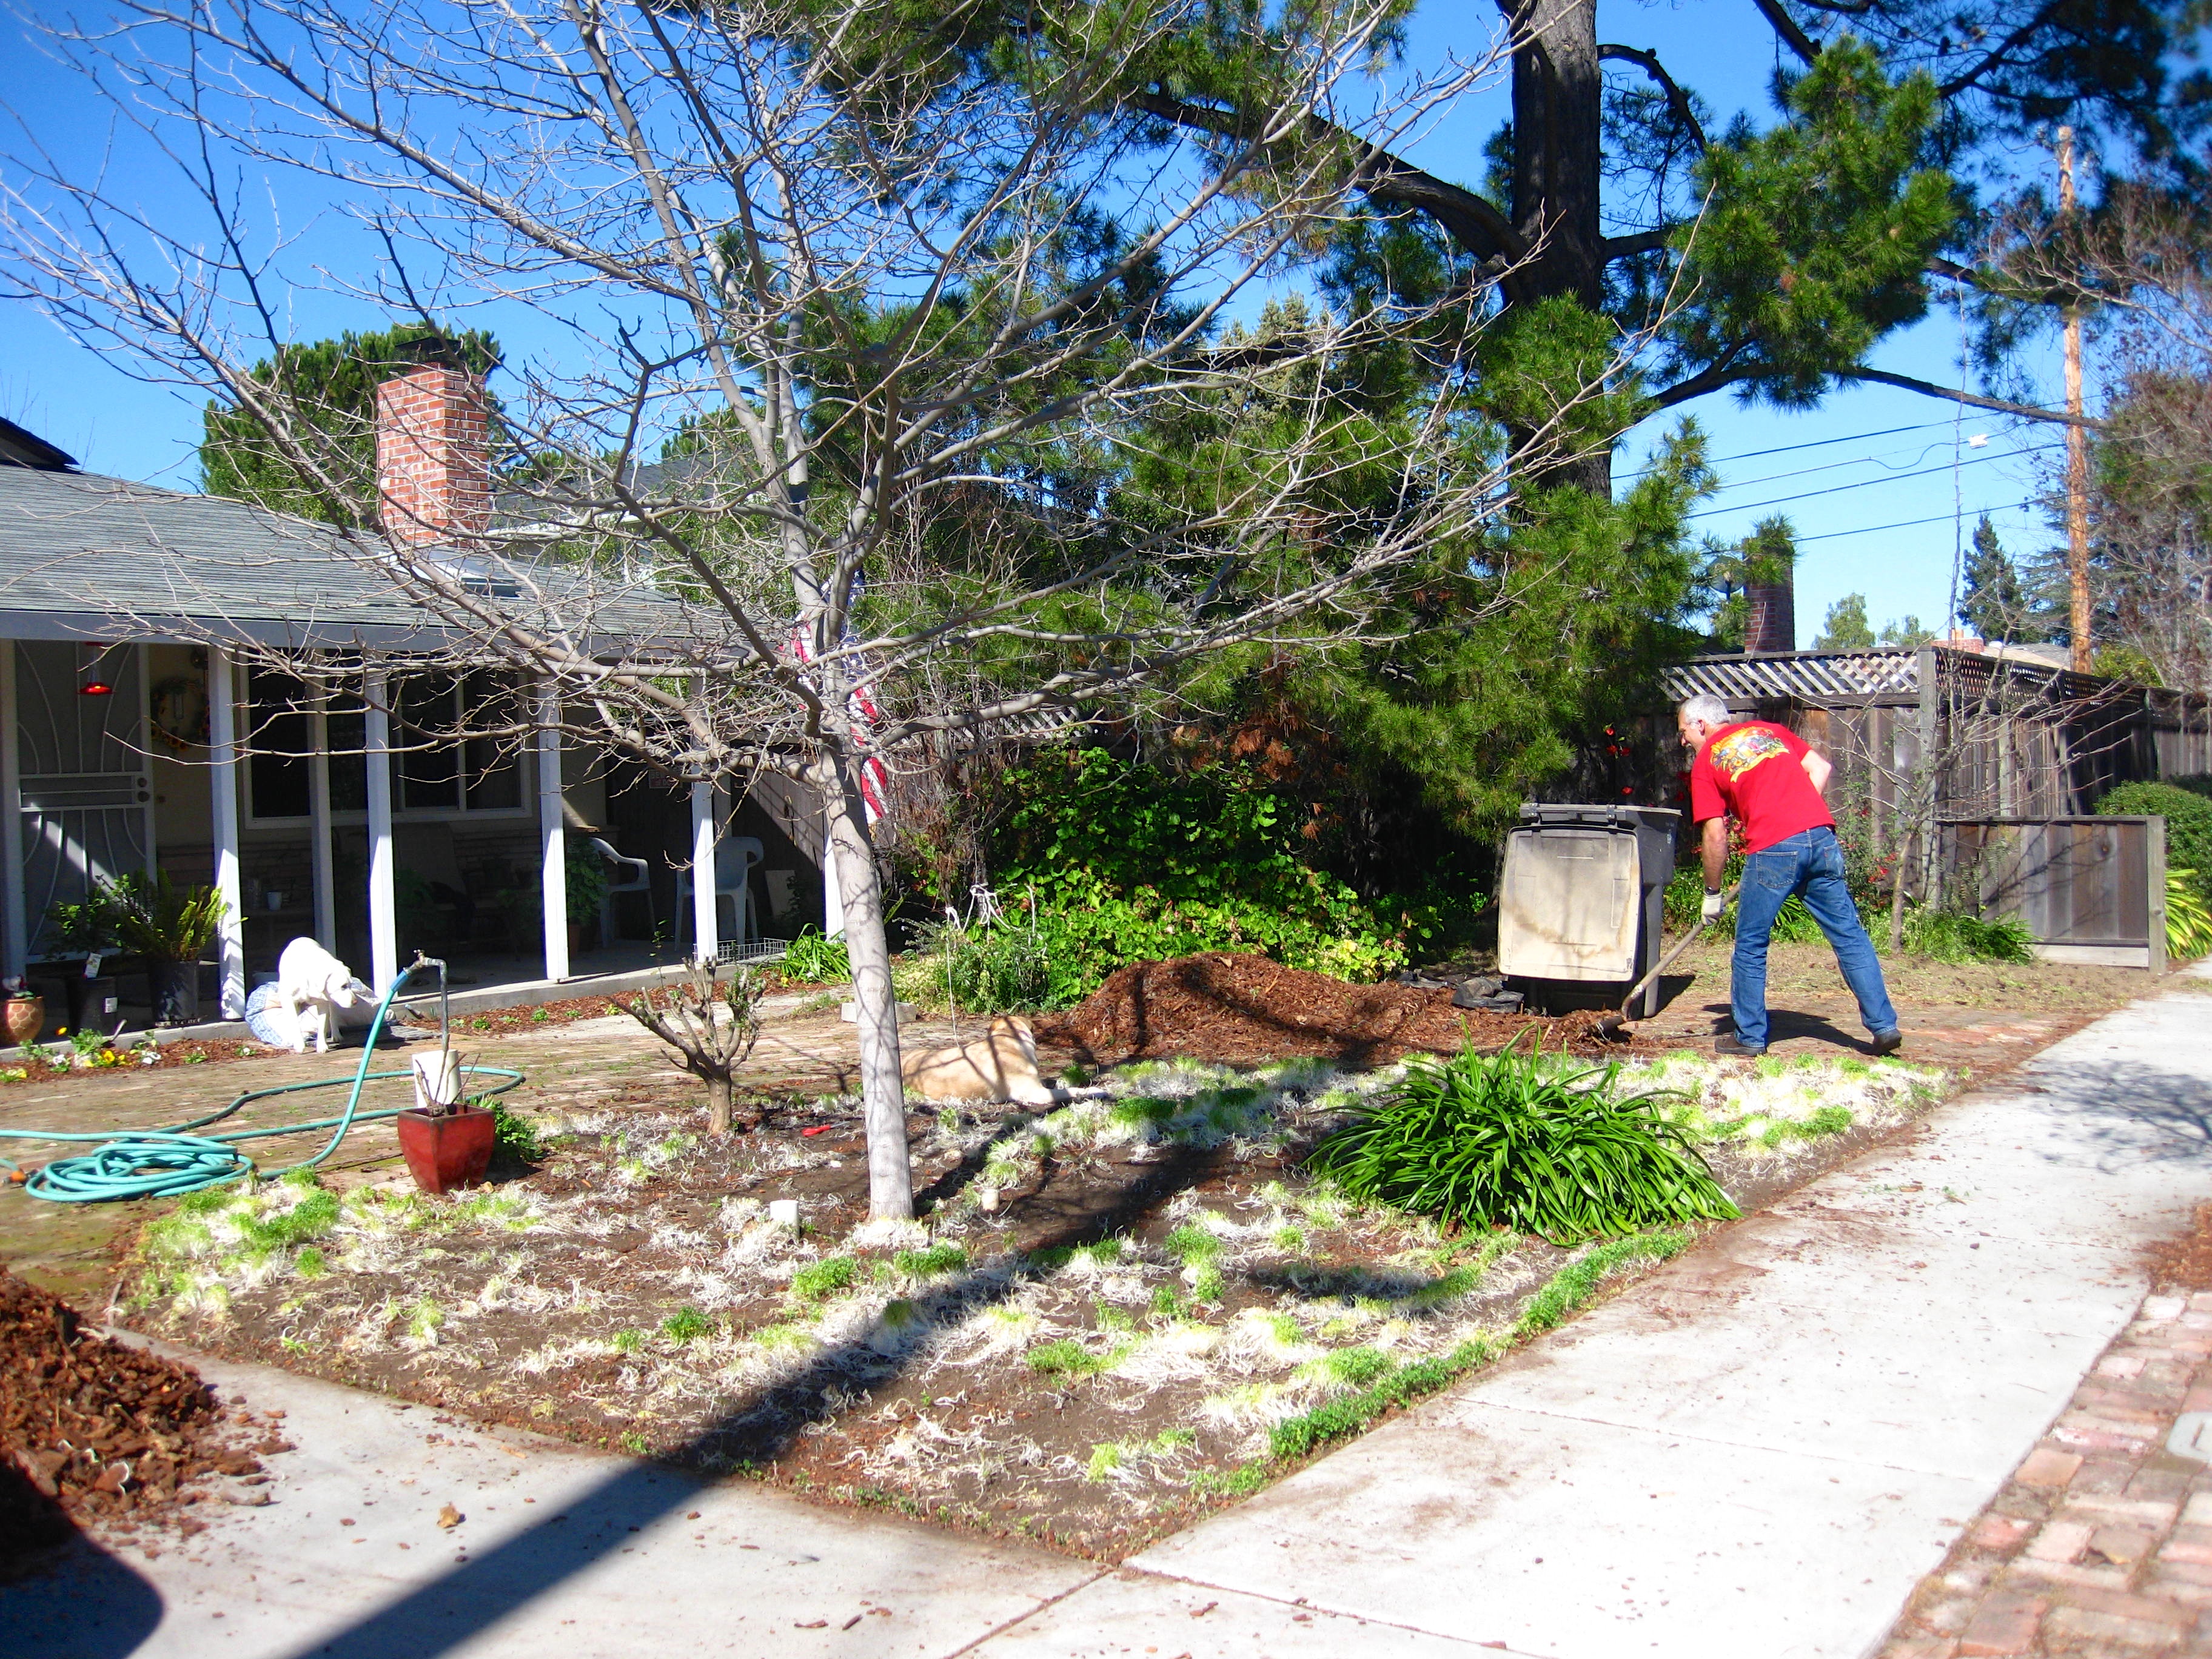
My dad mentioned a kind of weed deterrent called emergent weed killer. I don’t know if that’s exactly what it’s called, but just go with it for now. It’s supposed to keep weeds from growing back, not necessarily kill weeds that you already have. So I convinced my wonderful father to spend a day with me, re-weeding and finding and using emergent weed killer.
We pulled back the redwood bark, pulled up the weed cloth, and found that not only had the weeds come back, but they had started to poke holes in the weed cloth and grow right through it! I kid you not.
We pulled back one layer of bark and weed cloth at a time… and look at those weeds!!! I didn’t think it would be that bad!
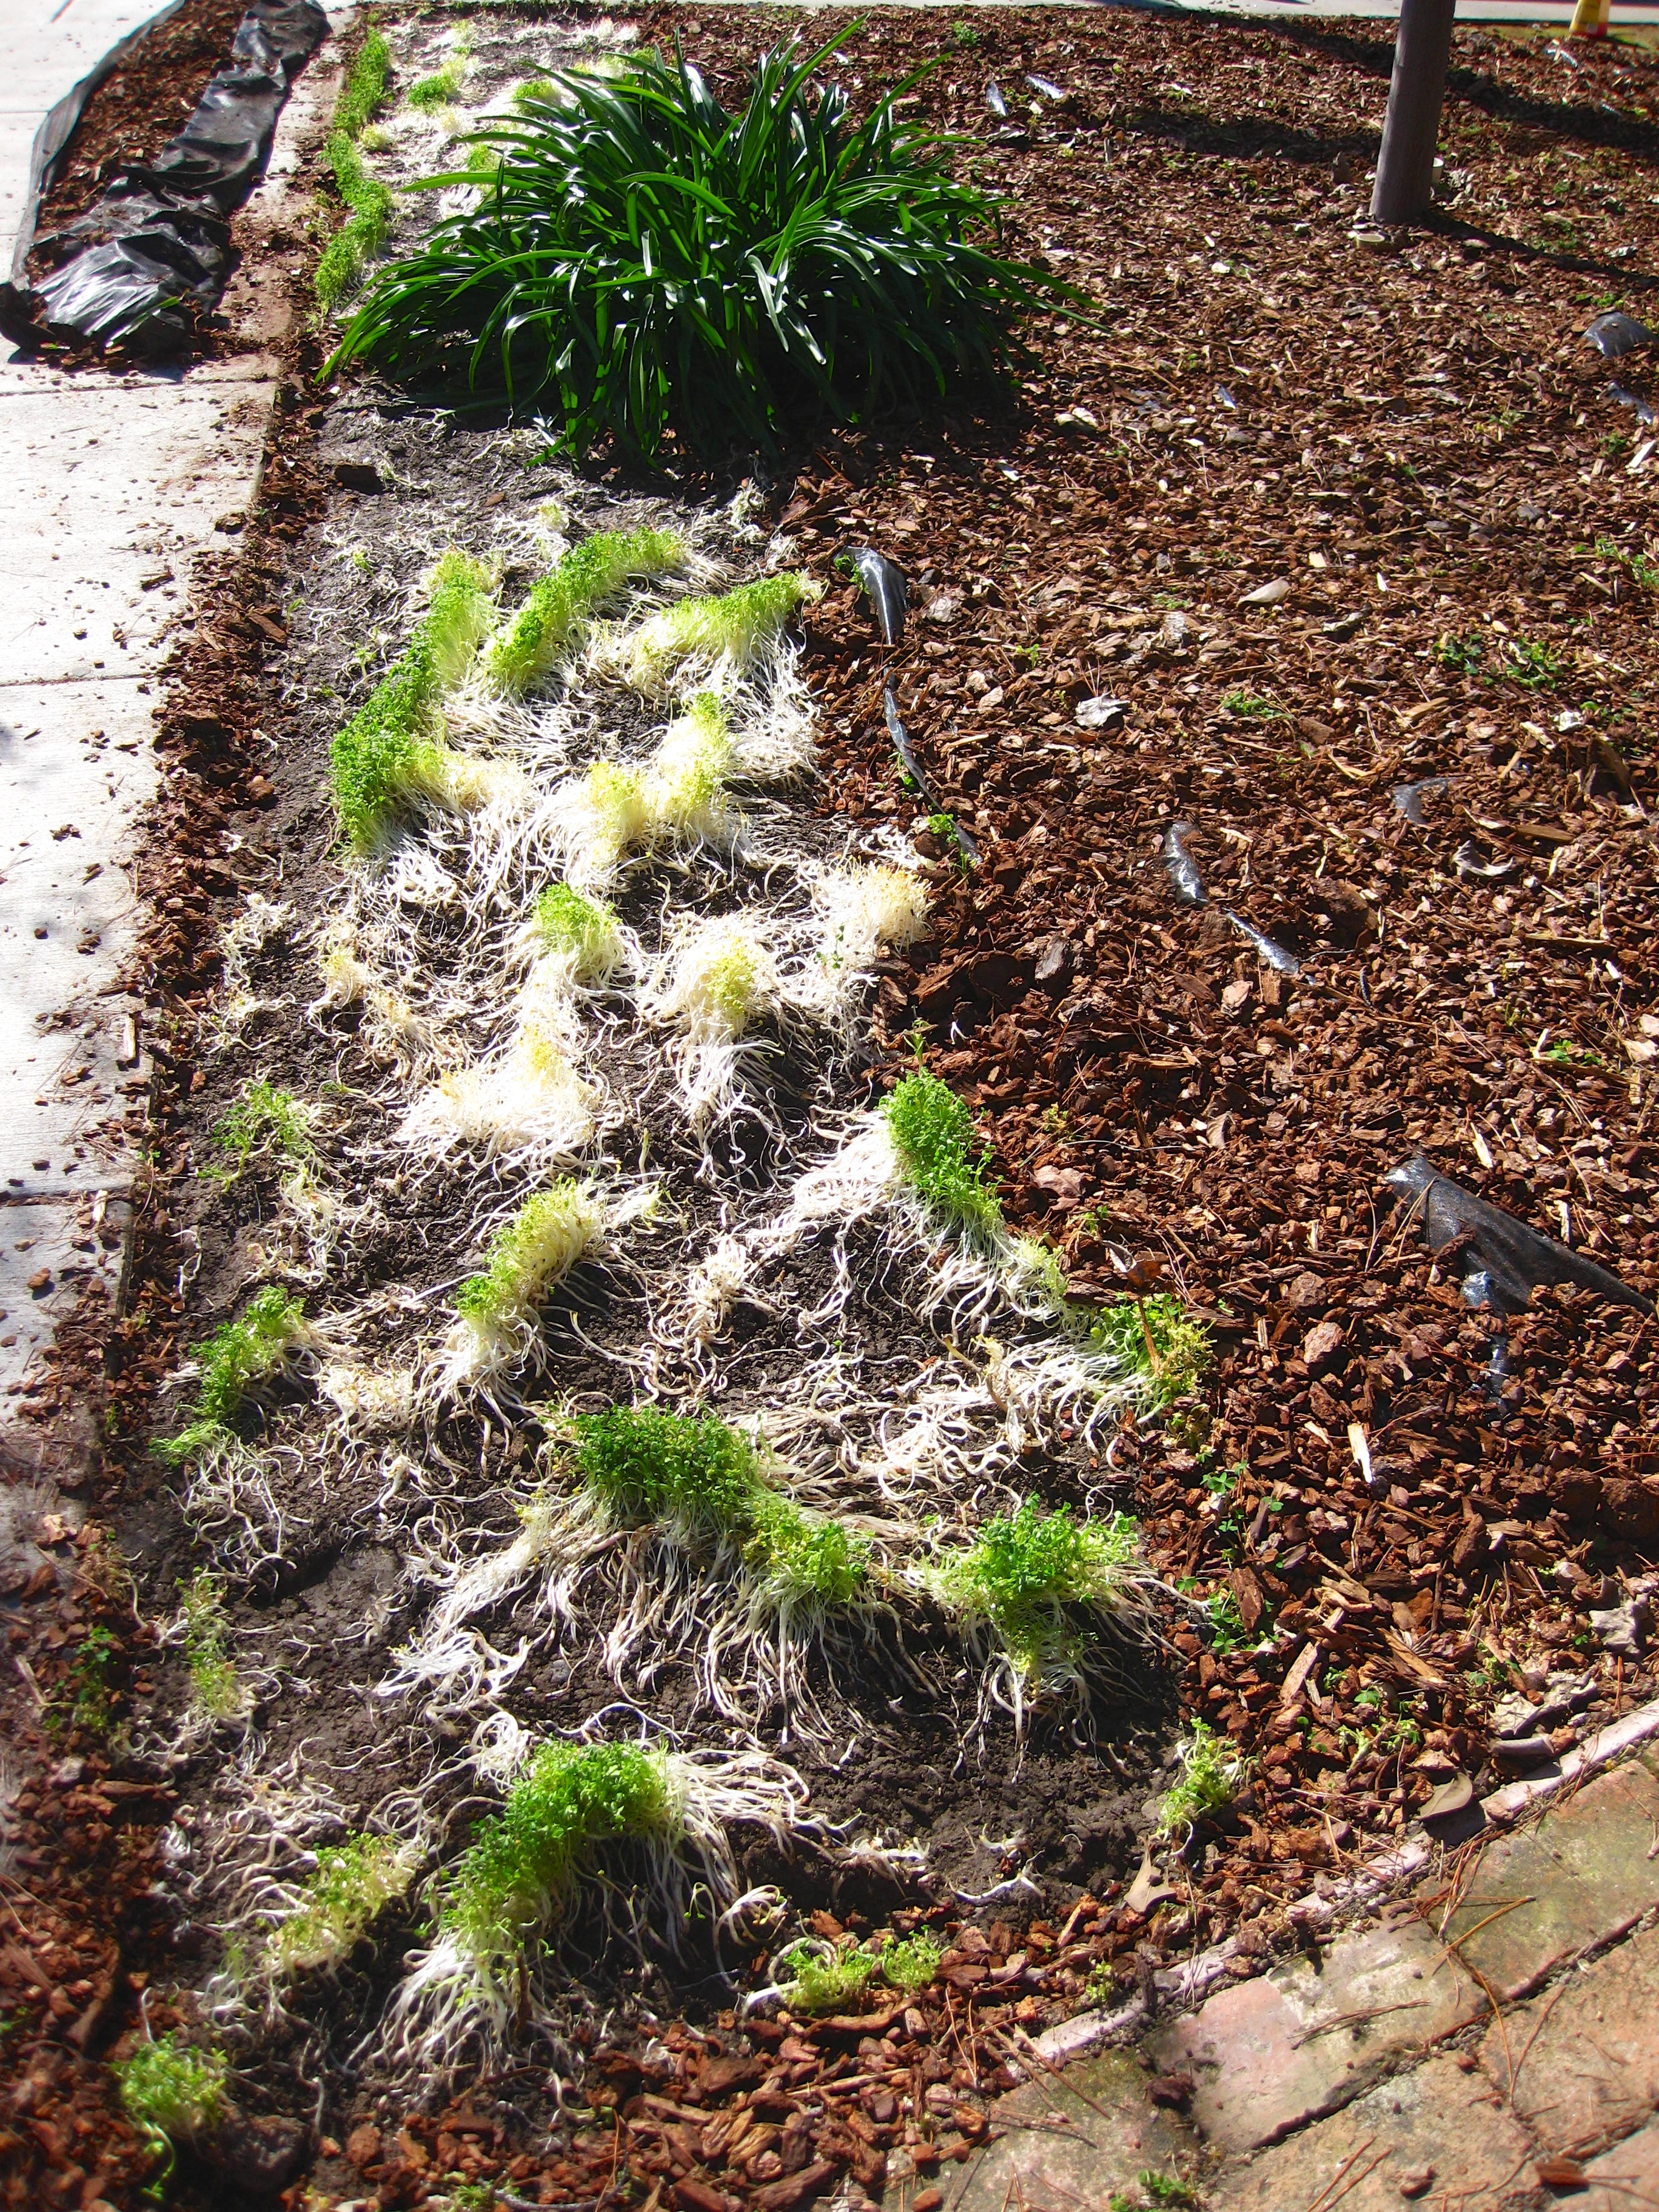
There are no words….
Needless to say, I owe my dad for his help on this one. It would have take me forever alone and I’m not sure I would have had the motivation to tackle this on my own!
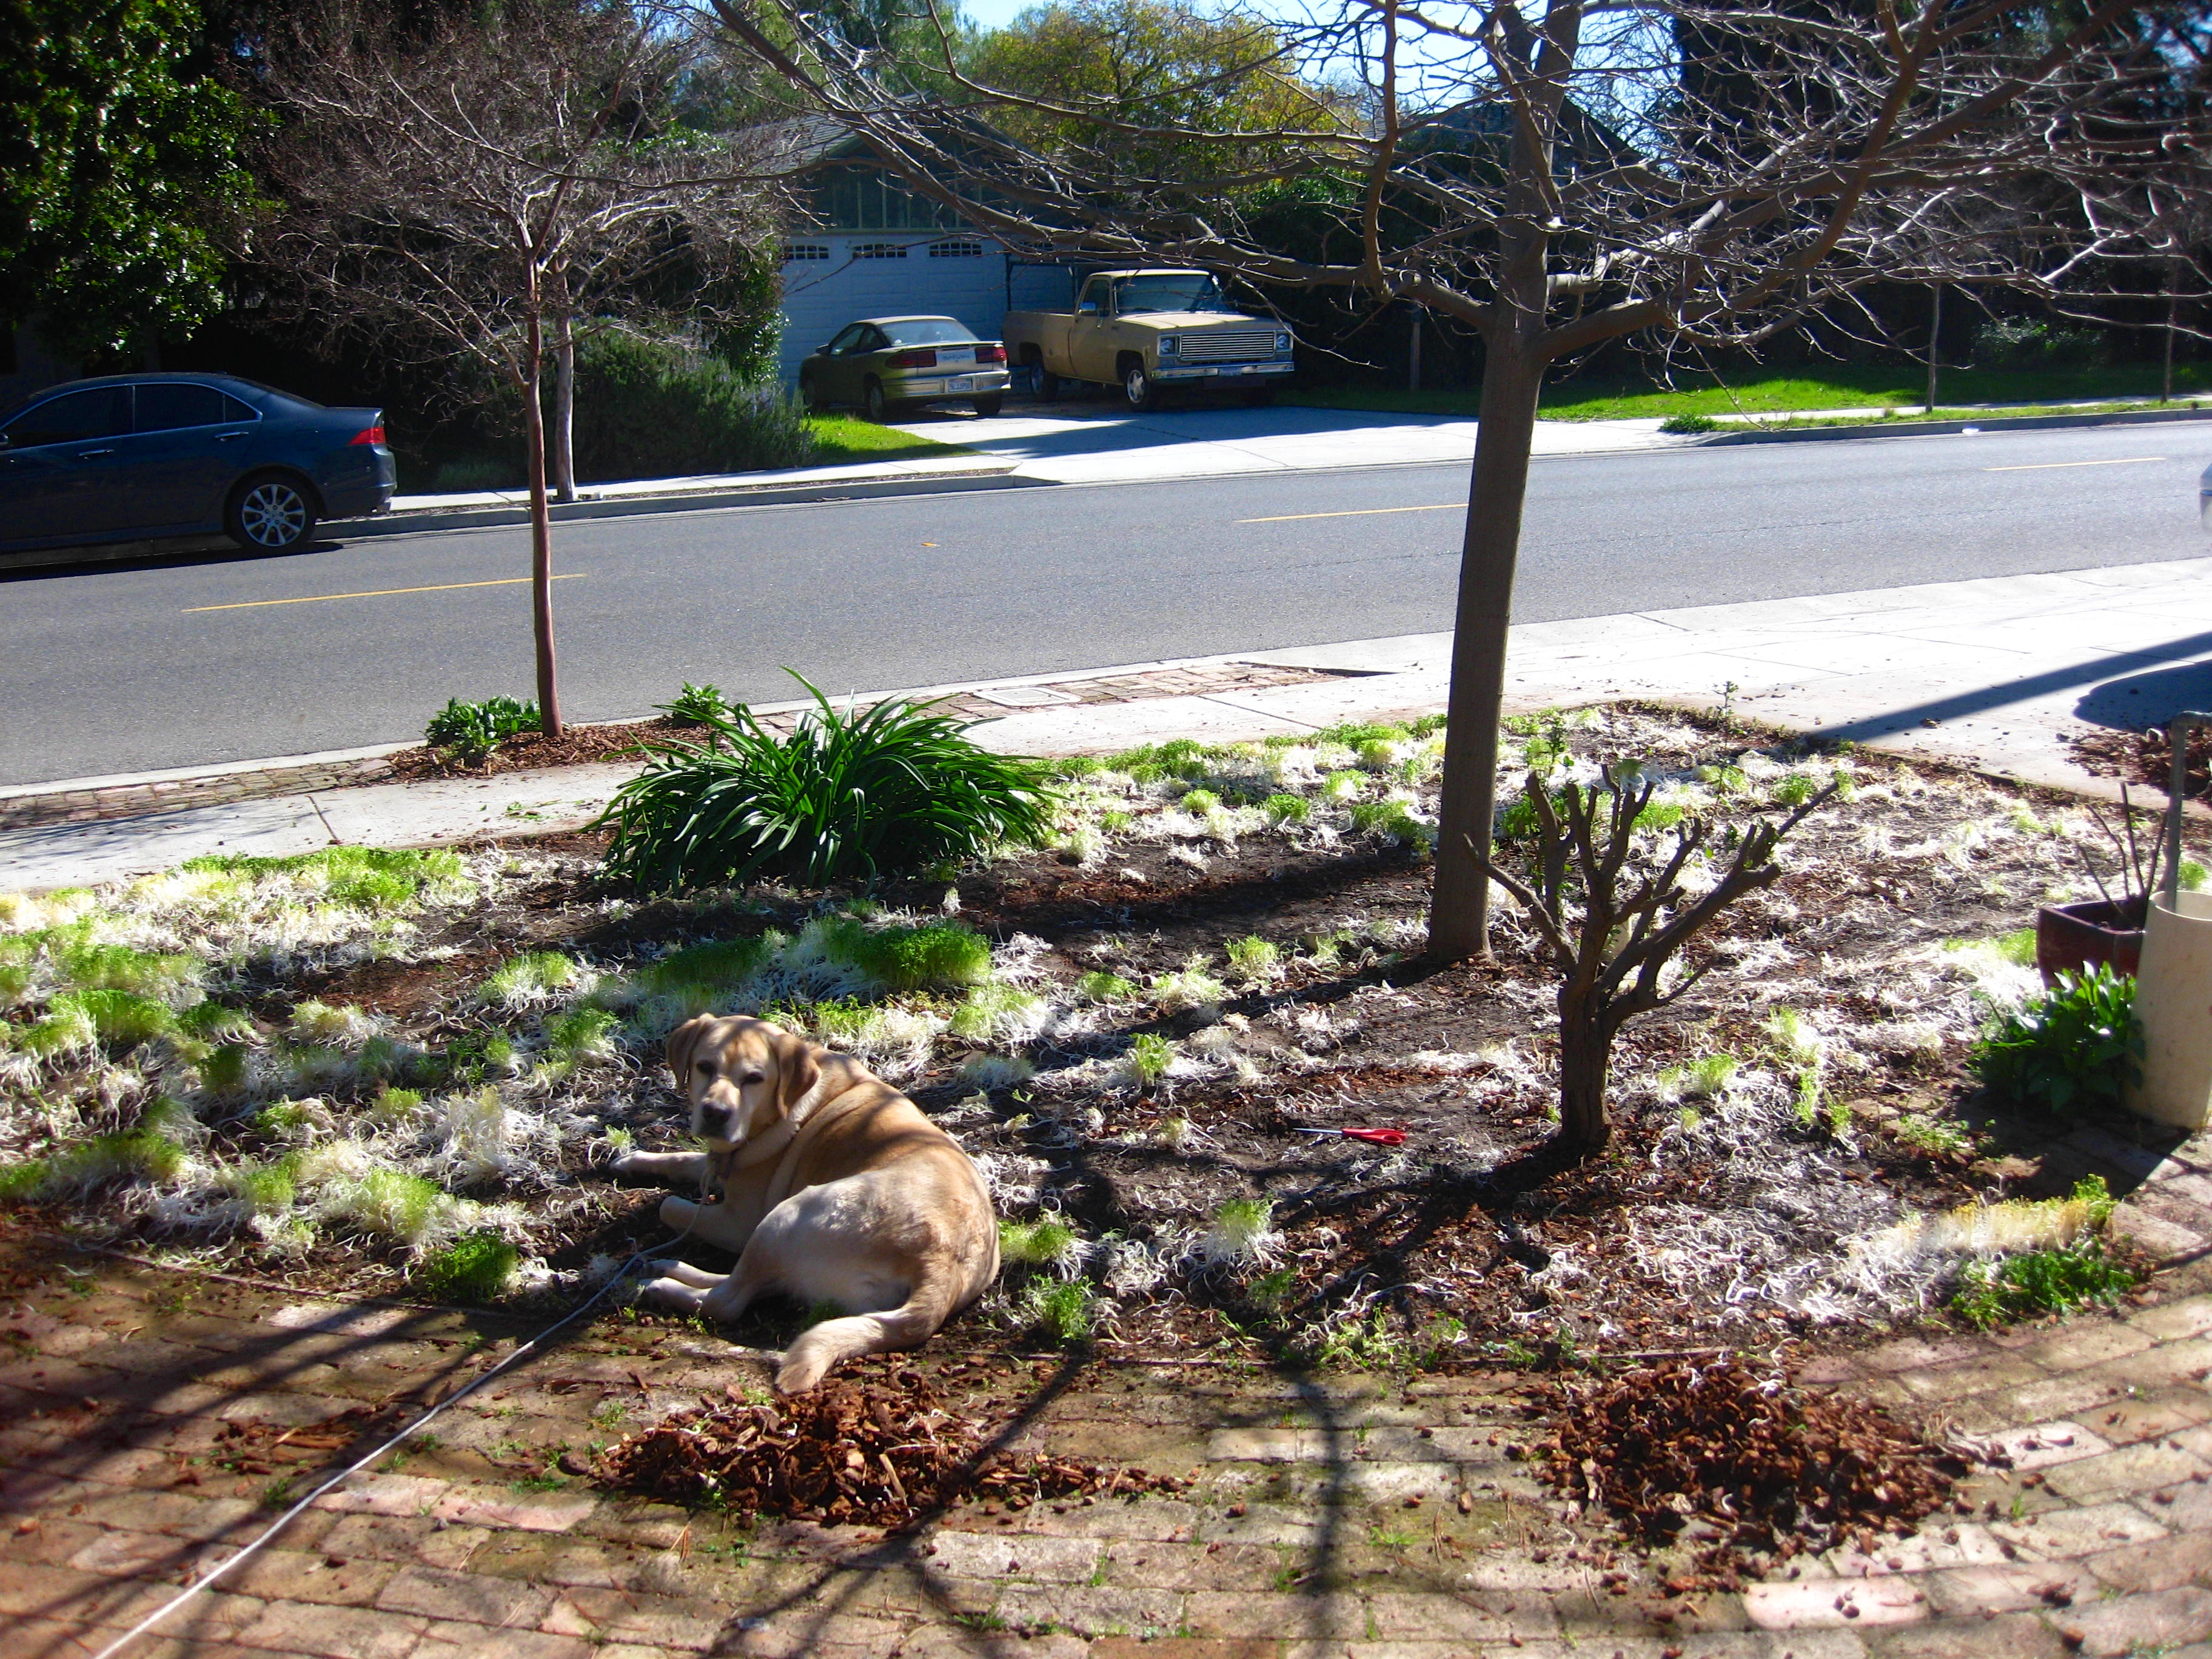
Sophie liked the weeds…
All weeds exposed. What a mess!
It may not look much different, but I think it does. And if we waited any longer, the project would have been twice as big and our “hills” much more noticeable!
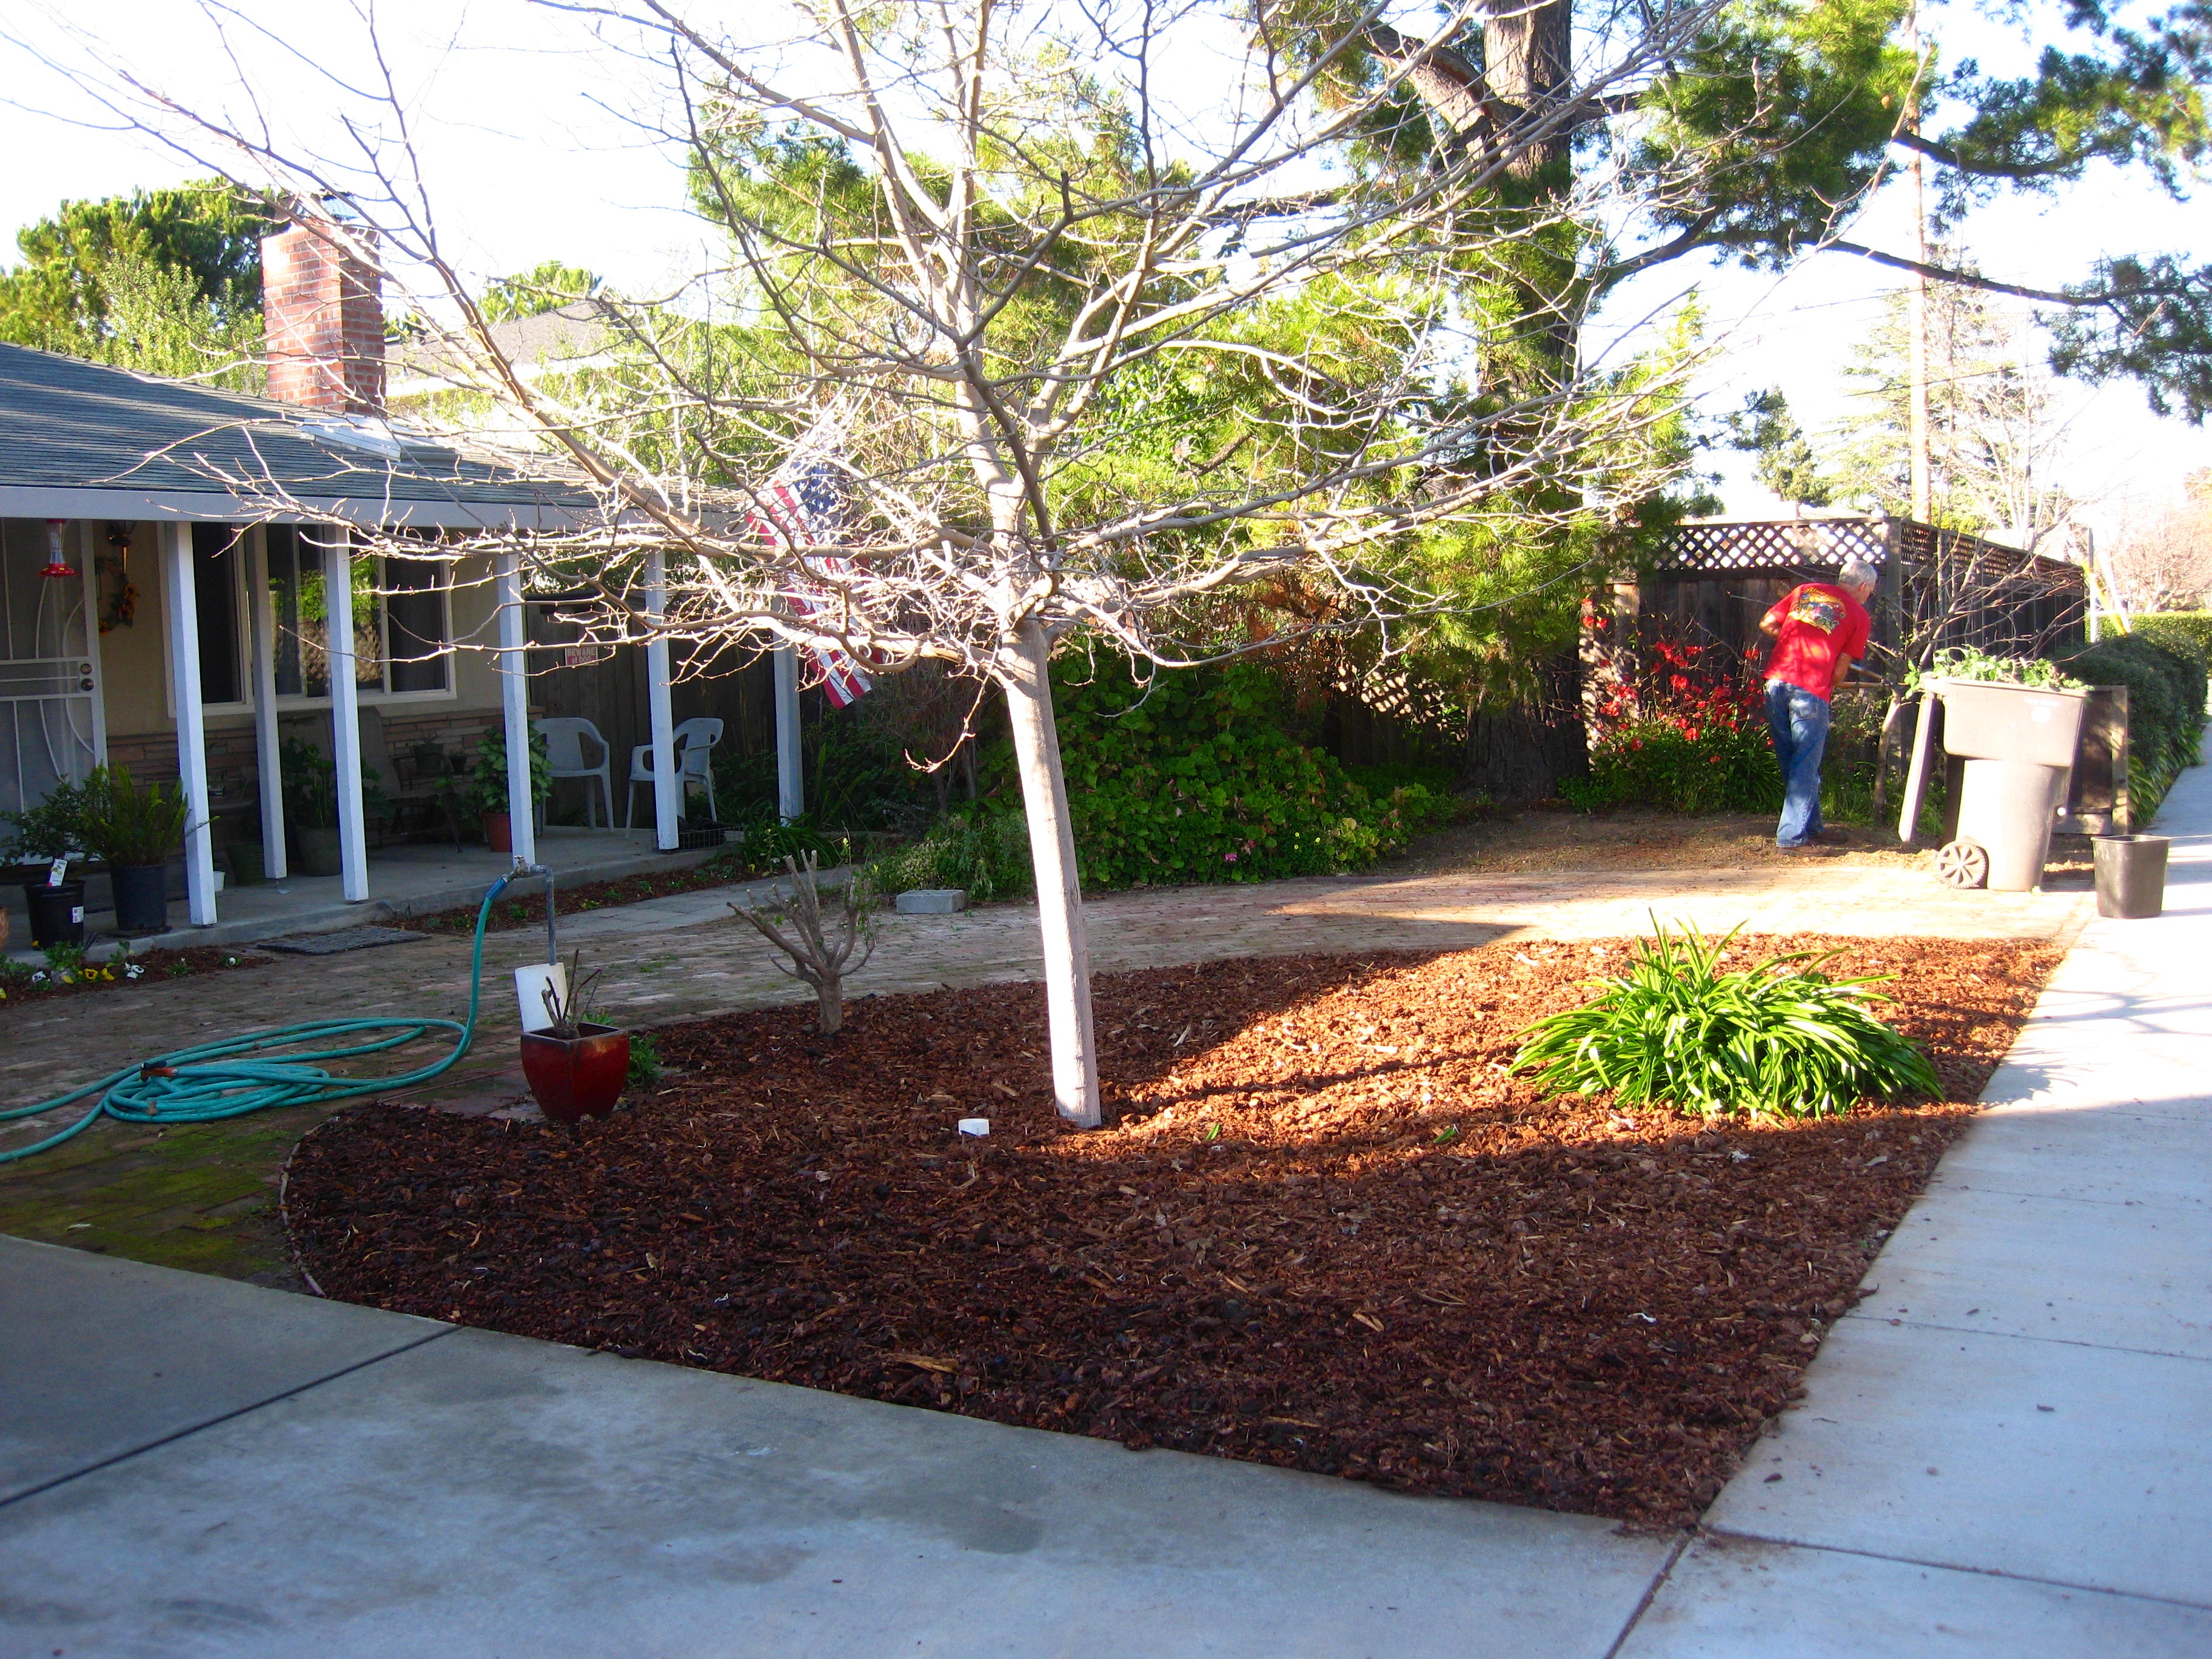
All done 🙂 Hopefully this time it works!
Ten points to anyone who can guess what I’m talking about. No one? This is how my sisters and I described alpacas to a good friend who had never heard of them. And it’s a pretty accurate description, don’t you think? I mean look at that hair!
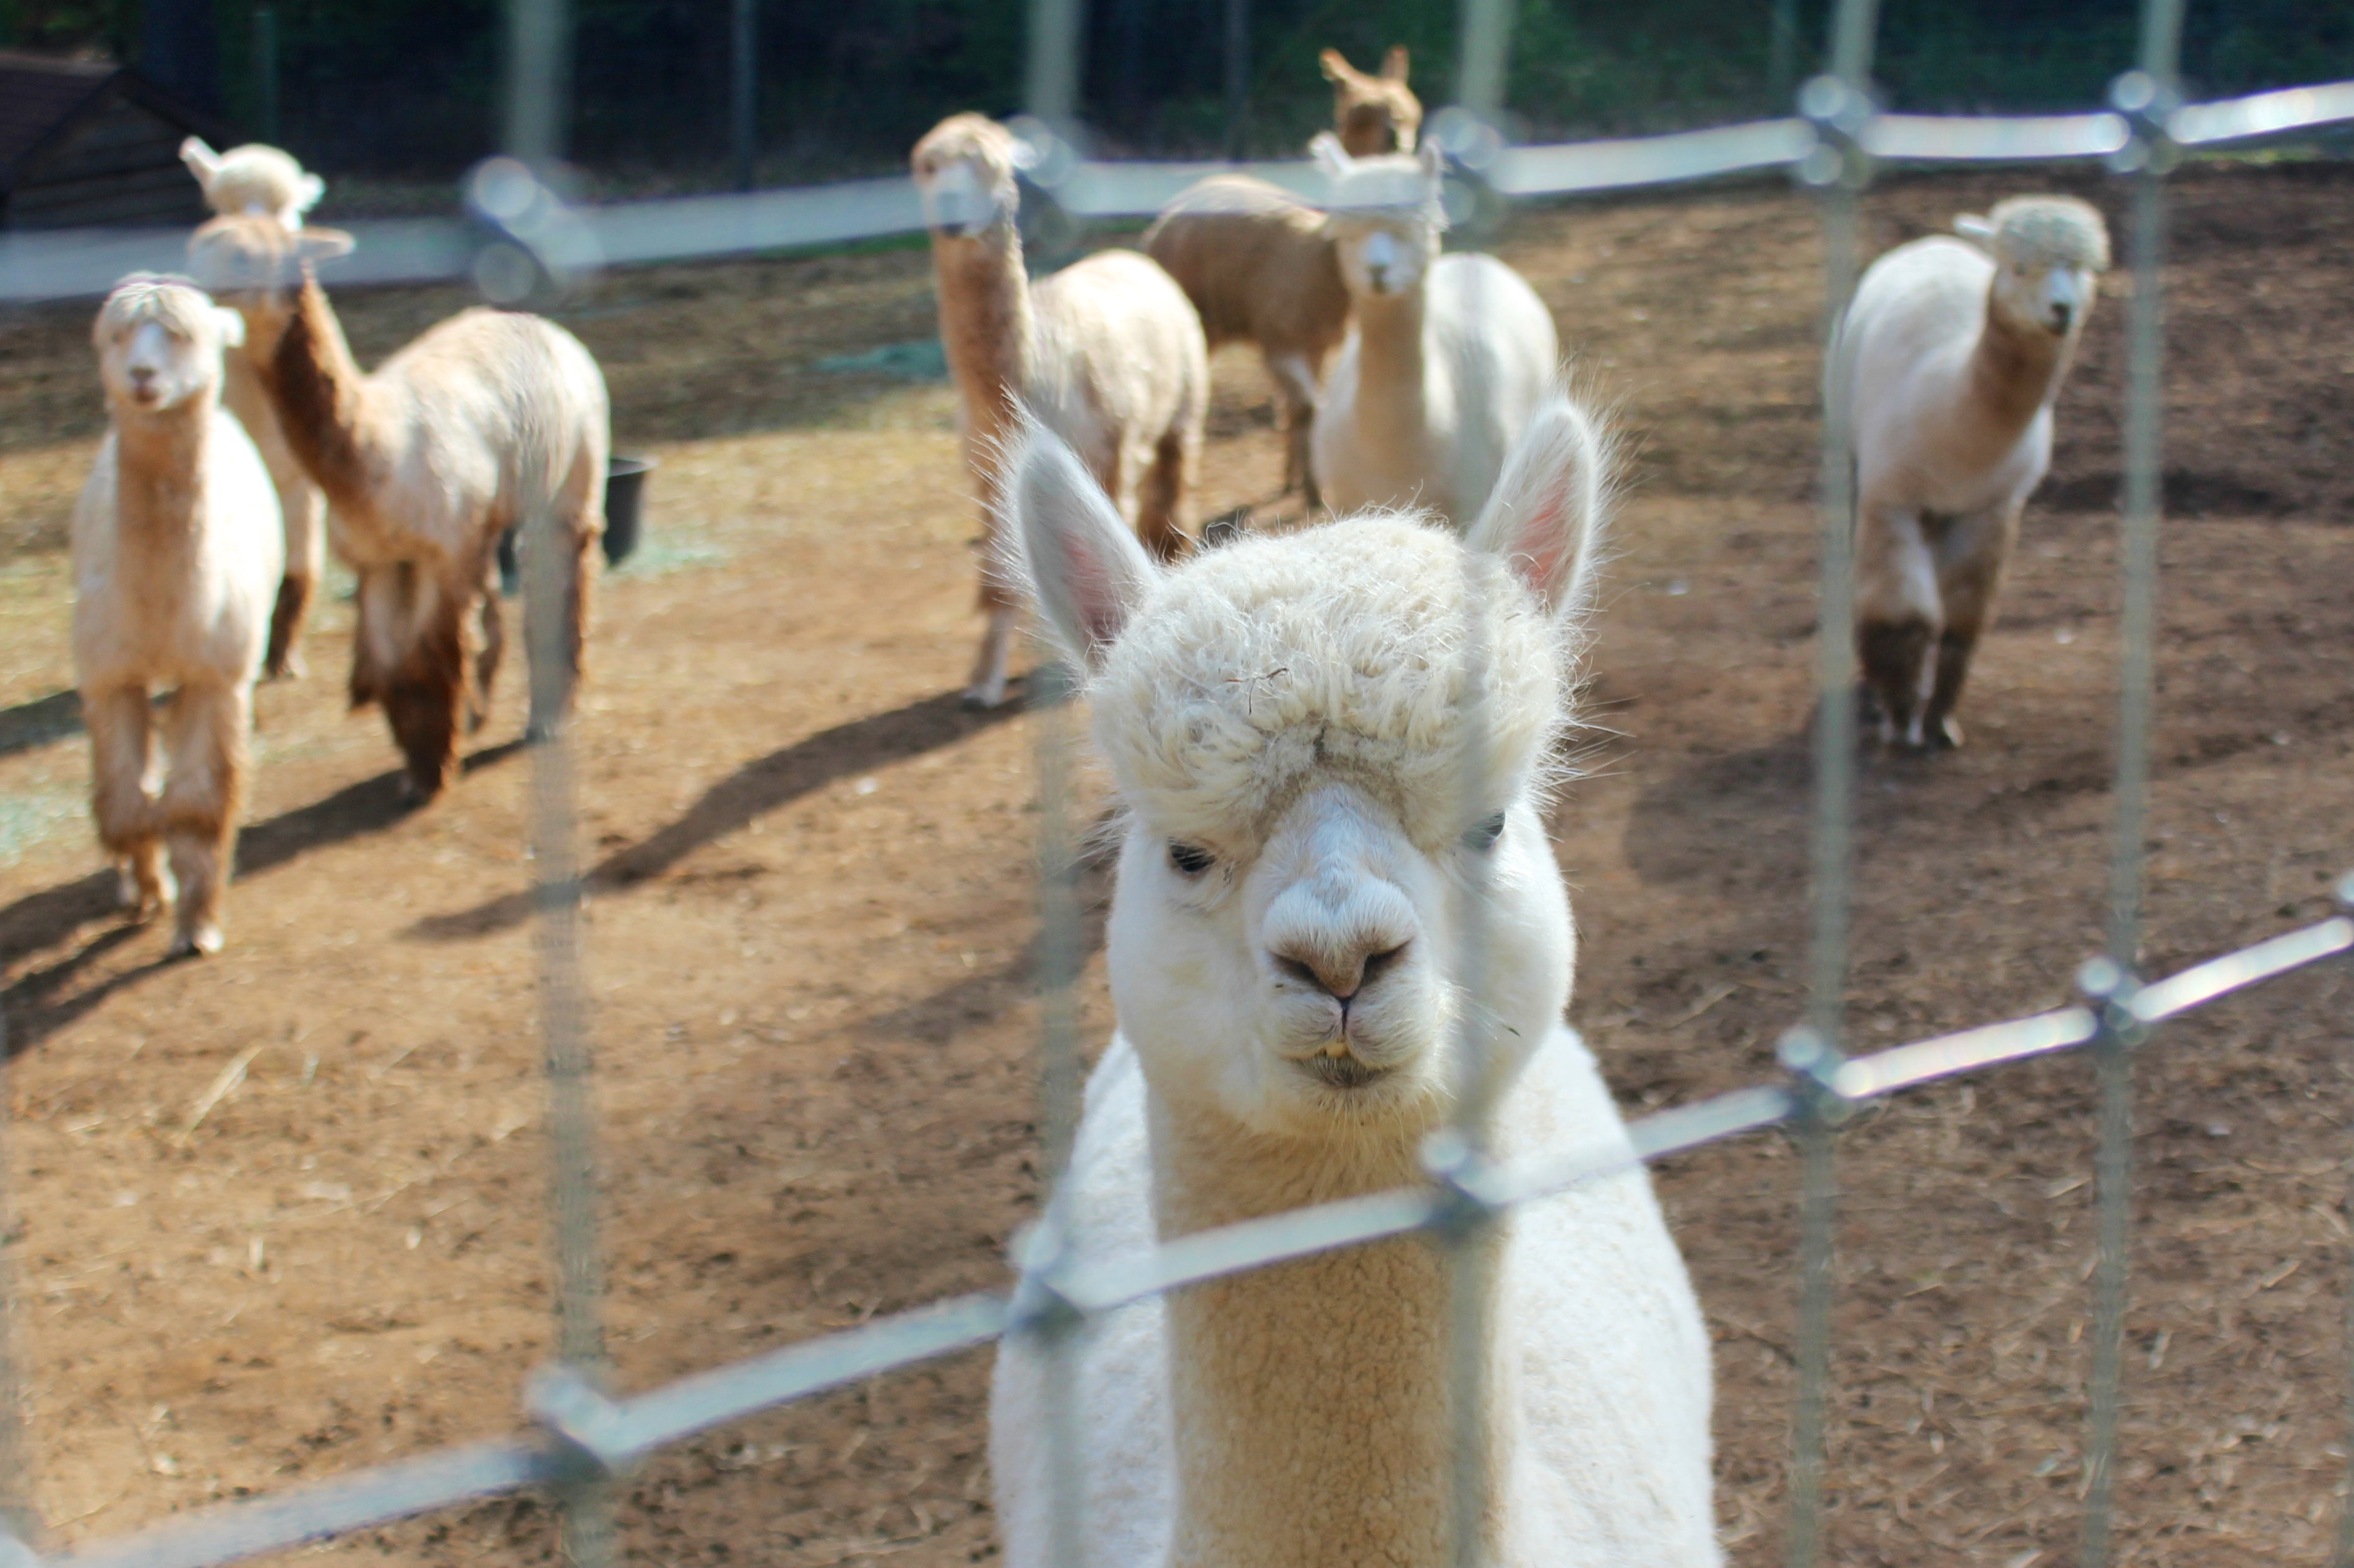
This was the first picture from our experience at the alpaca farm on Boo Bear Lane in Somerset (I’m not kidding, I could not make this up. You all know I’m not that creative). And I have to tell you, we were so excited to get over there and see these guys, and they did not disappoint! Alpacas are the cutest, cuddliest, most awkward-looking, and quite possibly ugly animals I’ve ever seen. I don’t even know how else to describe them, so hopefully the pictures paint a better picture than my terrible description!


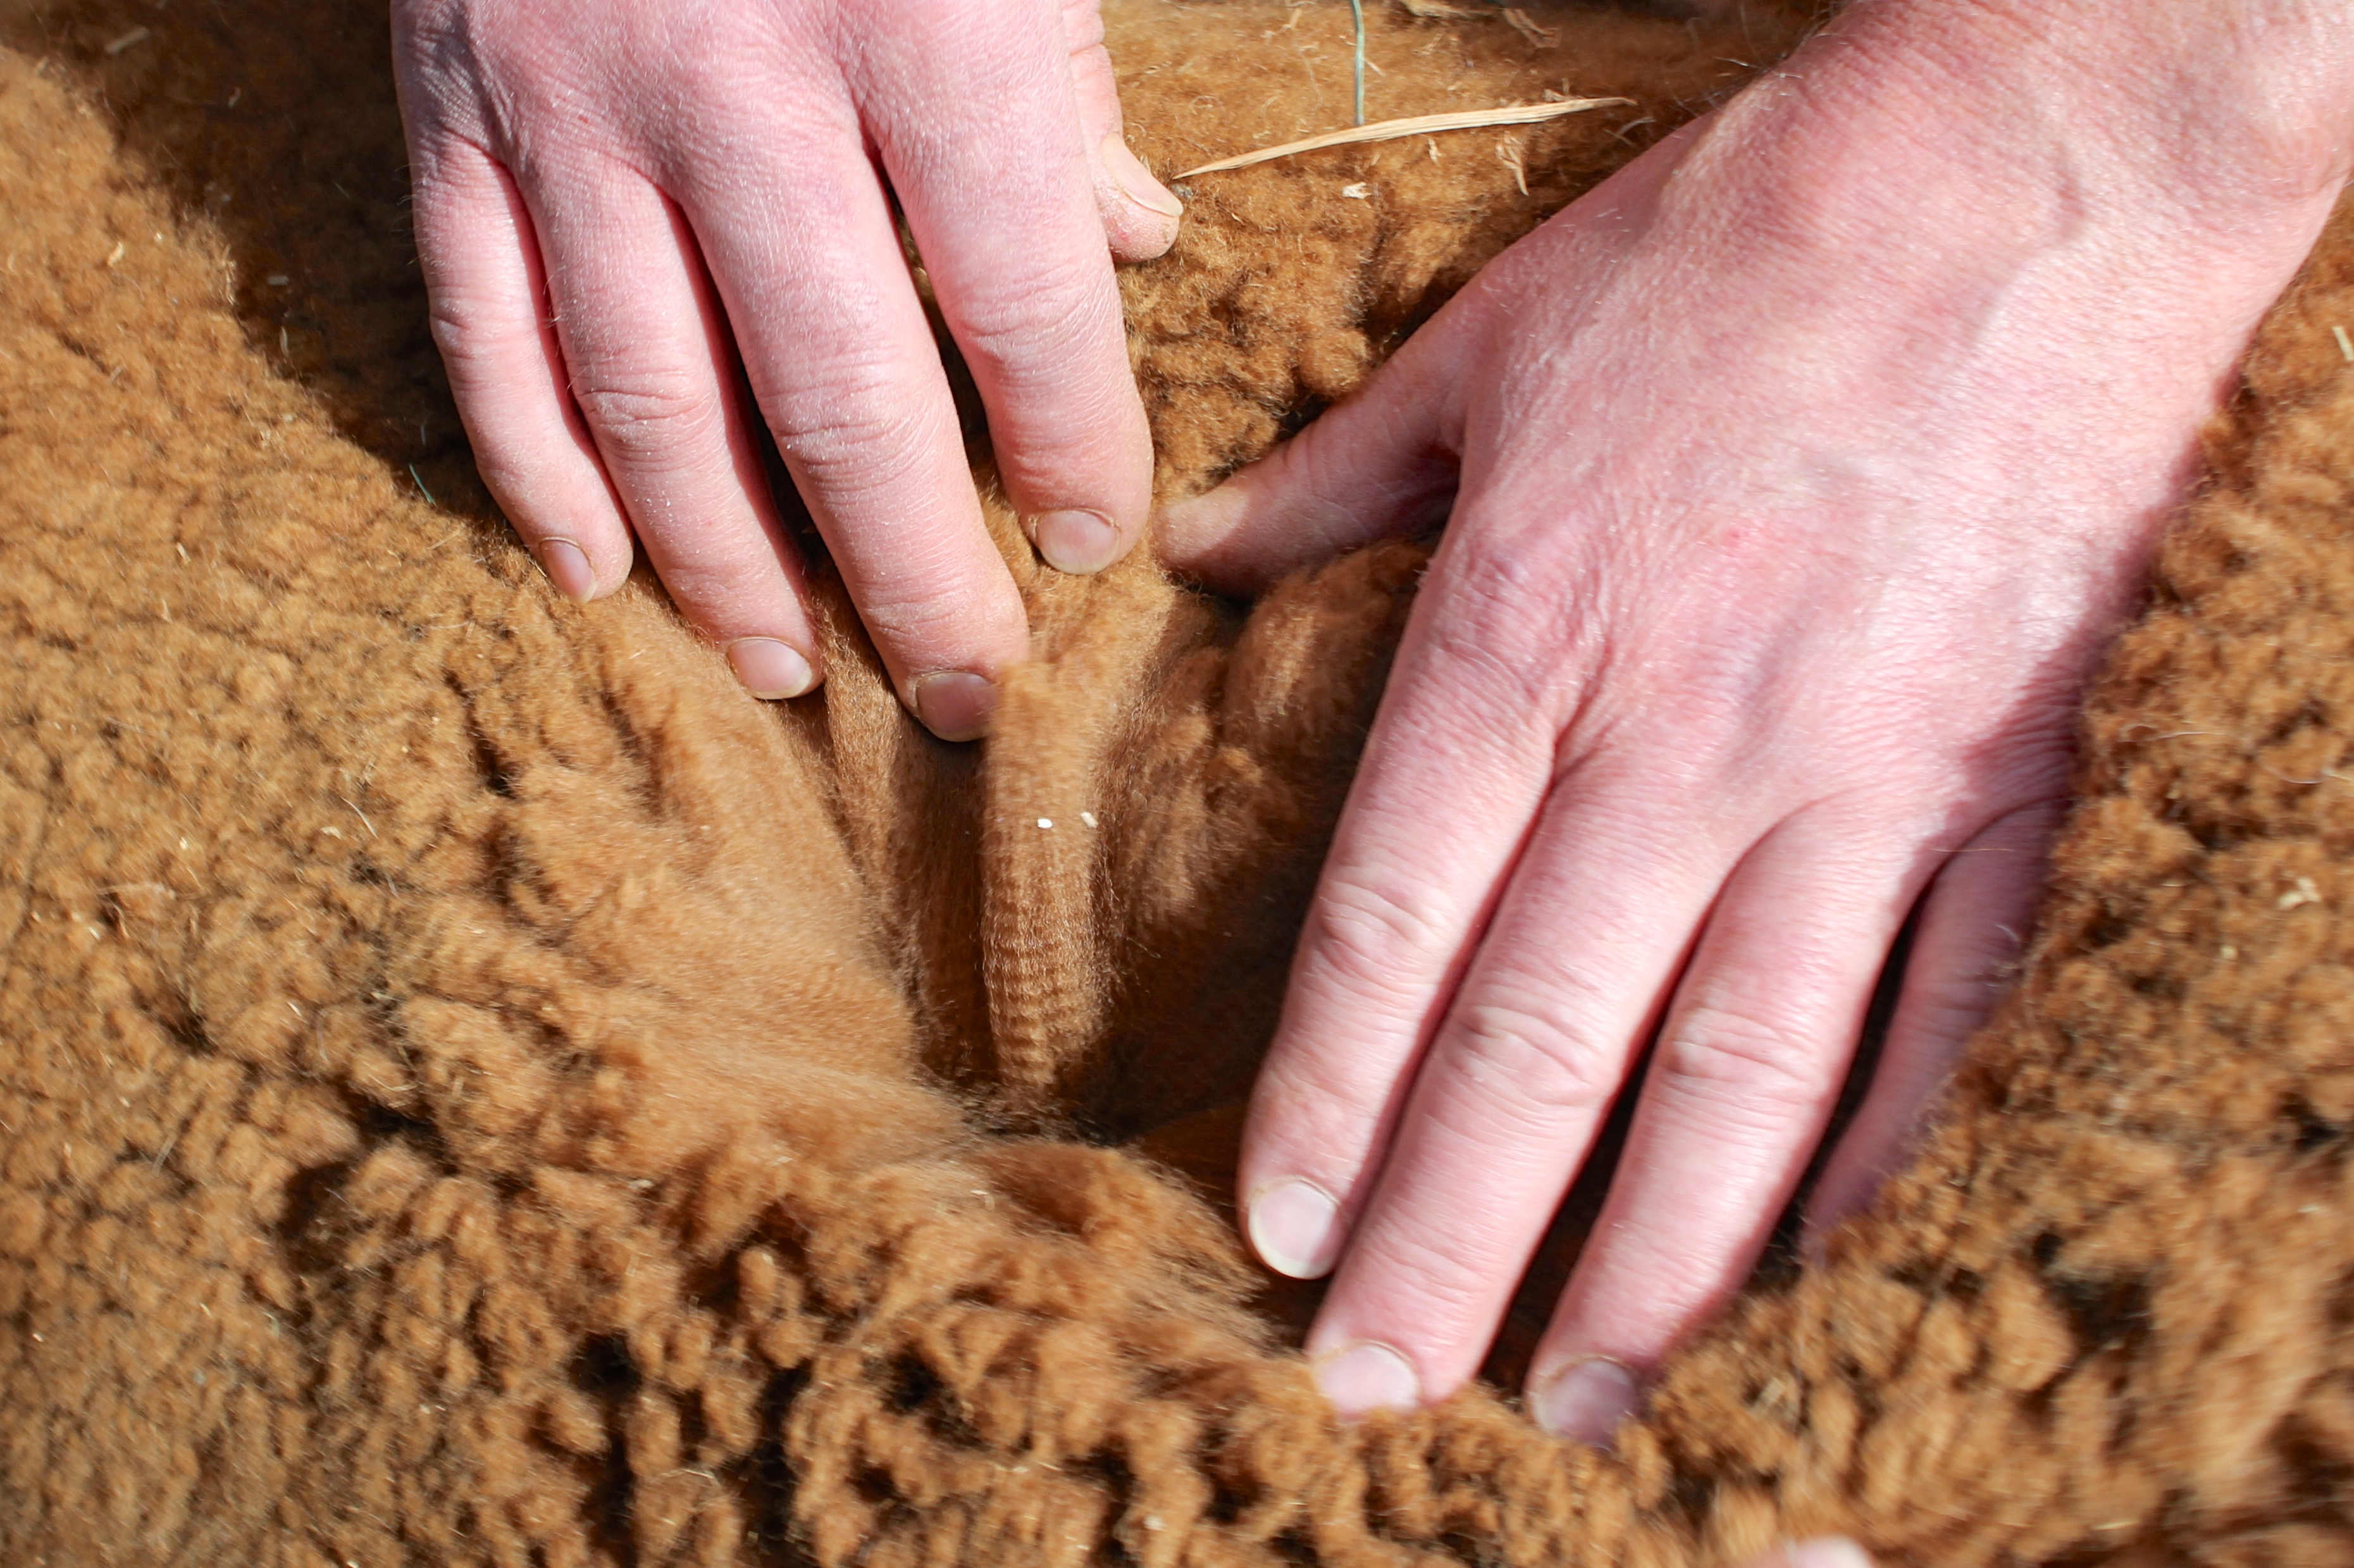
See what I mean? I would love to have a pet alpaca (or ten), but I’m really not sure Justin would go for that idea. If you’ve ever heard of an alpaca, you have probably also heard (or felt?) how incredibly soft they are. And while at the farm, we were told that the “crimpier” the alpaca fur is (hair? wool? fur?), the softer and more expensive it is. Check out this crimpy fur/hair/wool. So soft!
Another awesome part of the alpaca farm: a baby alpaca. Less than a week old! So cute… kind of… 🙂
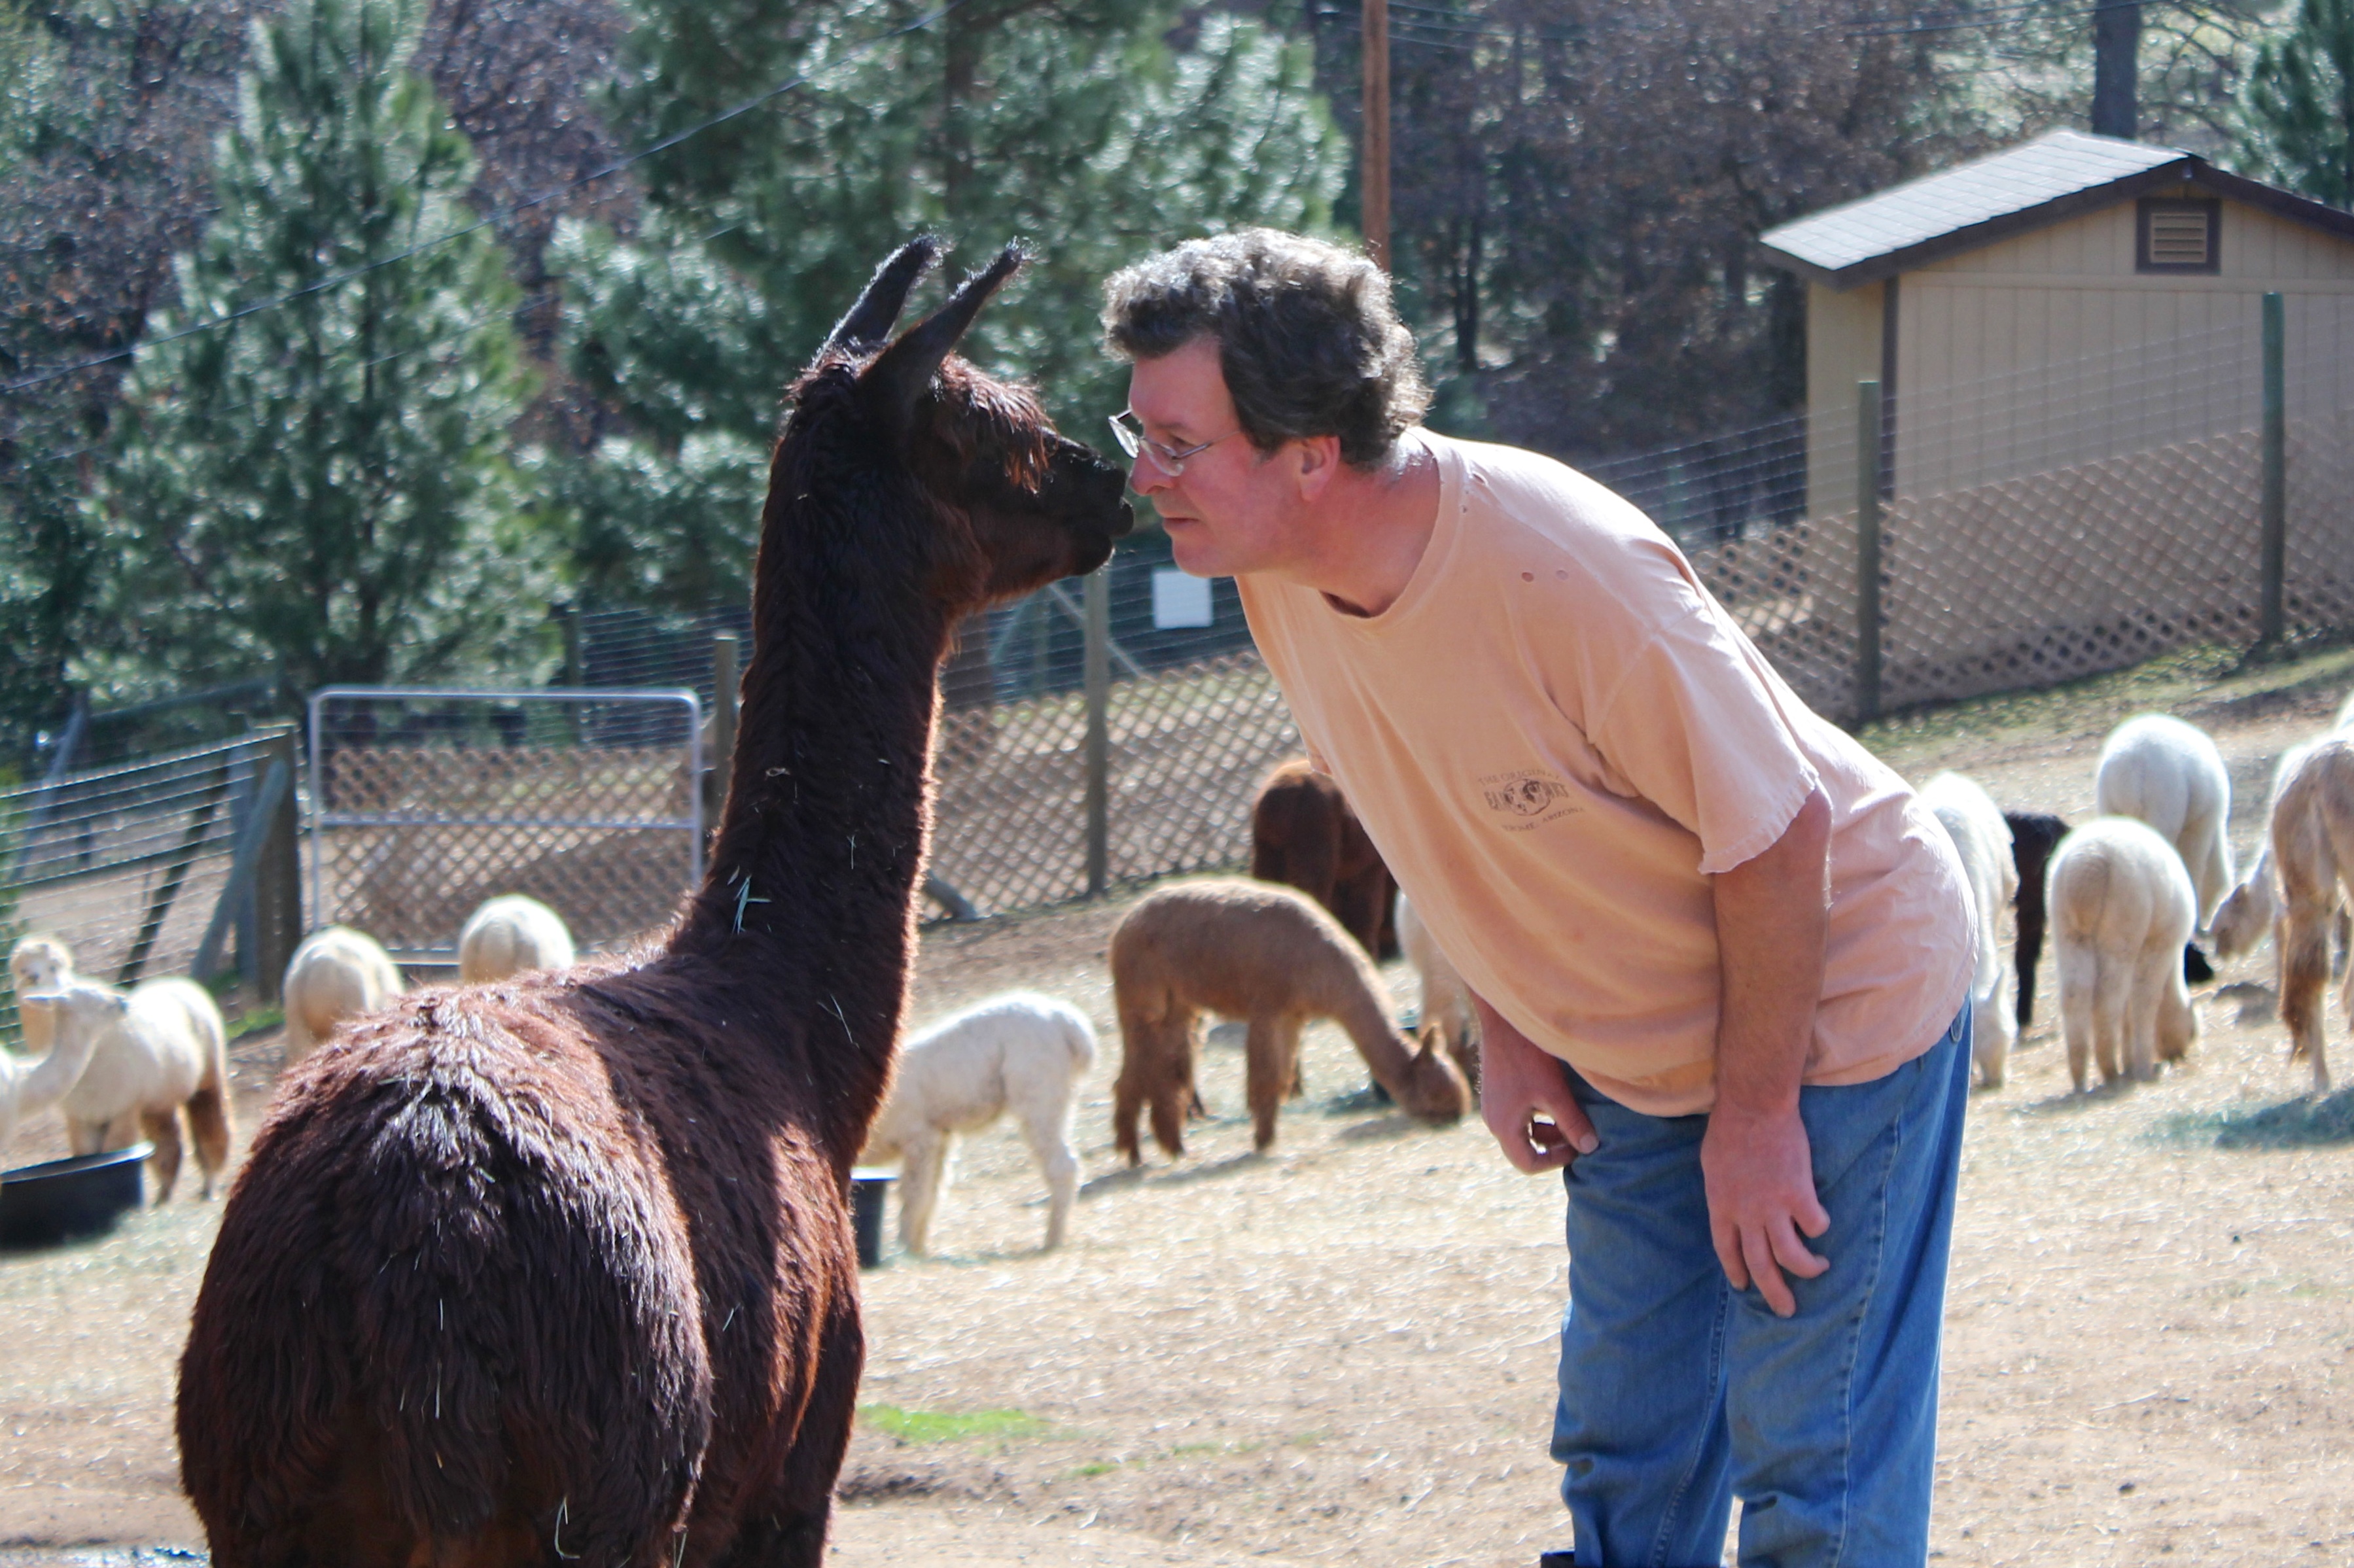
And my all time favorite picture from this outing:

If that picture doesn’t make you smile, you are not human. End of story.
We’ve done a handful of small projects to add some character to the front rooms of the house. Nothing too big and crazy, but it’s always the little touches that make it look like we actually live and play here!
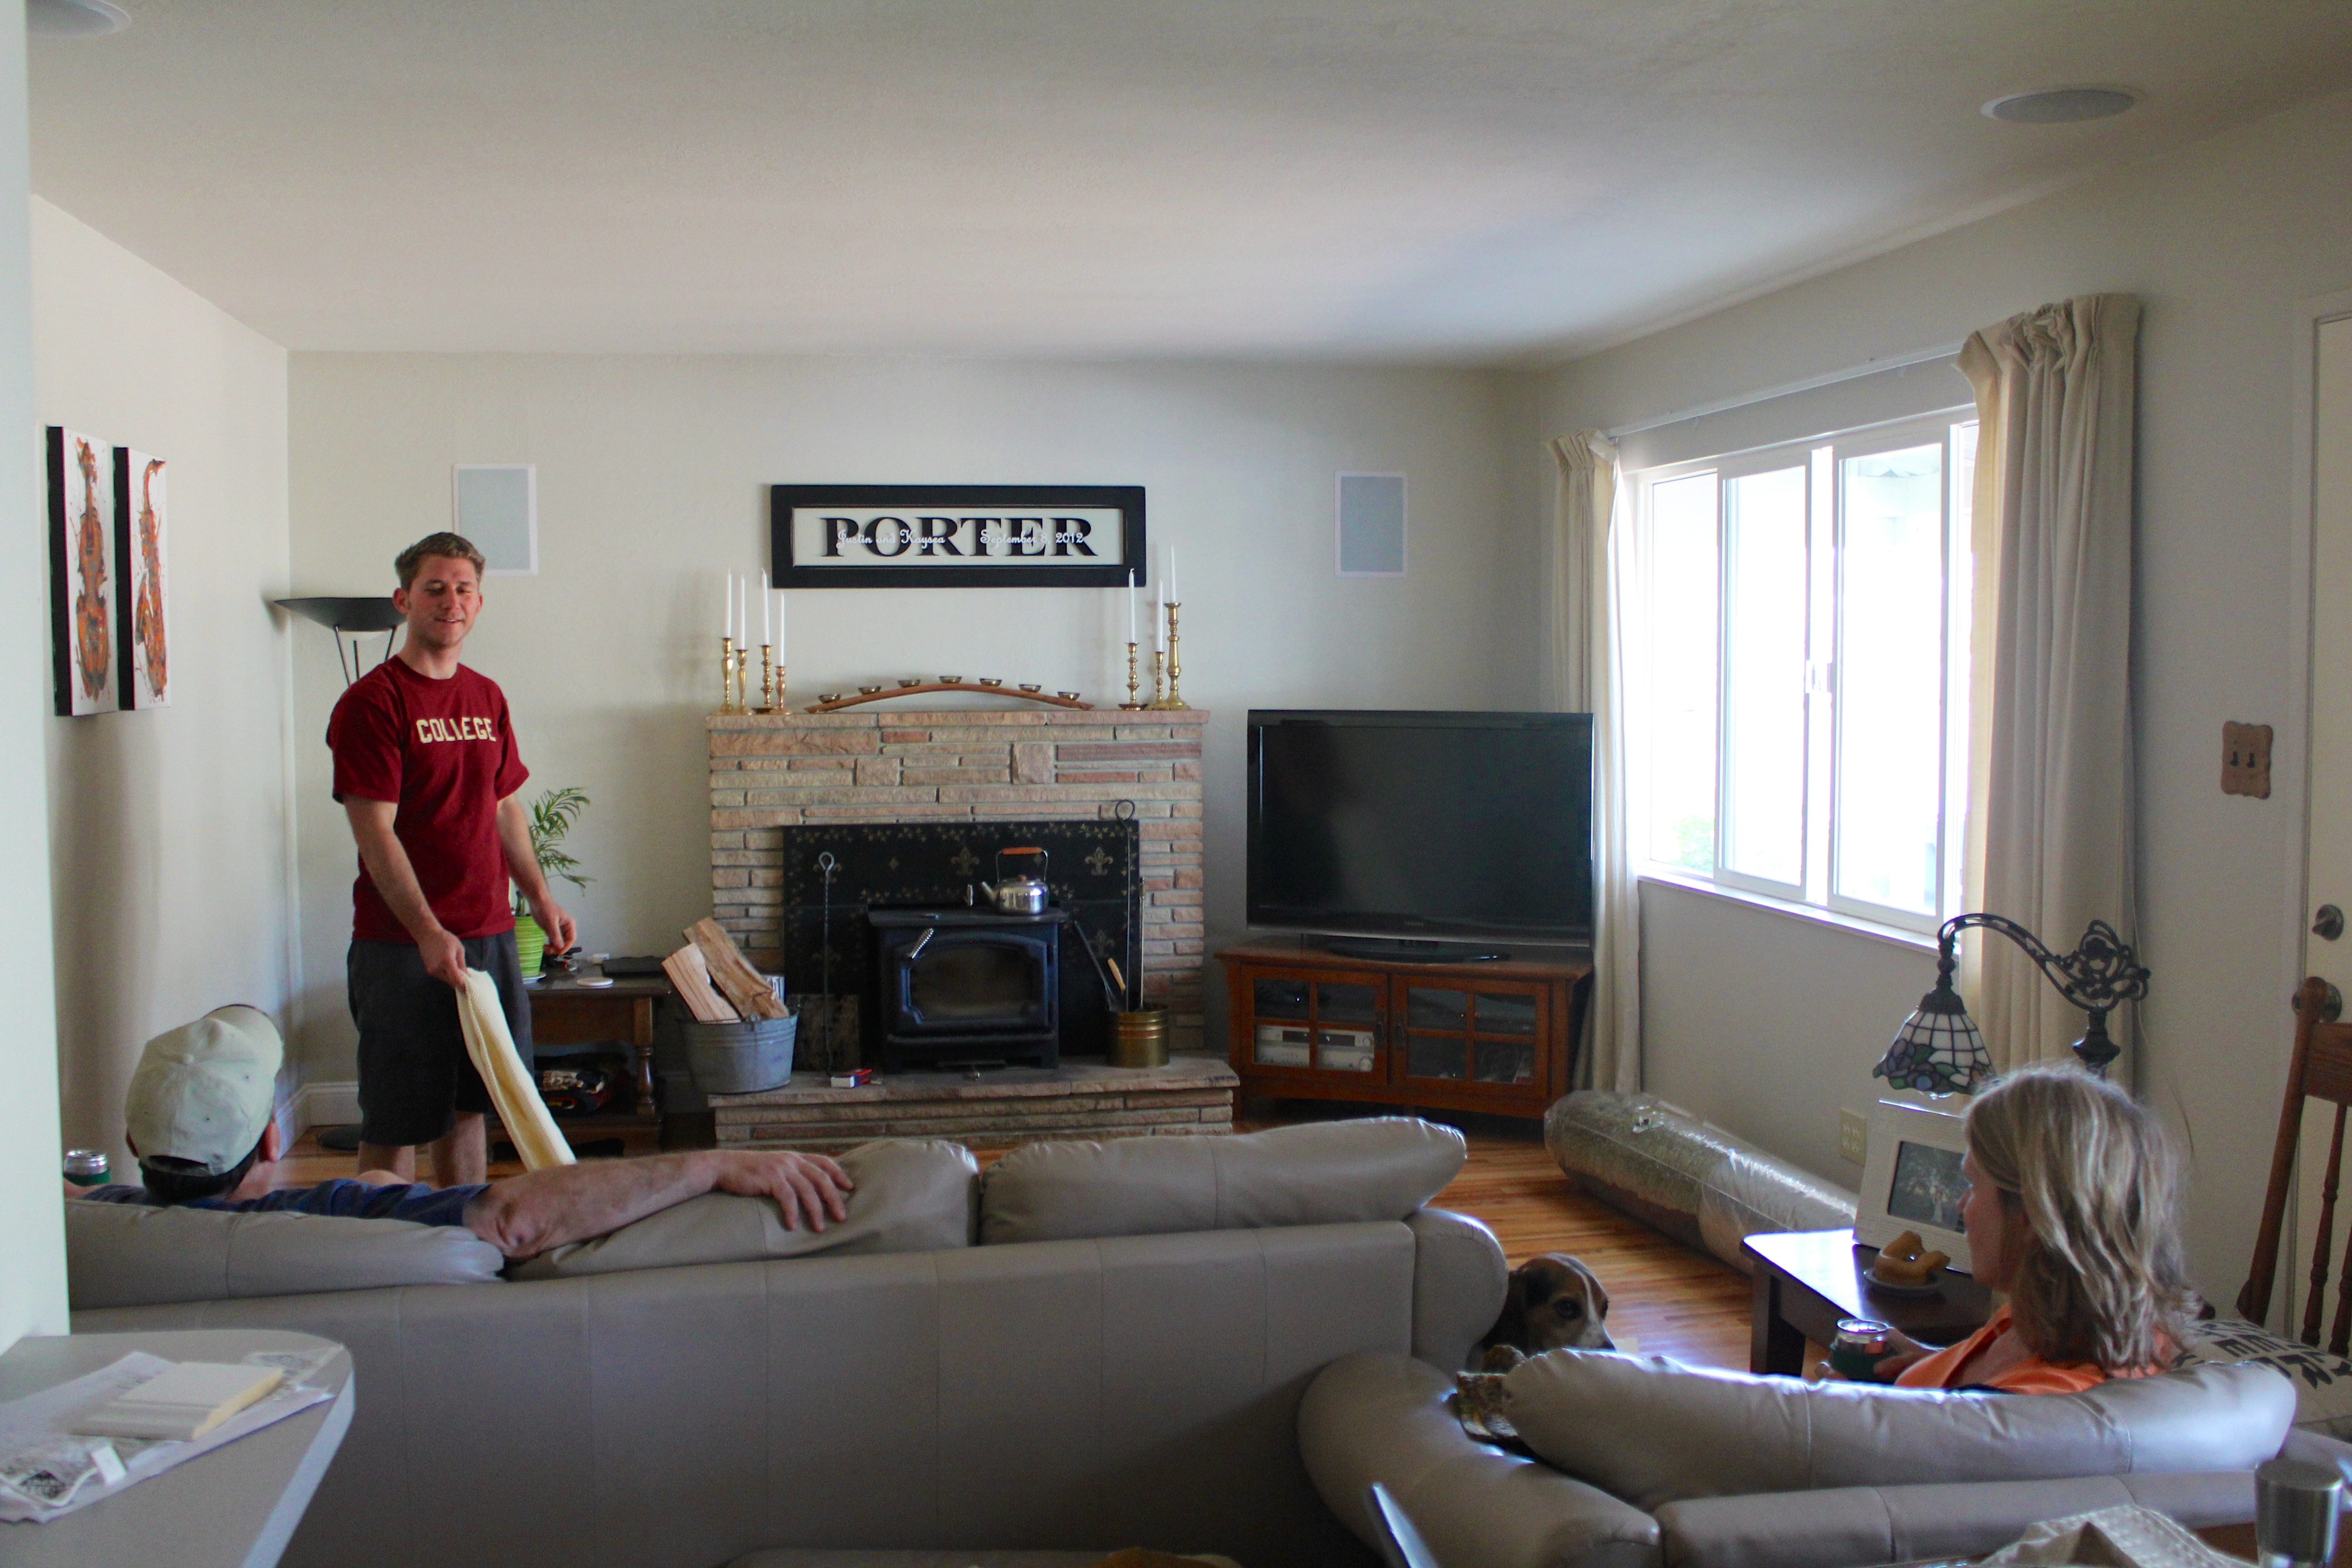
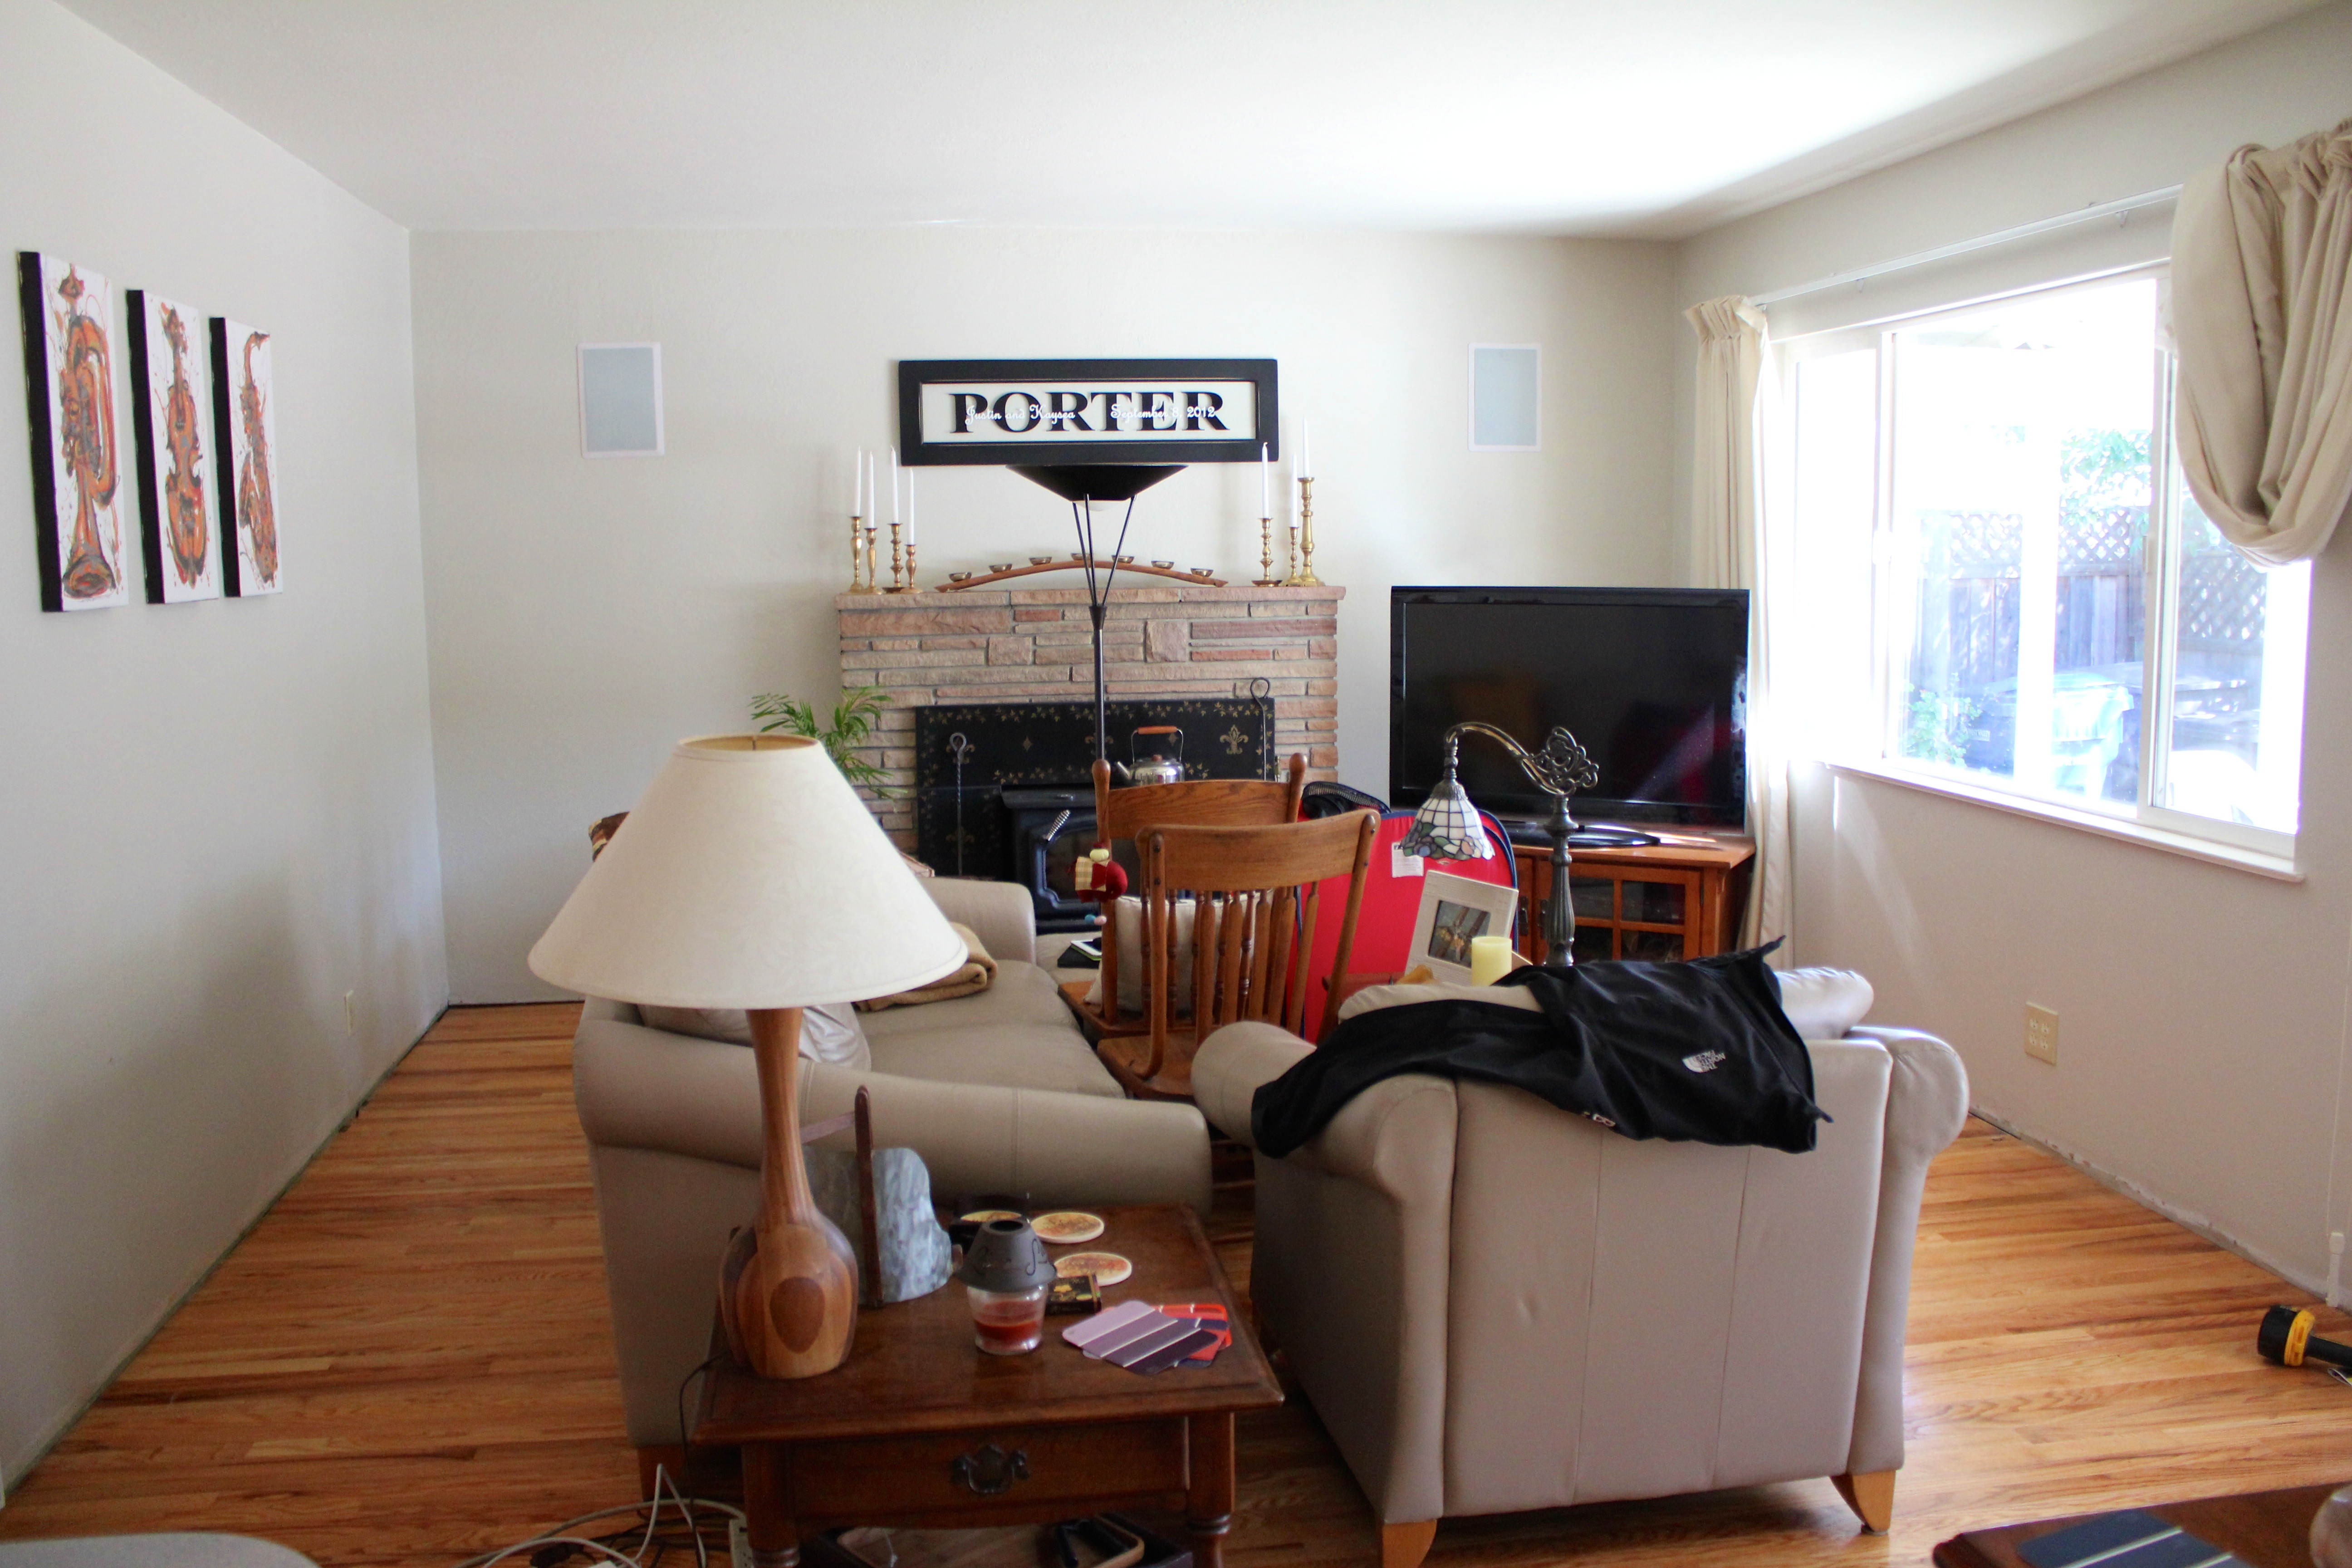
The first of these small projects was to hang the Porter sign. After much debate, we settled on hanging it over the fireplace. The black adds a nice pop to that big walls, and it definitely makes a statement in its new home! However, we felt that something was still missing. We had inherited seven brass candlesticks from Grannie, so we thought if we cleaned them up and added bright white candlesticks they might add some much-needed height to our mantle. Apparently a lot of people like the aged, patina look for brass, but we agreed that these definitely needed some love. It’s okay if you liked them better before! Here are some before and after photos of our candlesticks (it’s amazing how clean they got!):


And here’s what our fireplace wall currently looks like:
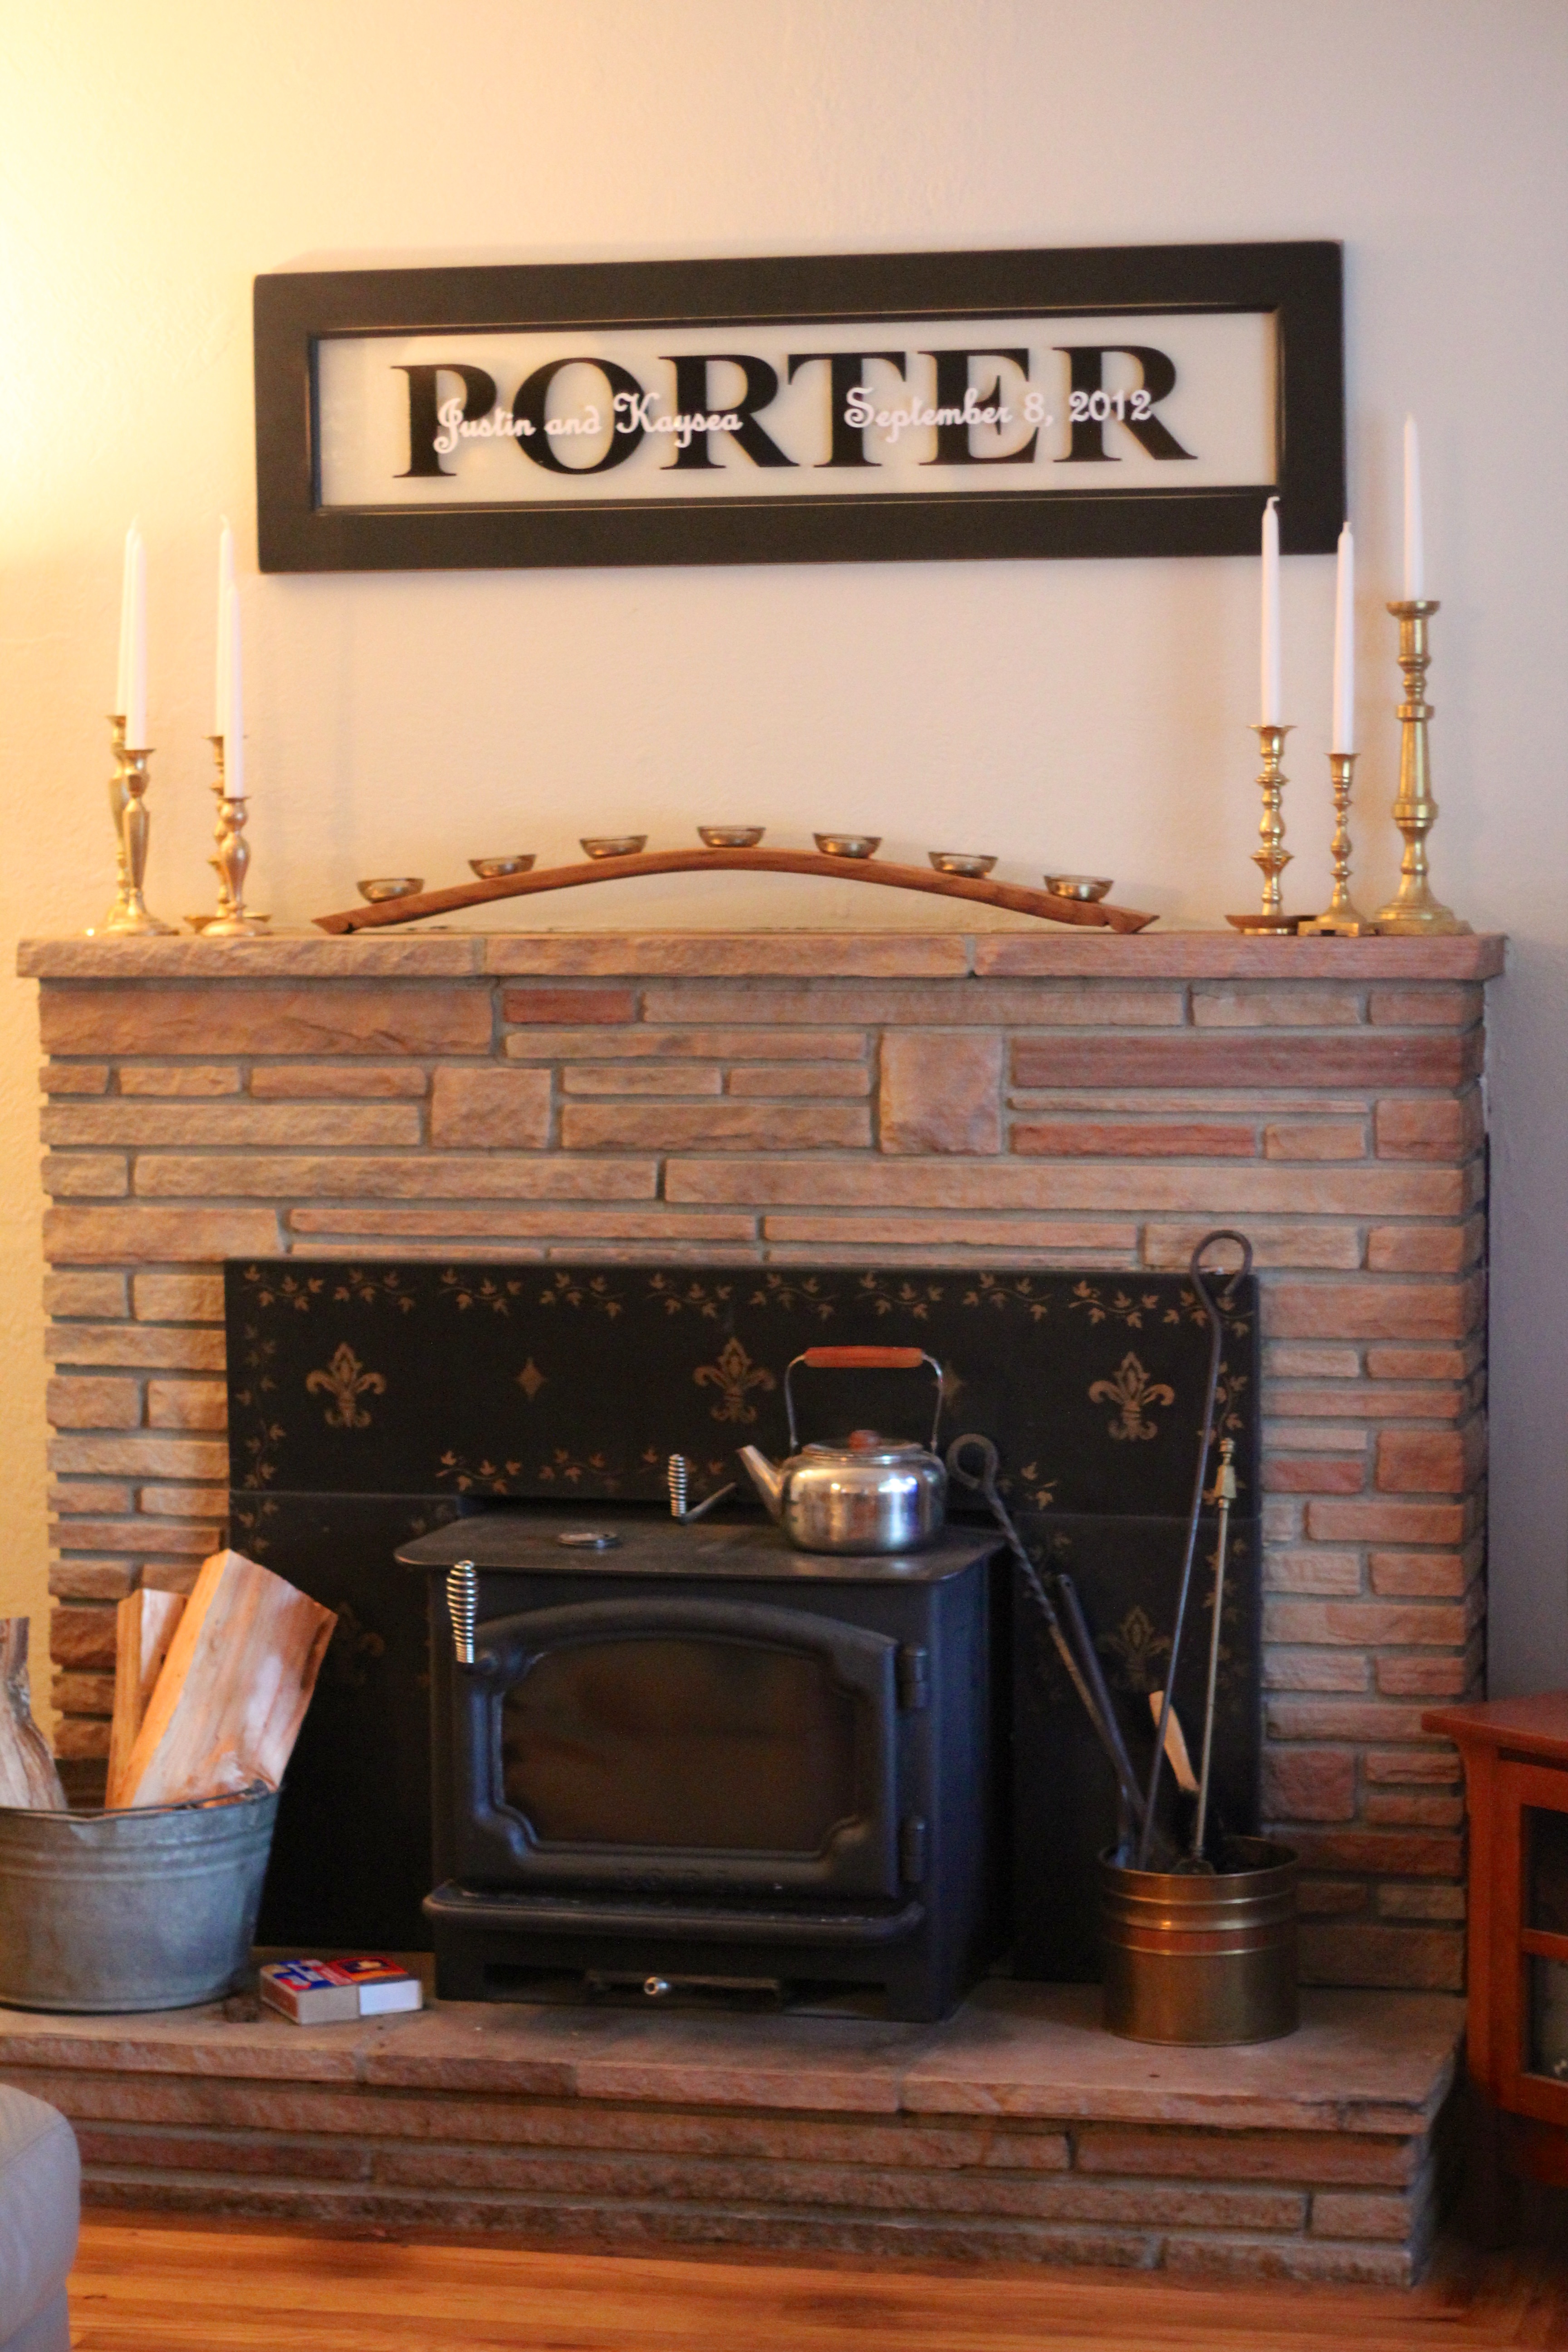
I should probably mention that our Porter sign was a wedding gift, courtesy of Dan and Brigitte. They also made the wine barrel stave with tea lights (right between all those candlesticks!). Such creative, crafty people 🙂 Our big to-do for this area is to paint over the fleur-de-lis on the plate around the stove. Then we’ll be good to go (for now, at least!).
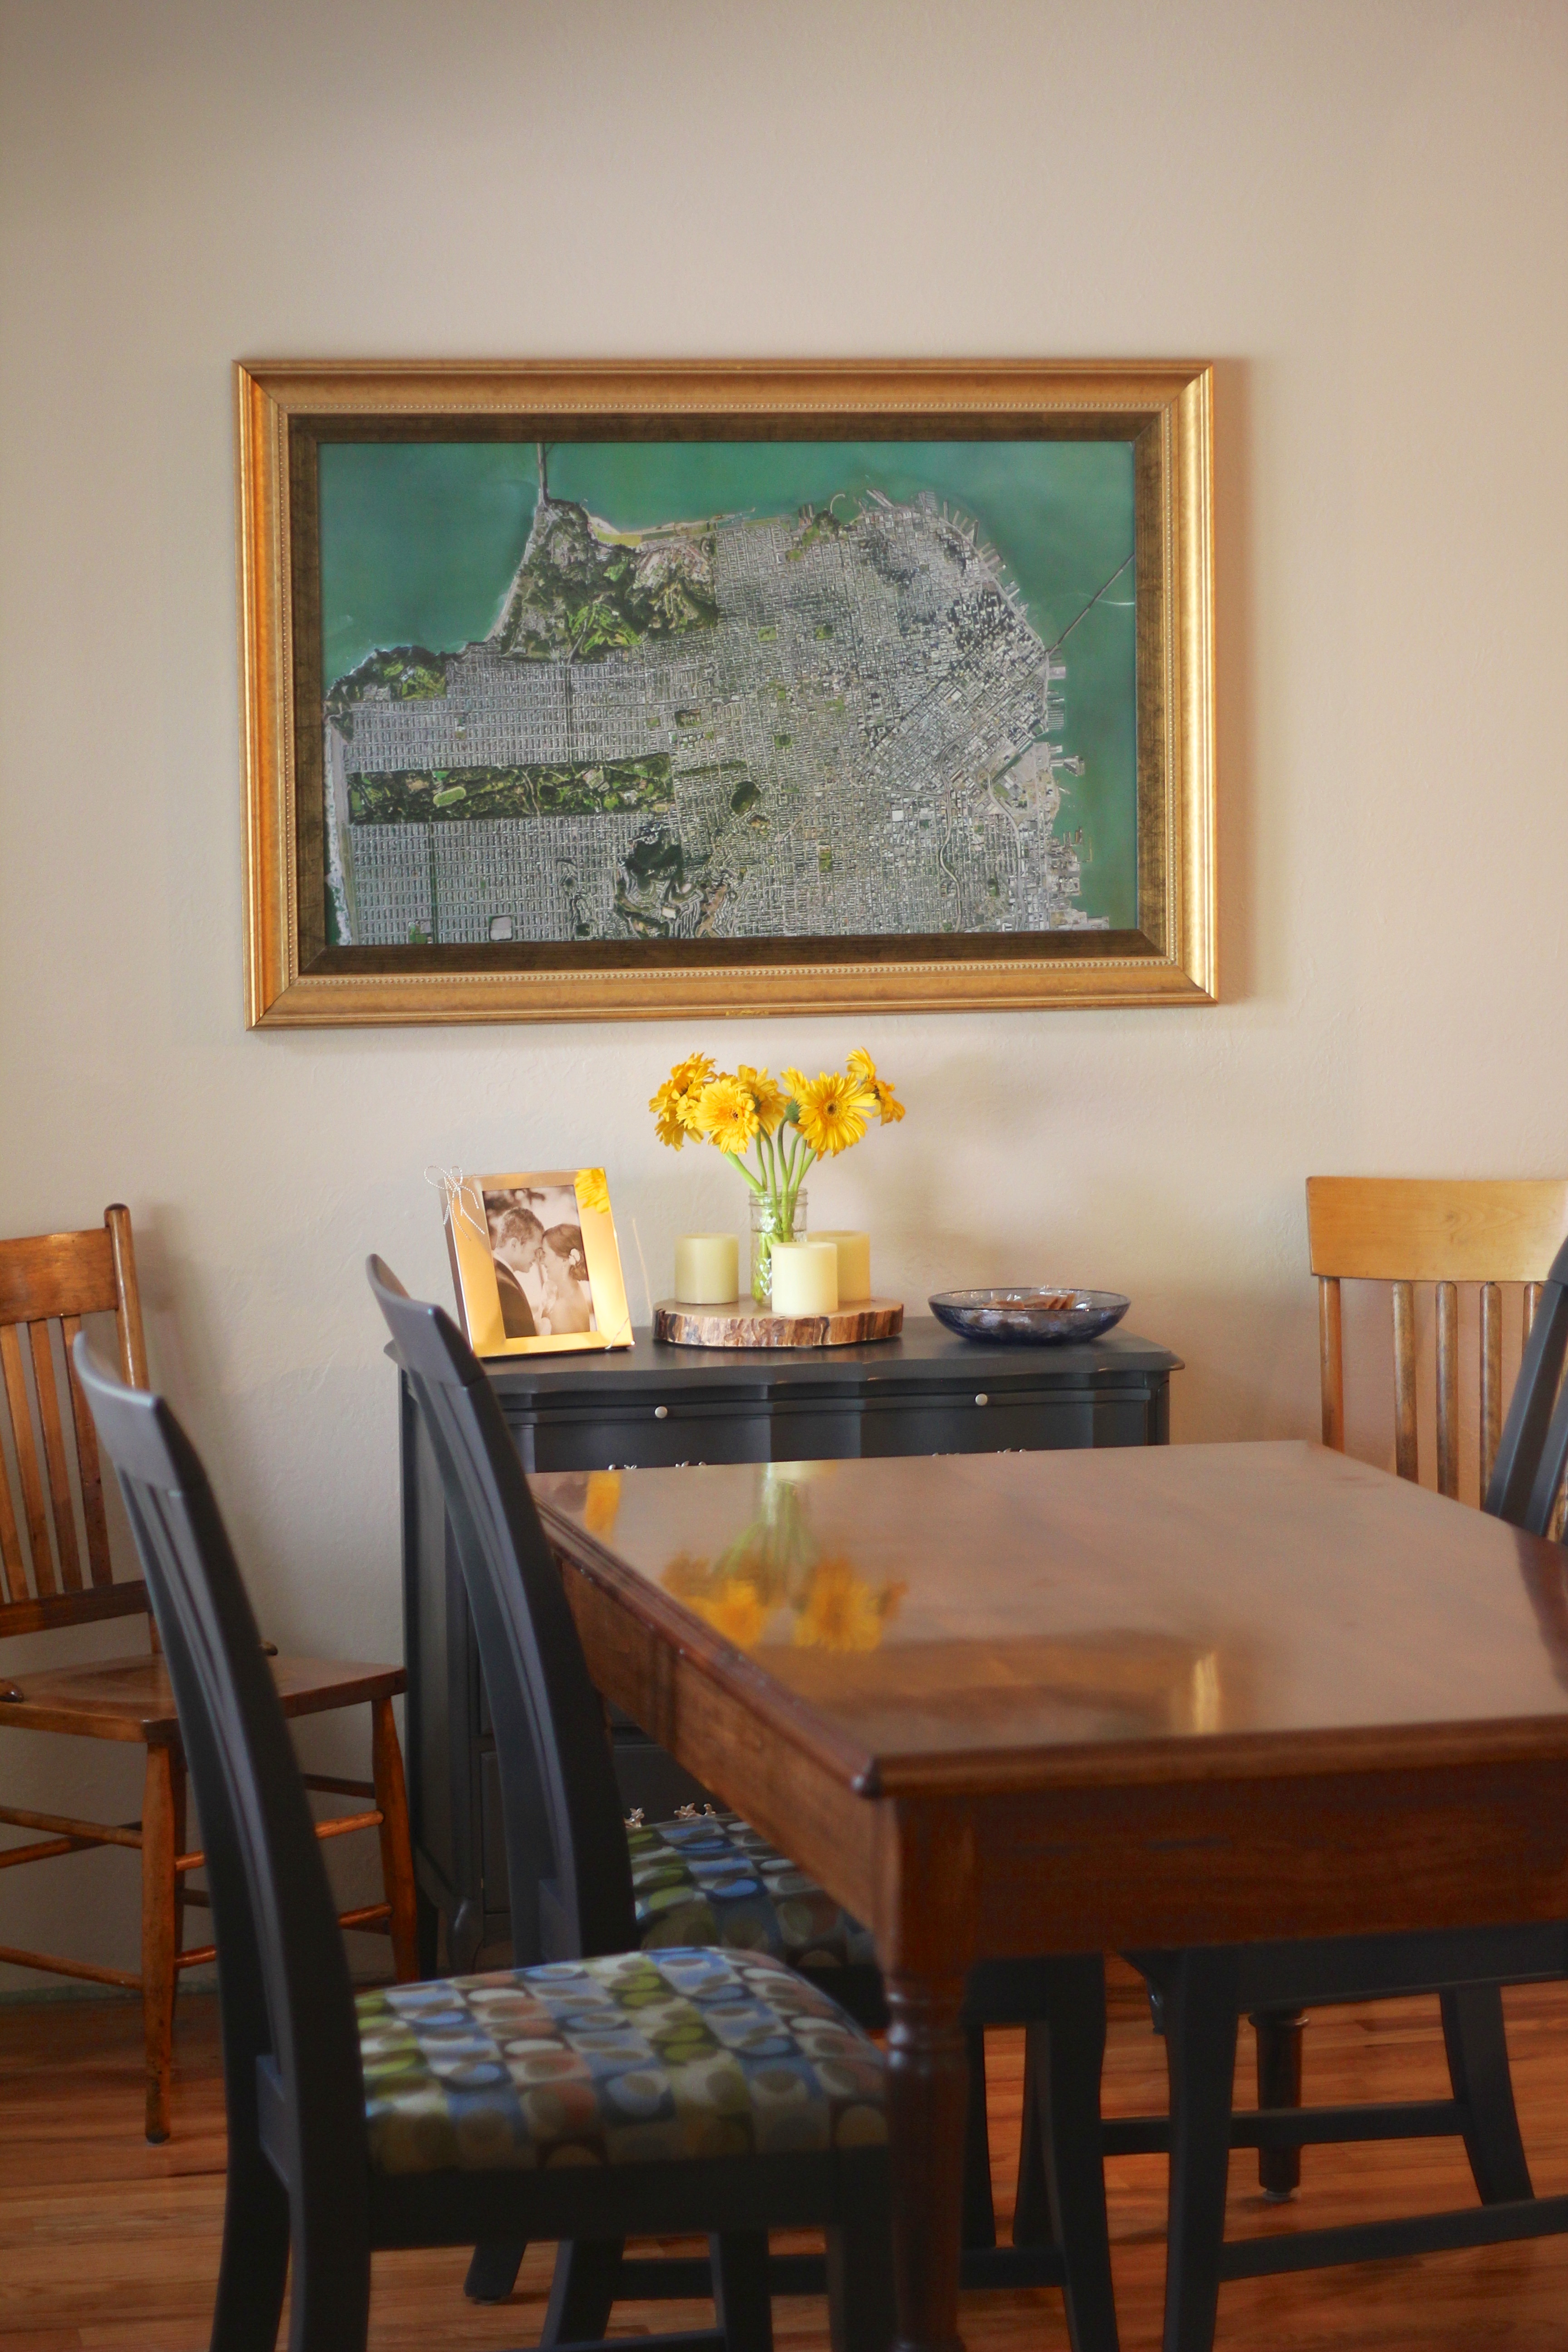
The next project we have to tell you about is the map of San Francisco in the massive gold frame, over our beautiful revived dresser. Even though we just gussied up our candlesticks to give them more shine, we’re not actually a big fan of the gold frame. I know, shocker, right? So we decided to paint the gold frame a flat black. We pulled our trusty paint sprayer back out and Justin went to work!

We have plans to replace the map of San Francisco, but we’ll tell you more about that later. We have to keep some secrets! So think of this as just a teaser… no photos yet of the newly painted, soon to be newly photo-swapped frame!
Lastly, we have our new speakers. Because there is music on pretty much 24/7 in our house, we (and by we, I mean Justin) decided to invest in some good speakers that look as awesome as they sound. Instead of buying speakers that sit on the floor or on furniture or hang from the ceiling, we went with speakers that are mounted into the wall. There are a grand total of 4 speakers, and they sound glorious. And yes, this process involved cutting holes in the ceiling and the walls. And yes, I was terrified. Justin, not so much. So I left him to cut holes in our living room and I went out into the yard for more weeding!


