
Quarter Round (almost done with the baseboard project!)
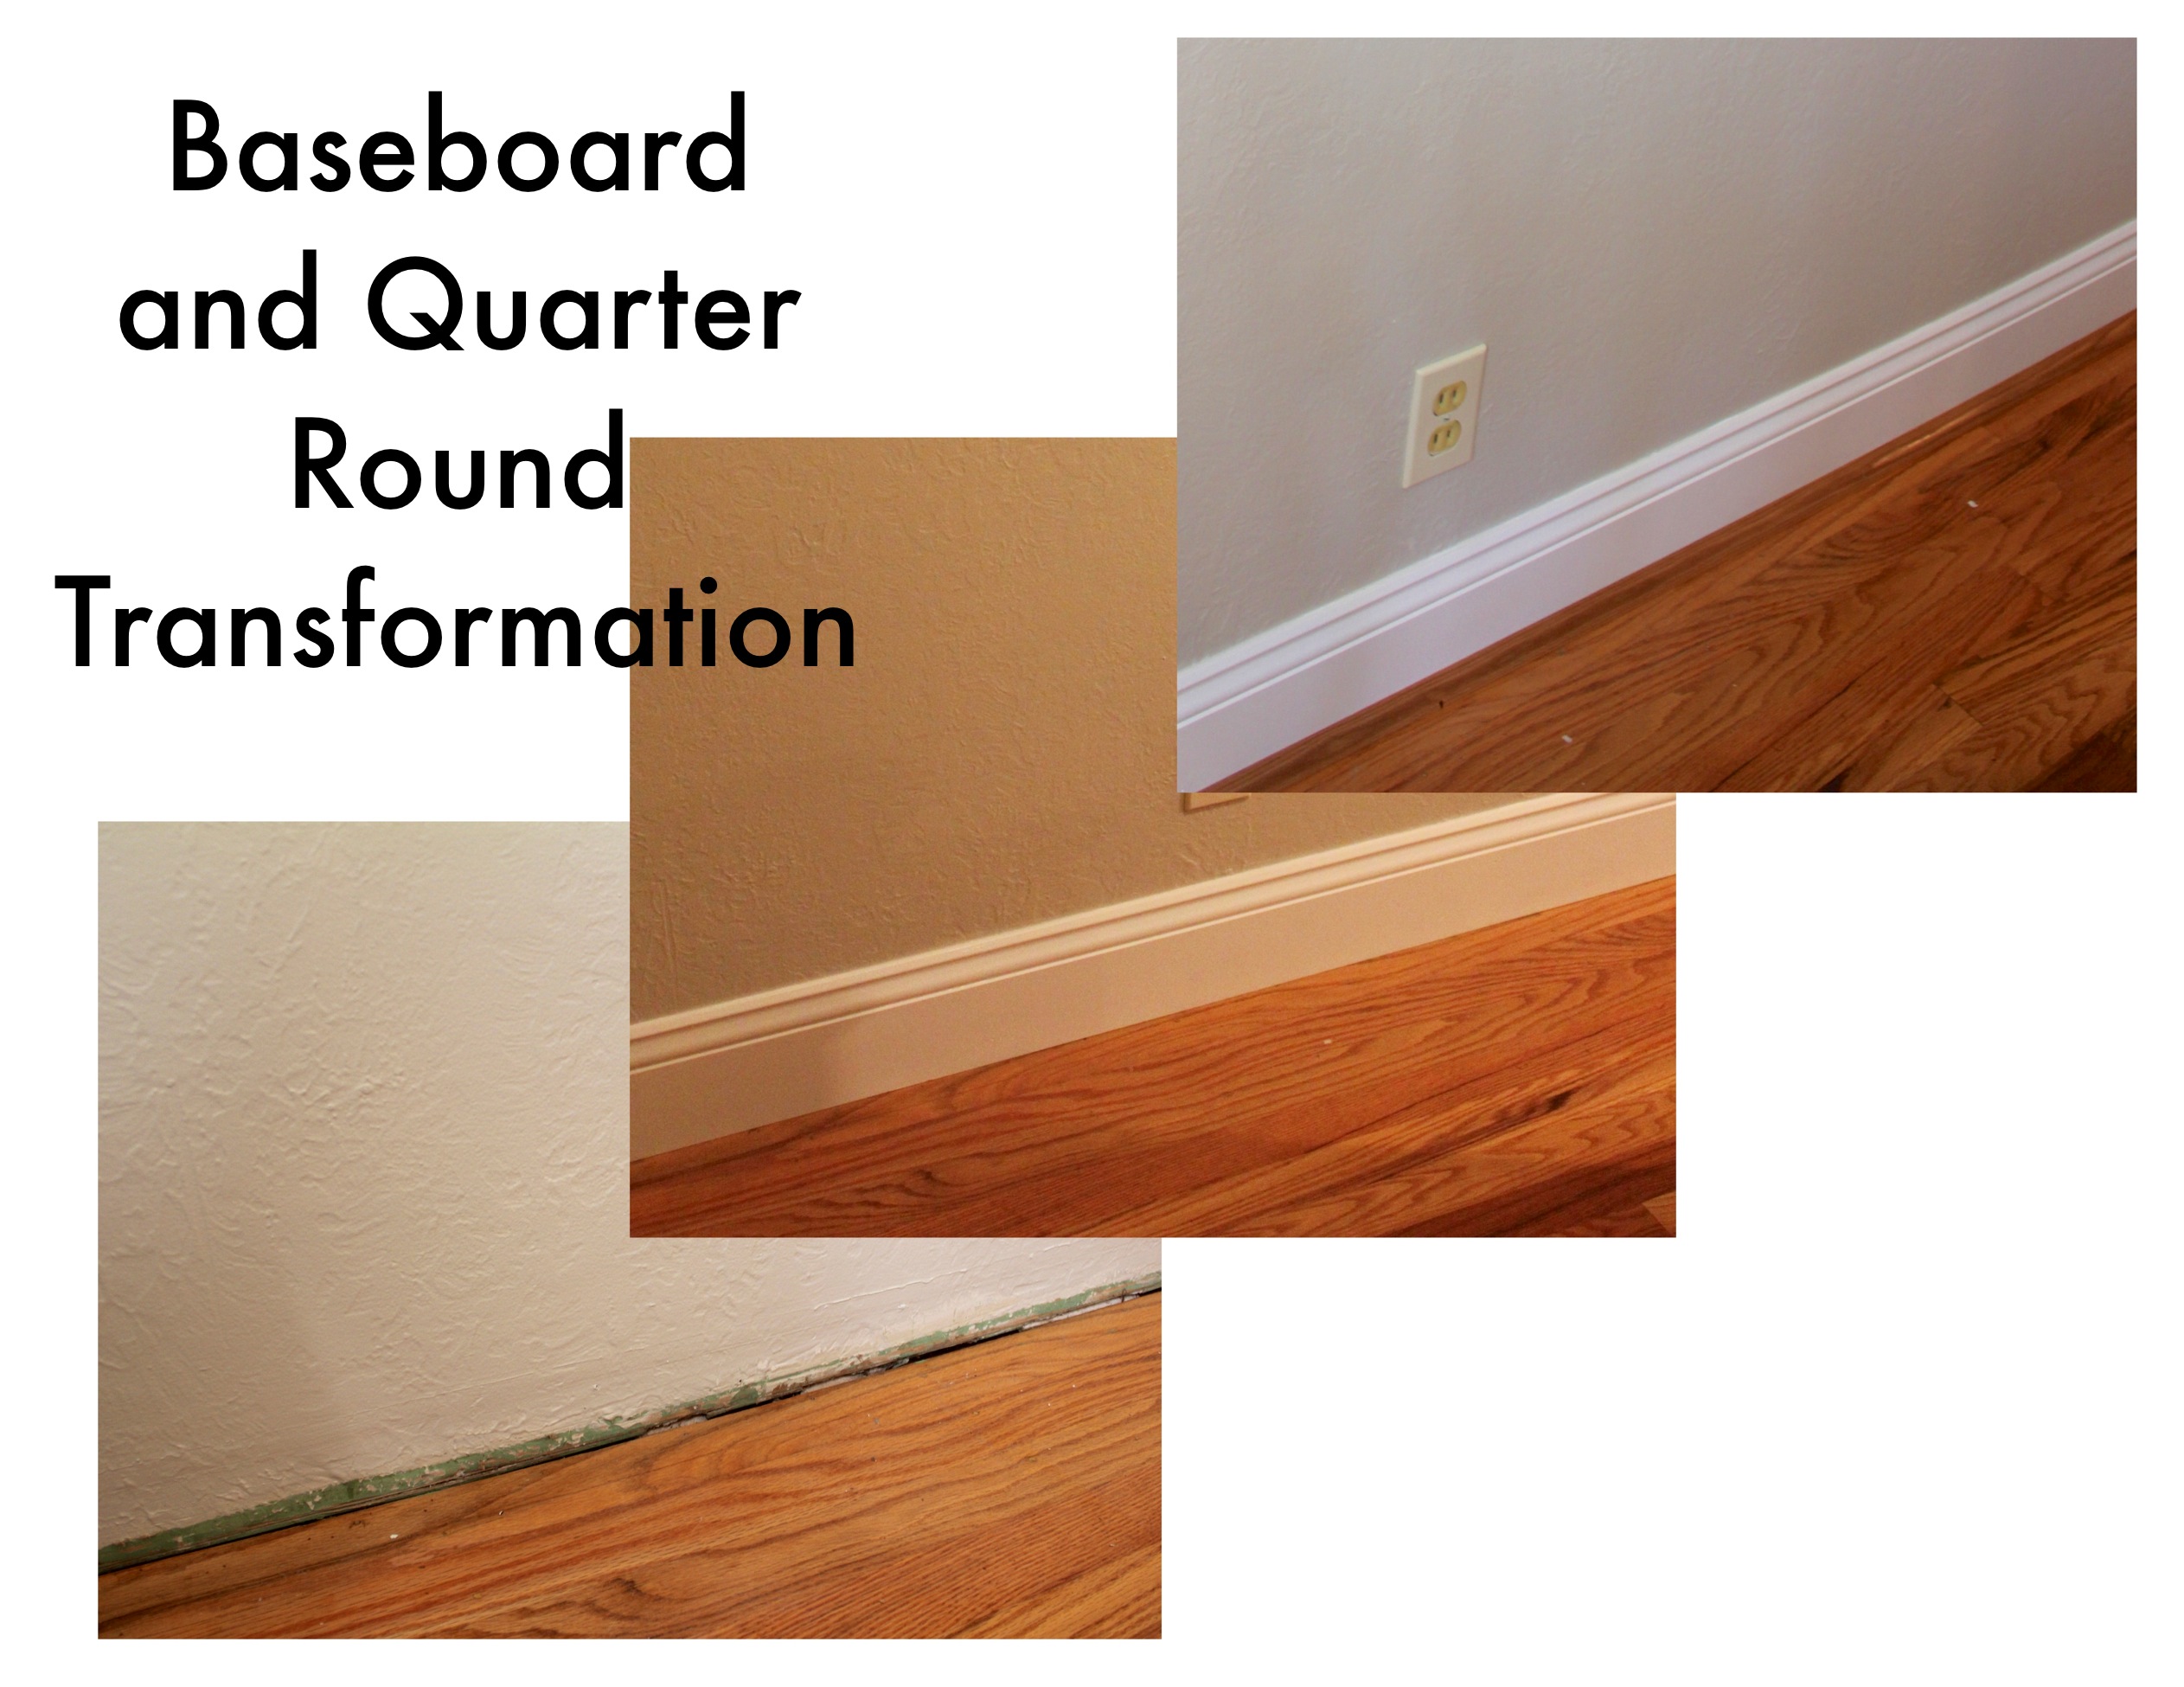
As I mentioned previously, our baseboard project kind of exploded. After we got the baseboard installed and the trim painted white, we moved on to step 3 of the project: installing quarter round oak along the base of the baseboard. We picked up the quarter round (not cord-around, but the two are easily confused…) and got to work sanding and staining it to match our floors.

Sanded, stained, and ready to go!
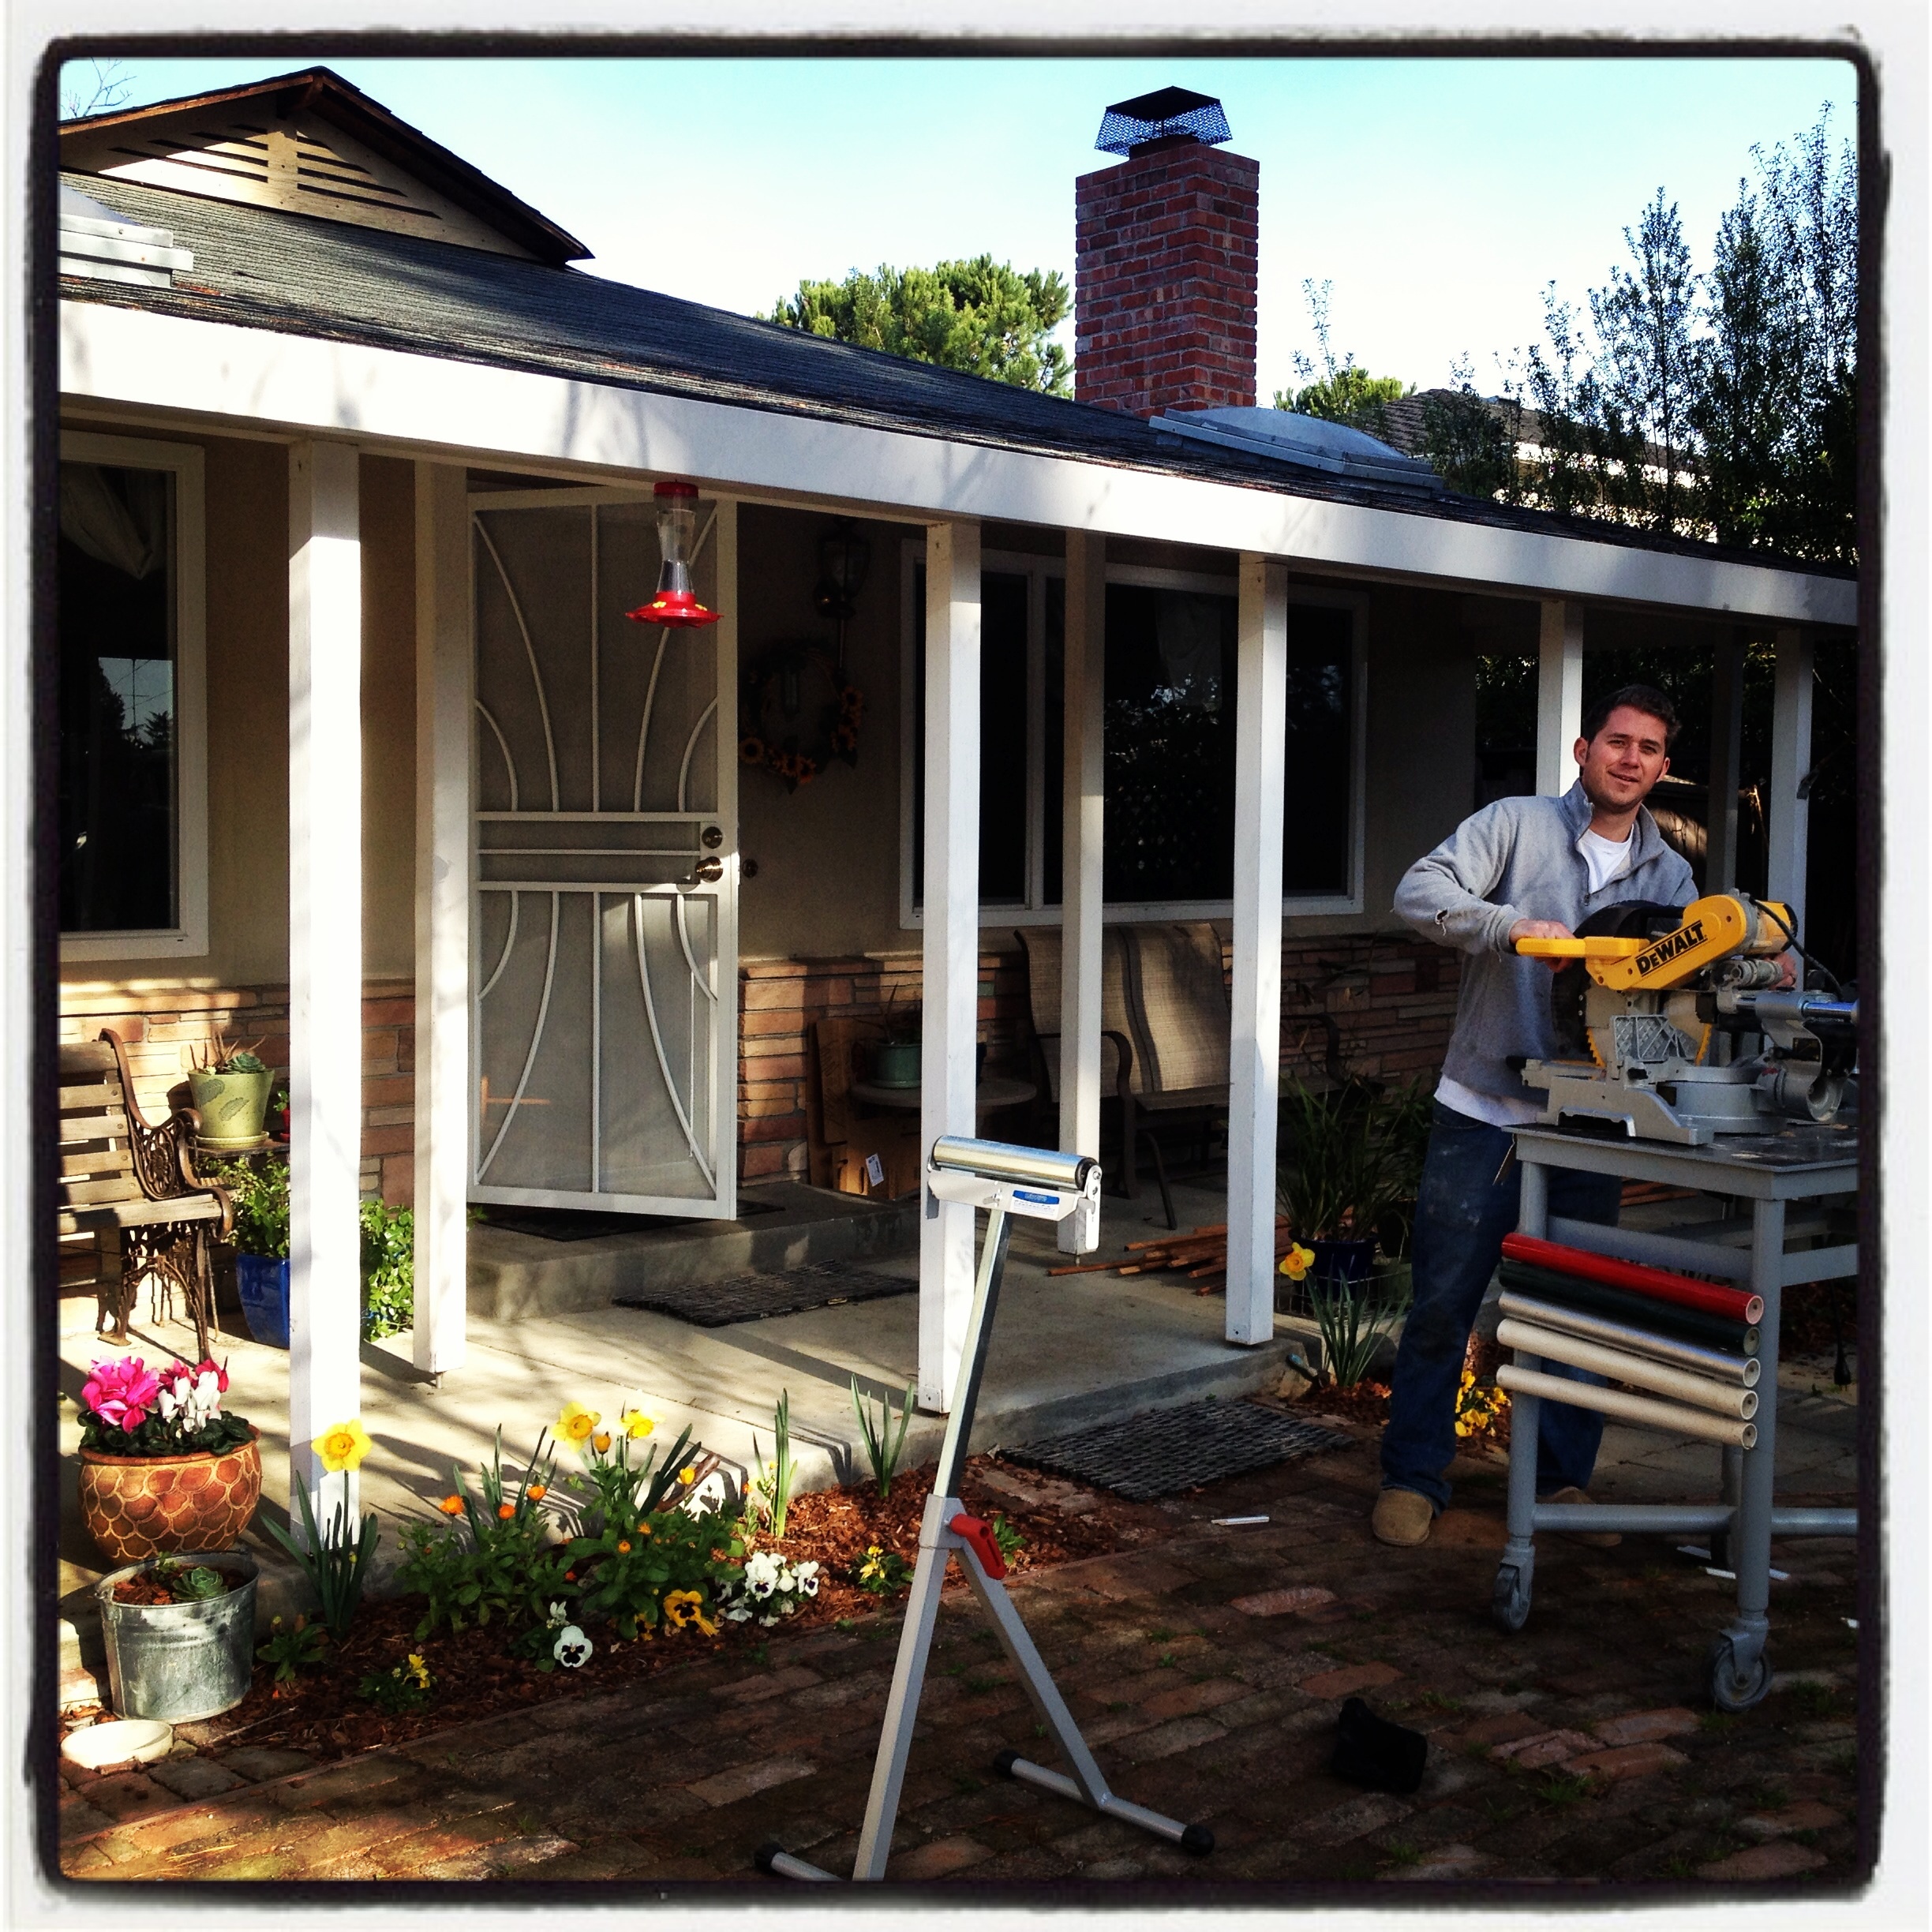
Two coats later, our oak was all set to match. We let it dry overnight, then Justin got to work installing it. Installing quarter round is almost identical to installing baseboard; except that quarter round is 8 feet long (not 16 feet long, like the baseboard), so it’s quite a bit easier to handle. Justin cut, nailed, and filled in the nail holes to give our house an even more finished look. And I am so impressed: Justin completed this whole project, by himself, in about half a day. He is so good! I am so lucky to have such a handy husband! Side note: no, I was not off galavanting while Justin was working his tail off. I was working on another project, that we will tell you about later.
At the end of the day, after we had done some serious house cleaning, our floors (and floor surroundings) finally looked finished. And gloriously, perfectly, wouldn’t change them for anything finished, if you ask me. But maybe that’s because I’m biased and they are finally done. Either way, they look pretty amazing!
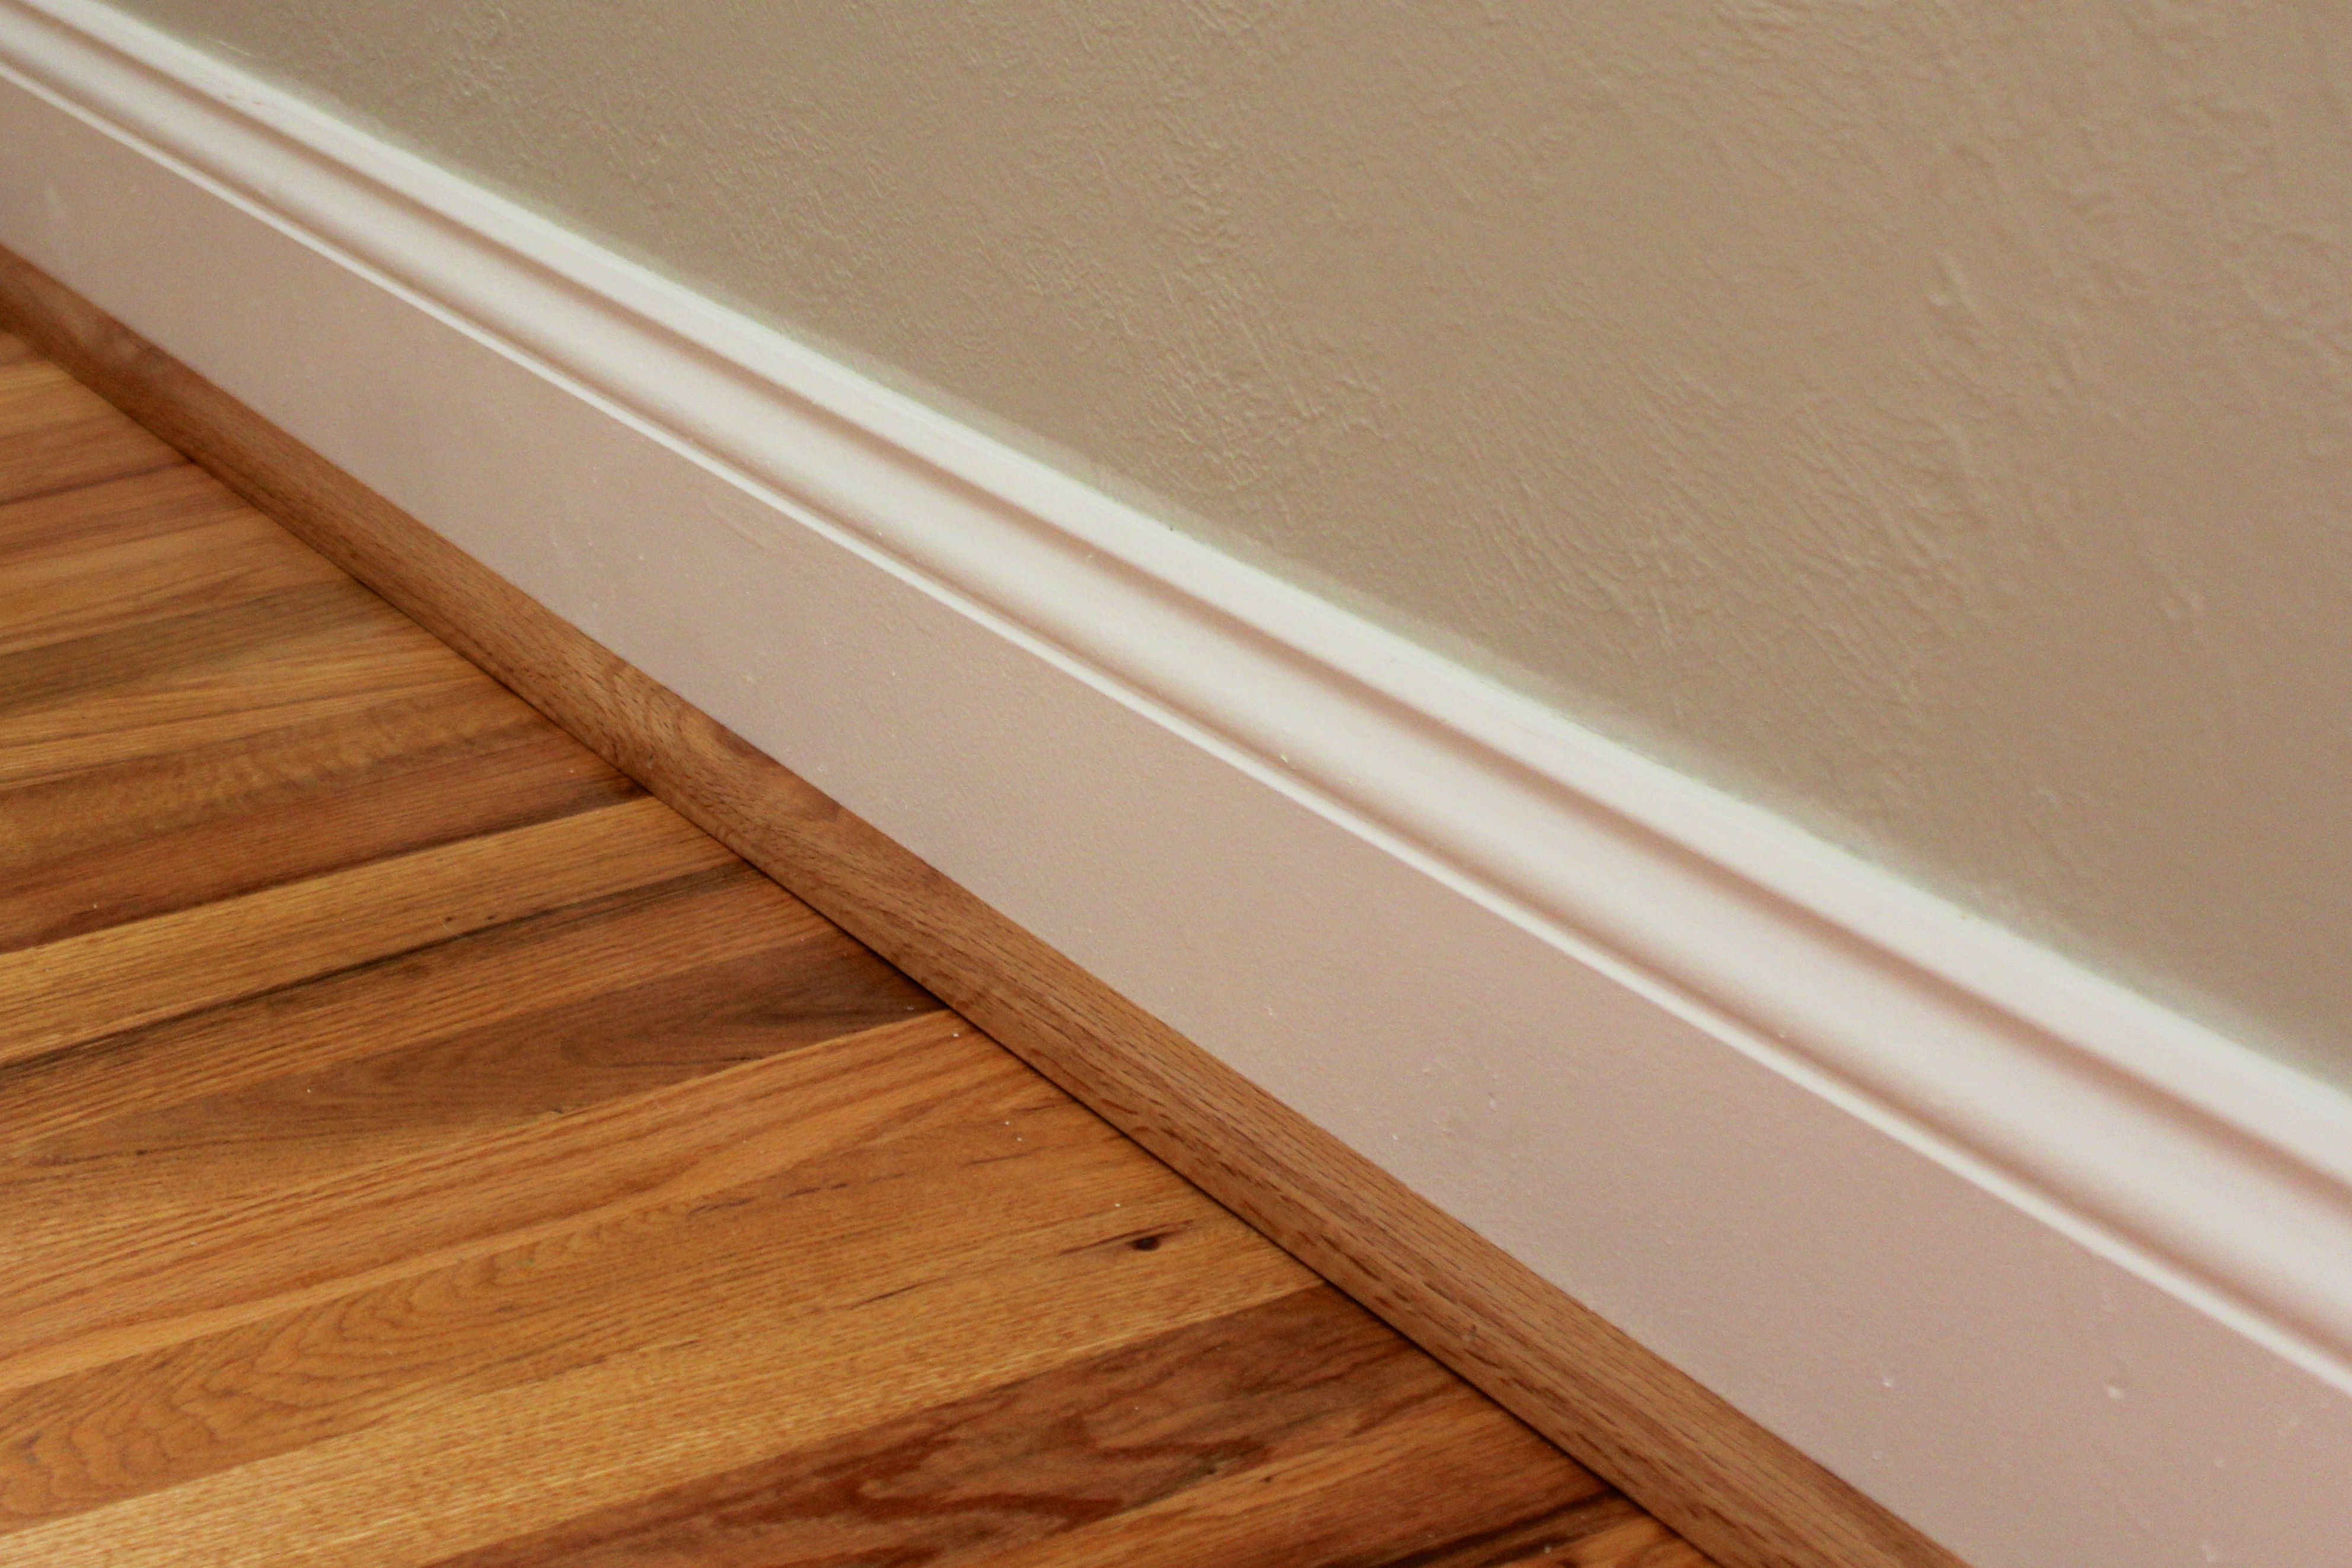
The quarter round did the trick in terms of hiding any gaps between the floors and the baseboard. I was a little bit worried about what the finished product would look like, but the oak matches wonderfully and really ties everything together. And to be honest, you don’t really notice it unless we point it out to you!


am loving the blogs, and the floors look terrific.