
West Wing Demo
The West Wing had long outlived its glory days as a sort of secondary garage-storage room-workshop. And you know how much boys of all ages love demo work… we get them started real young in this family. Here is Will’s first attempt with a sledgehammer. Dani, please don’t blame me when Will starts hammering holes in the walls of your beautiful new home… it was Stephen’s idea!

But I digress. If you recall from the months and months ago when I first told you how much I loathed the West Wing (more on that here), and the fact that the structure is not a wing and is not on the west side of the house, you can only imagine how excited I was that demo weekend had finally arrived. I was even more excited than my mom is in this picture:

There aren’t any photos to show my excitement, but that captures it quite well. Here are some photos of the demo work, and a step-by-step guide on how to demolish the West Wing at your house. Oh, wait, you don’t have one? Consider yourself lucky!
Step 1: Remove any existing windows and doors (this is probably the least fun part). Then take your first whack at the drywall with a crowbar.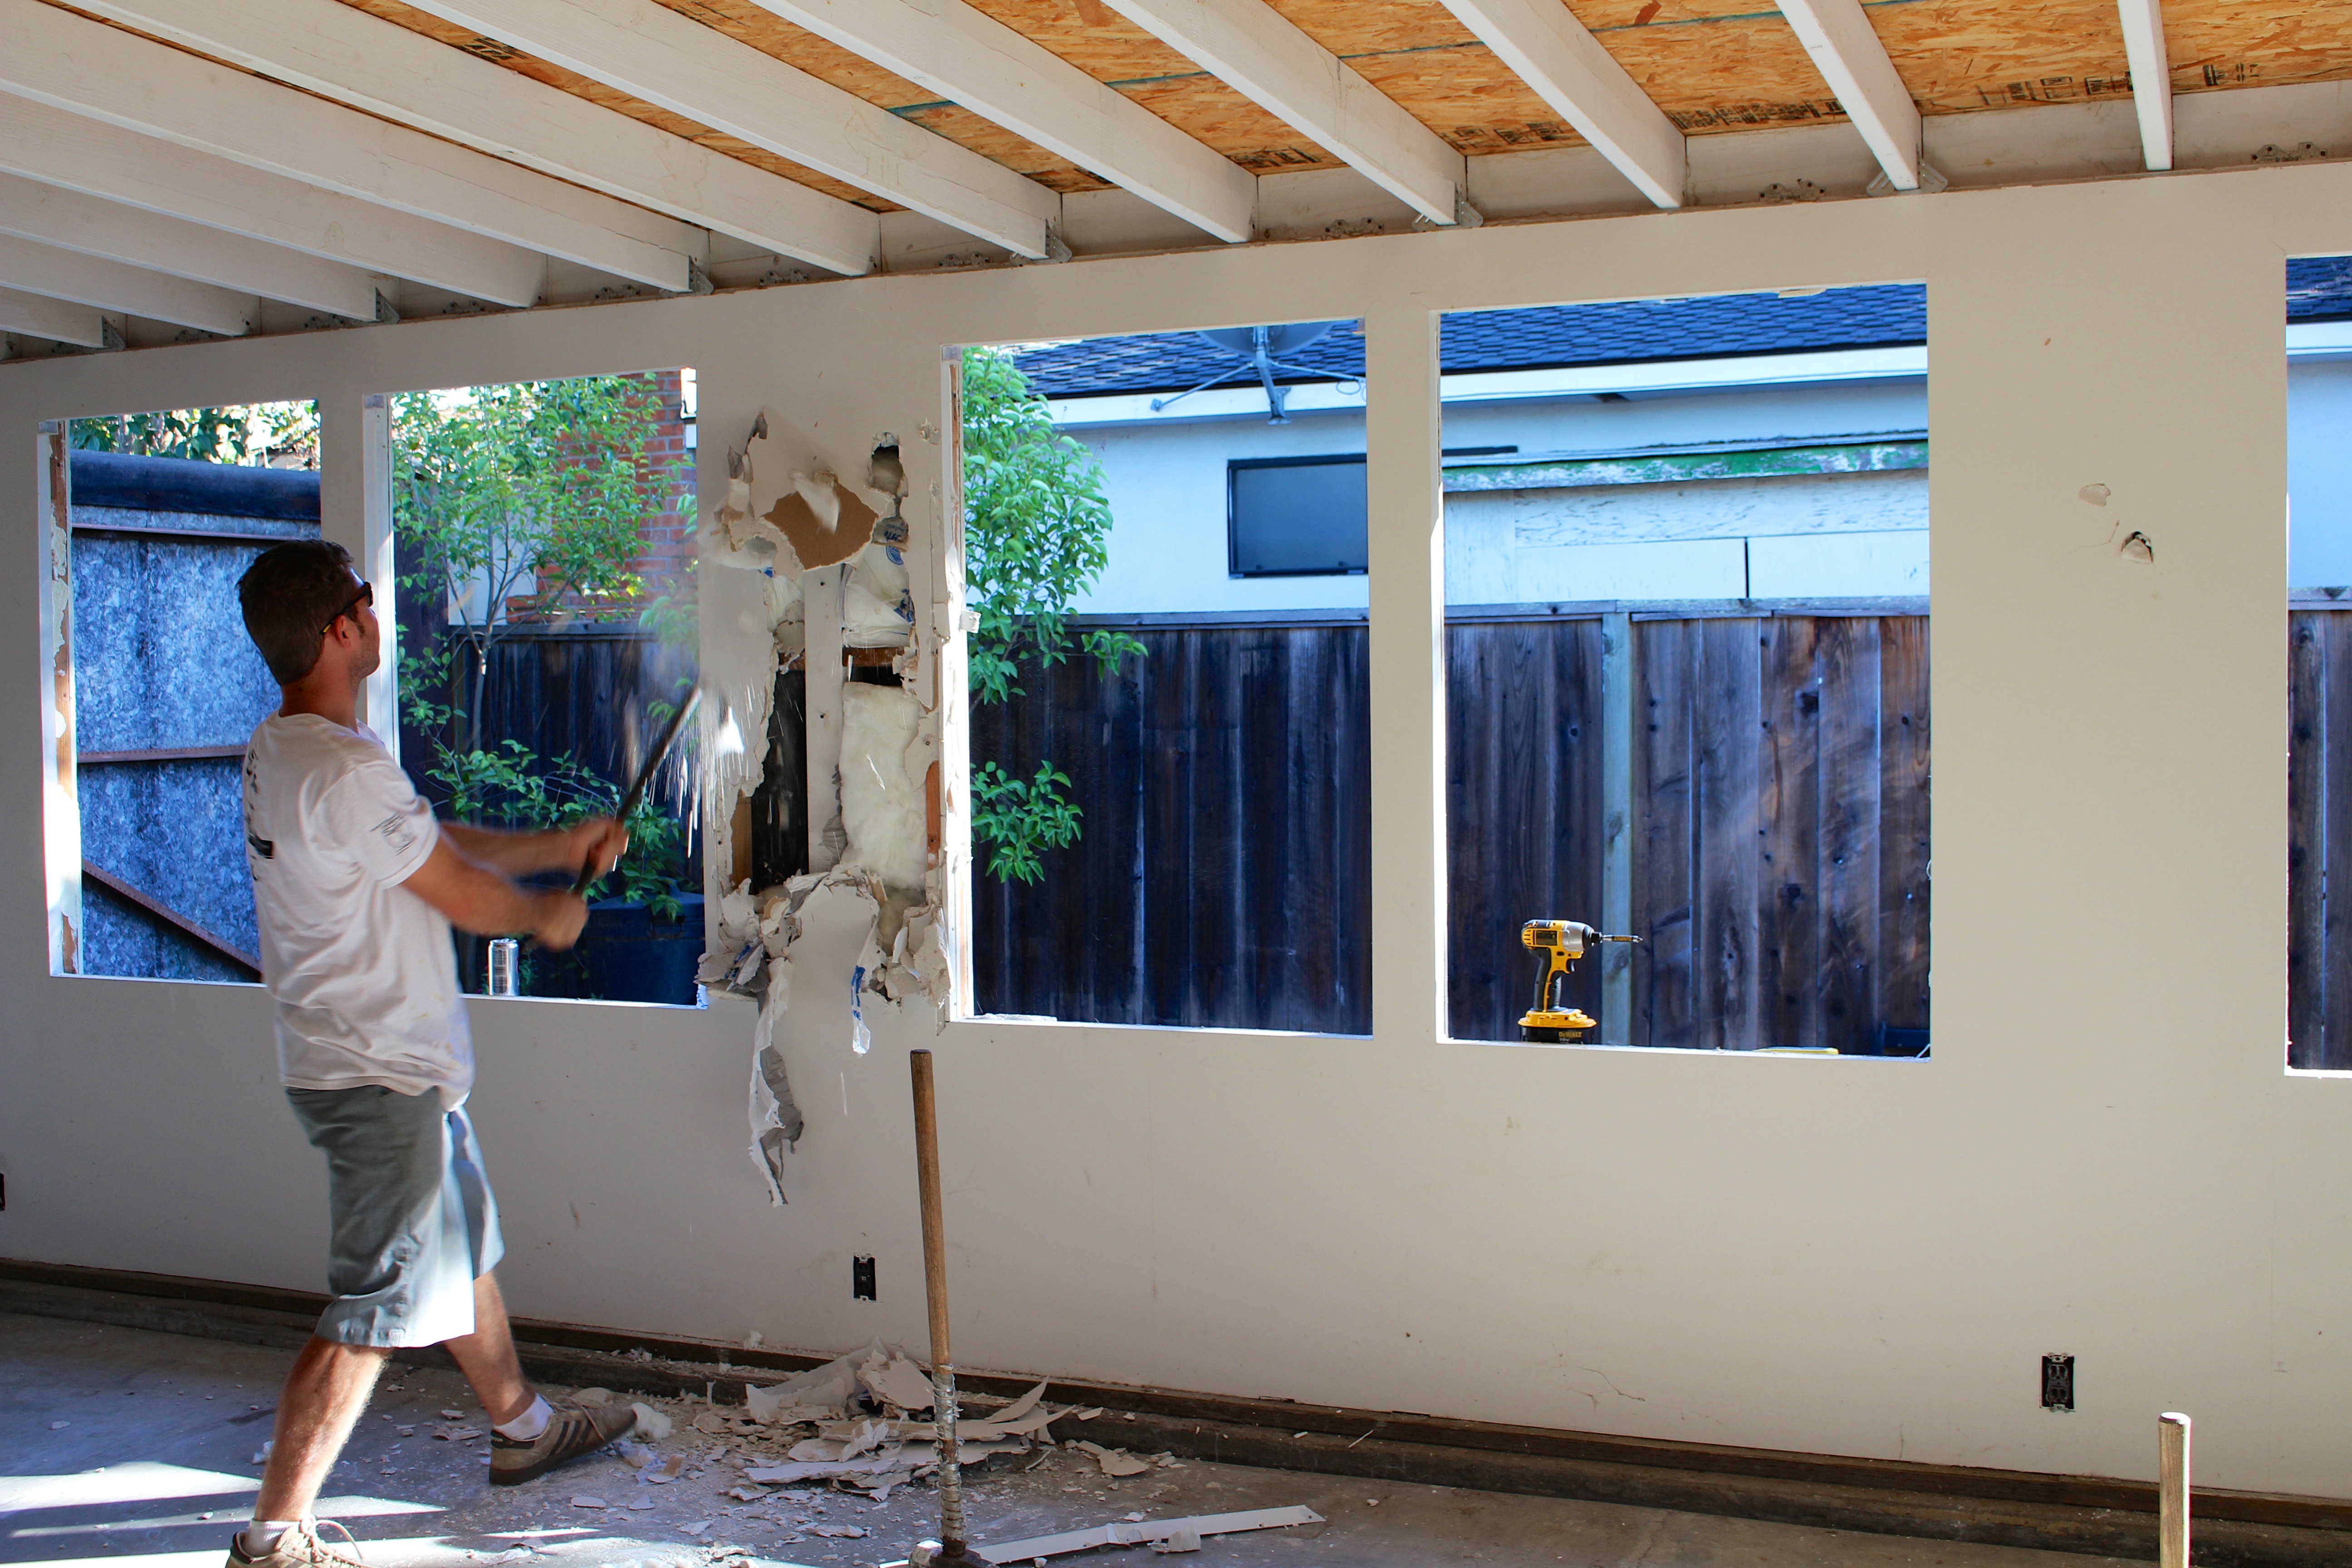
Step 2: Realize that you don’t have to remove all that drywall, only the parts concealing electrical work that you do have to remove. Then stand around and make a plan.
Step 3: Raise the roof! Actually, just remove it entirely. No photos of this step, sadly. I think my dad did this during the week without us? Or the roof removal process wasn’t very photogenic. It was a long time ago, and I don’t remember…
Step 4: Detach to-be-demolished walls from to-remain walls.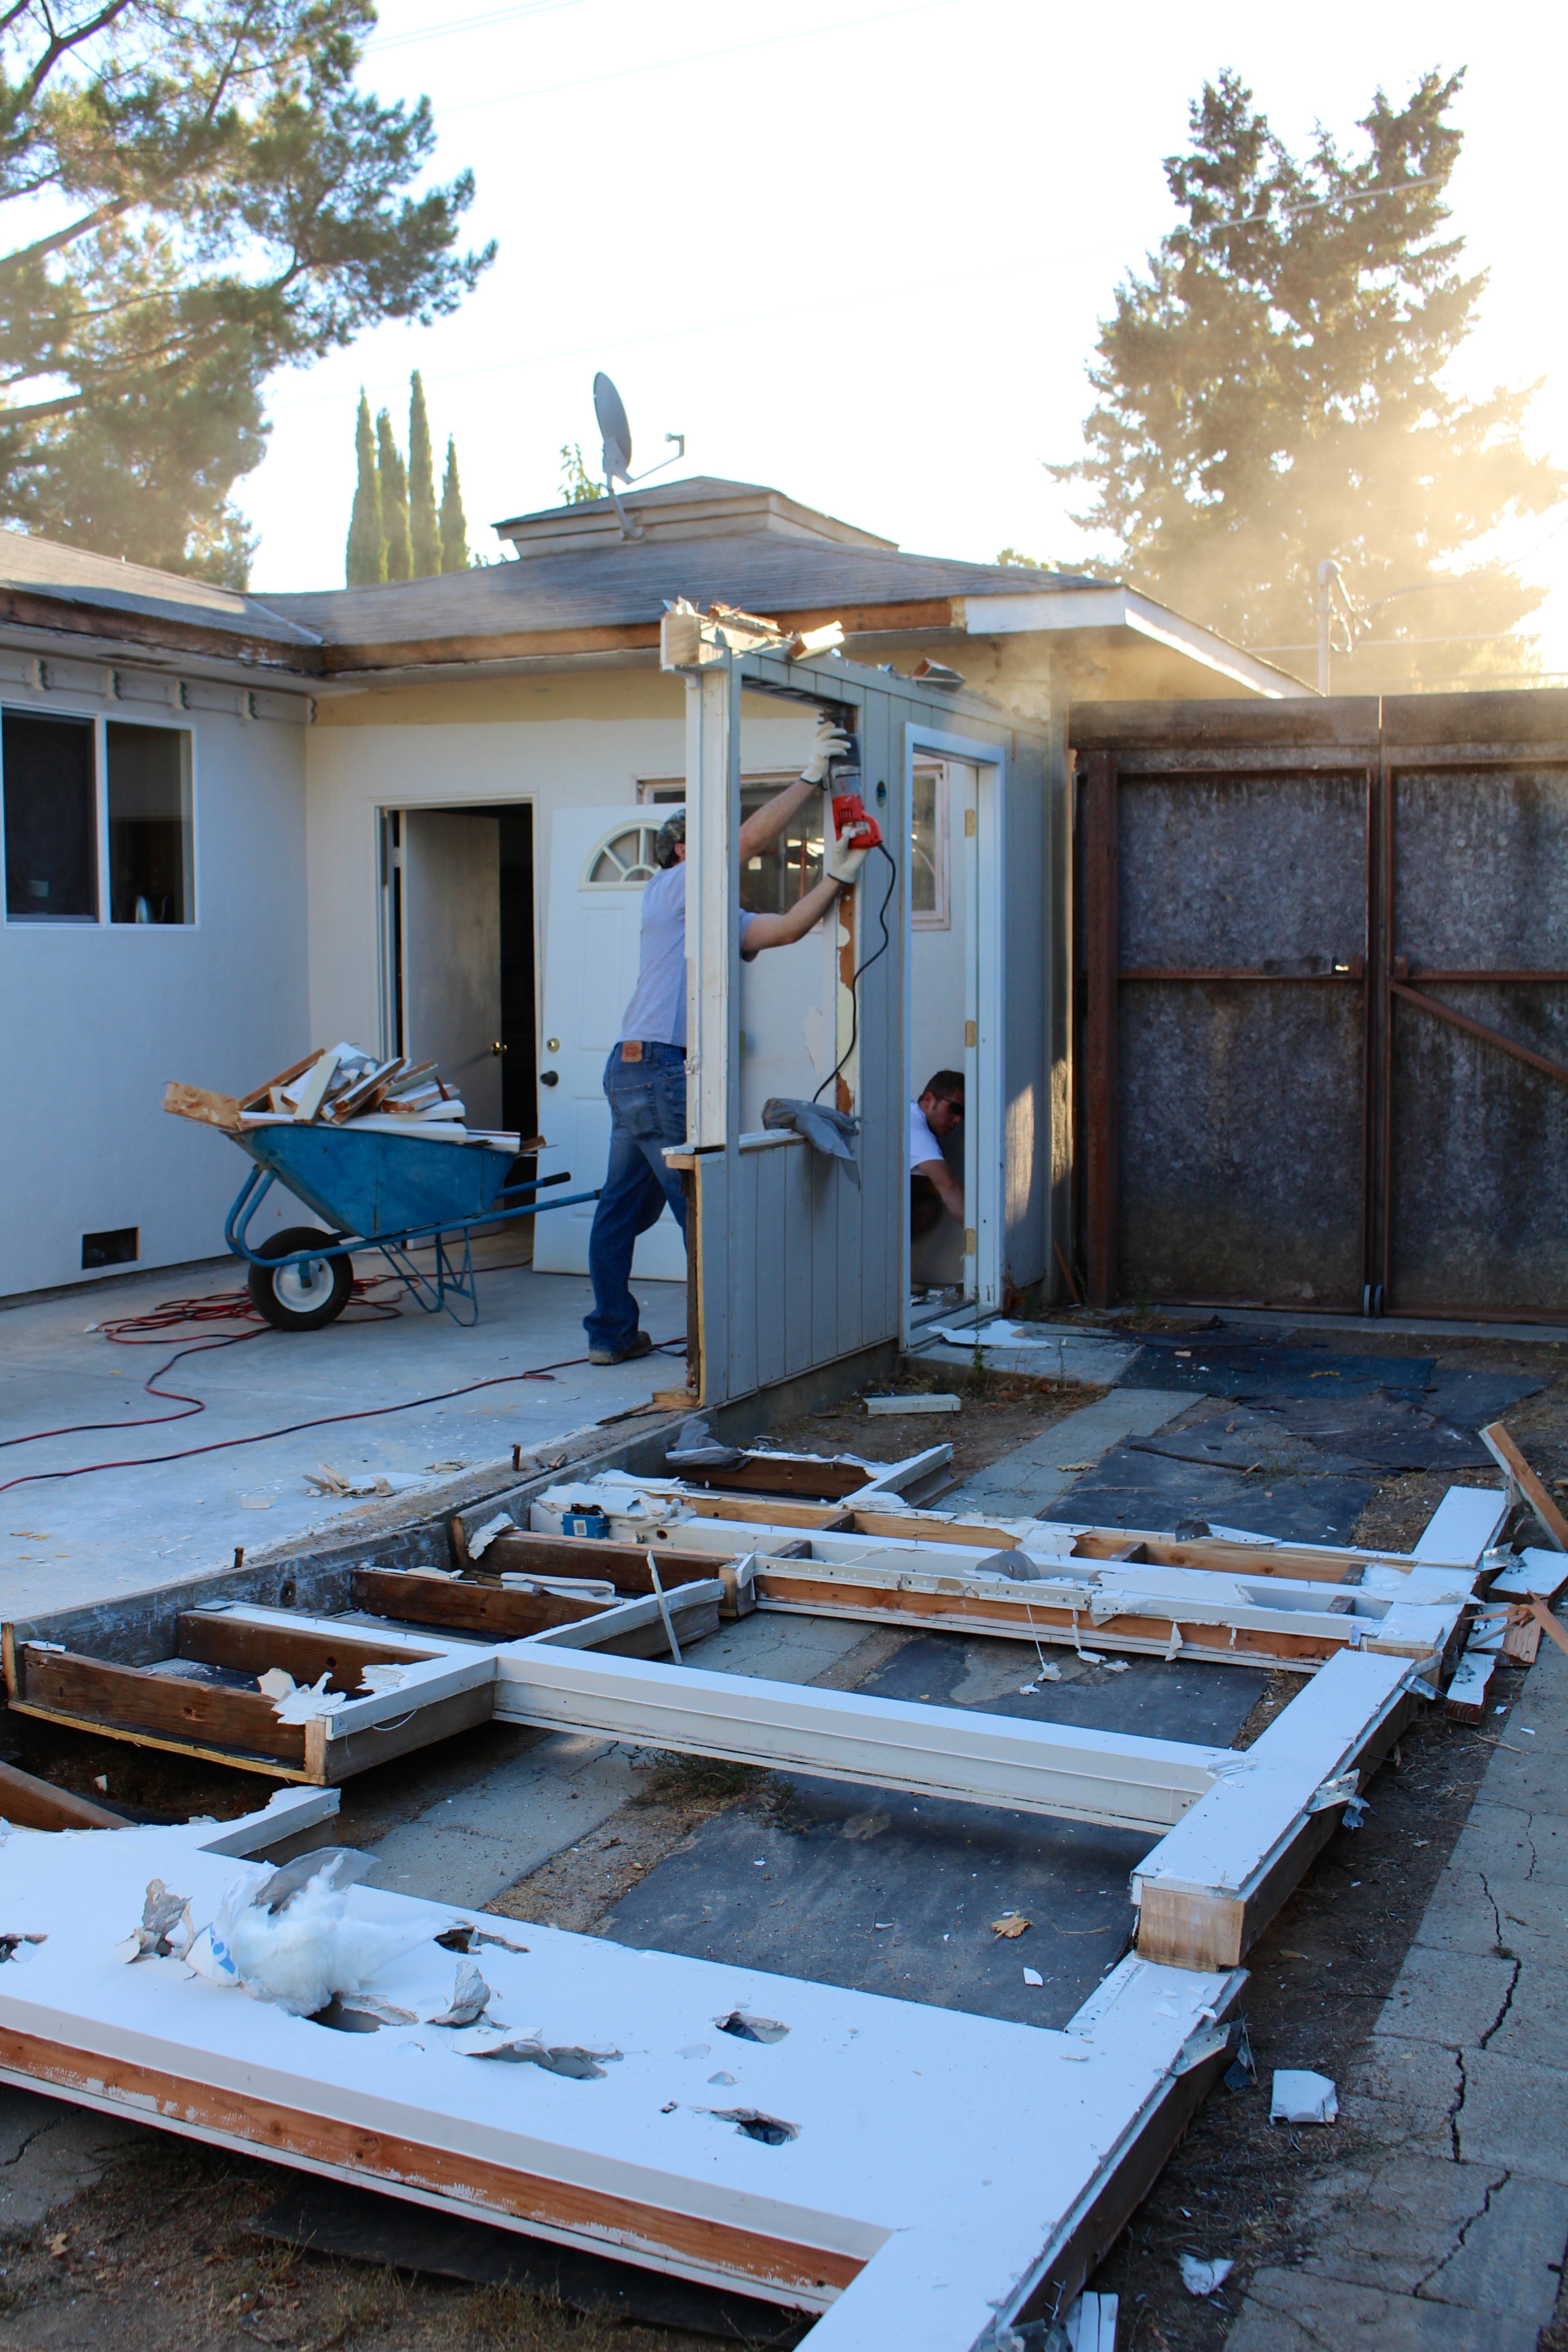
Step 5: Push walls over!!! Note: my steps may be slightly out of order. Don’t worry about it…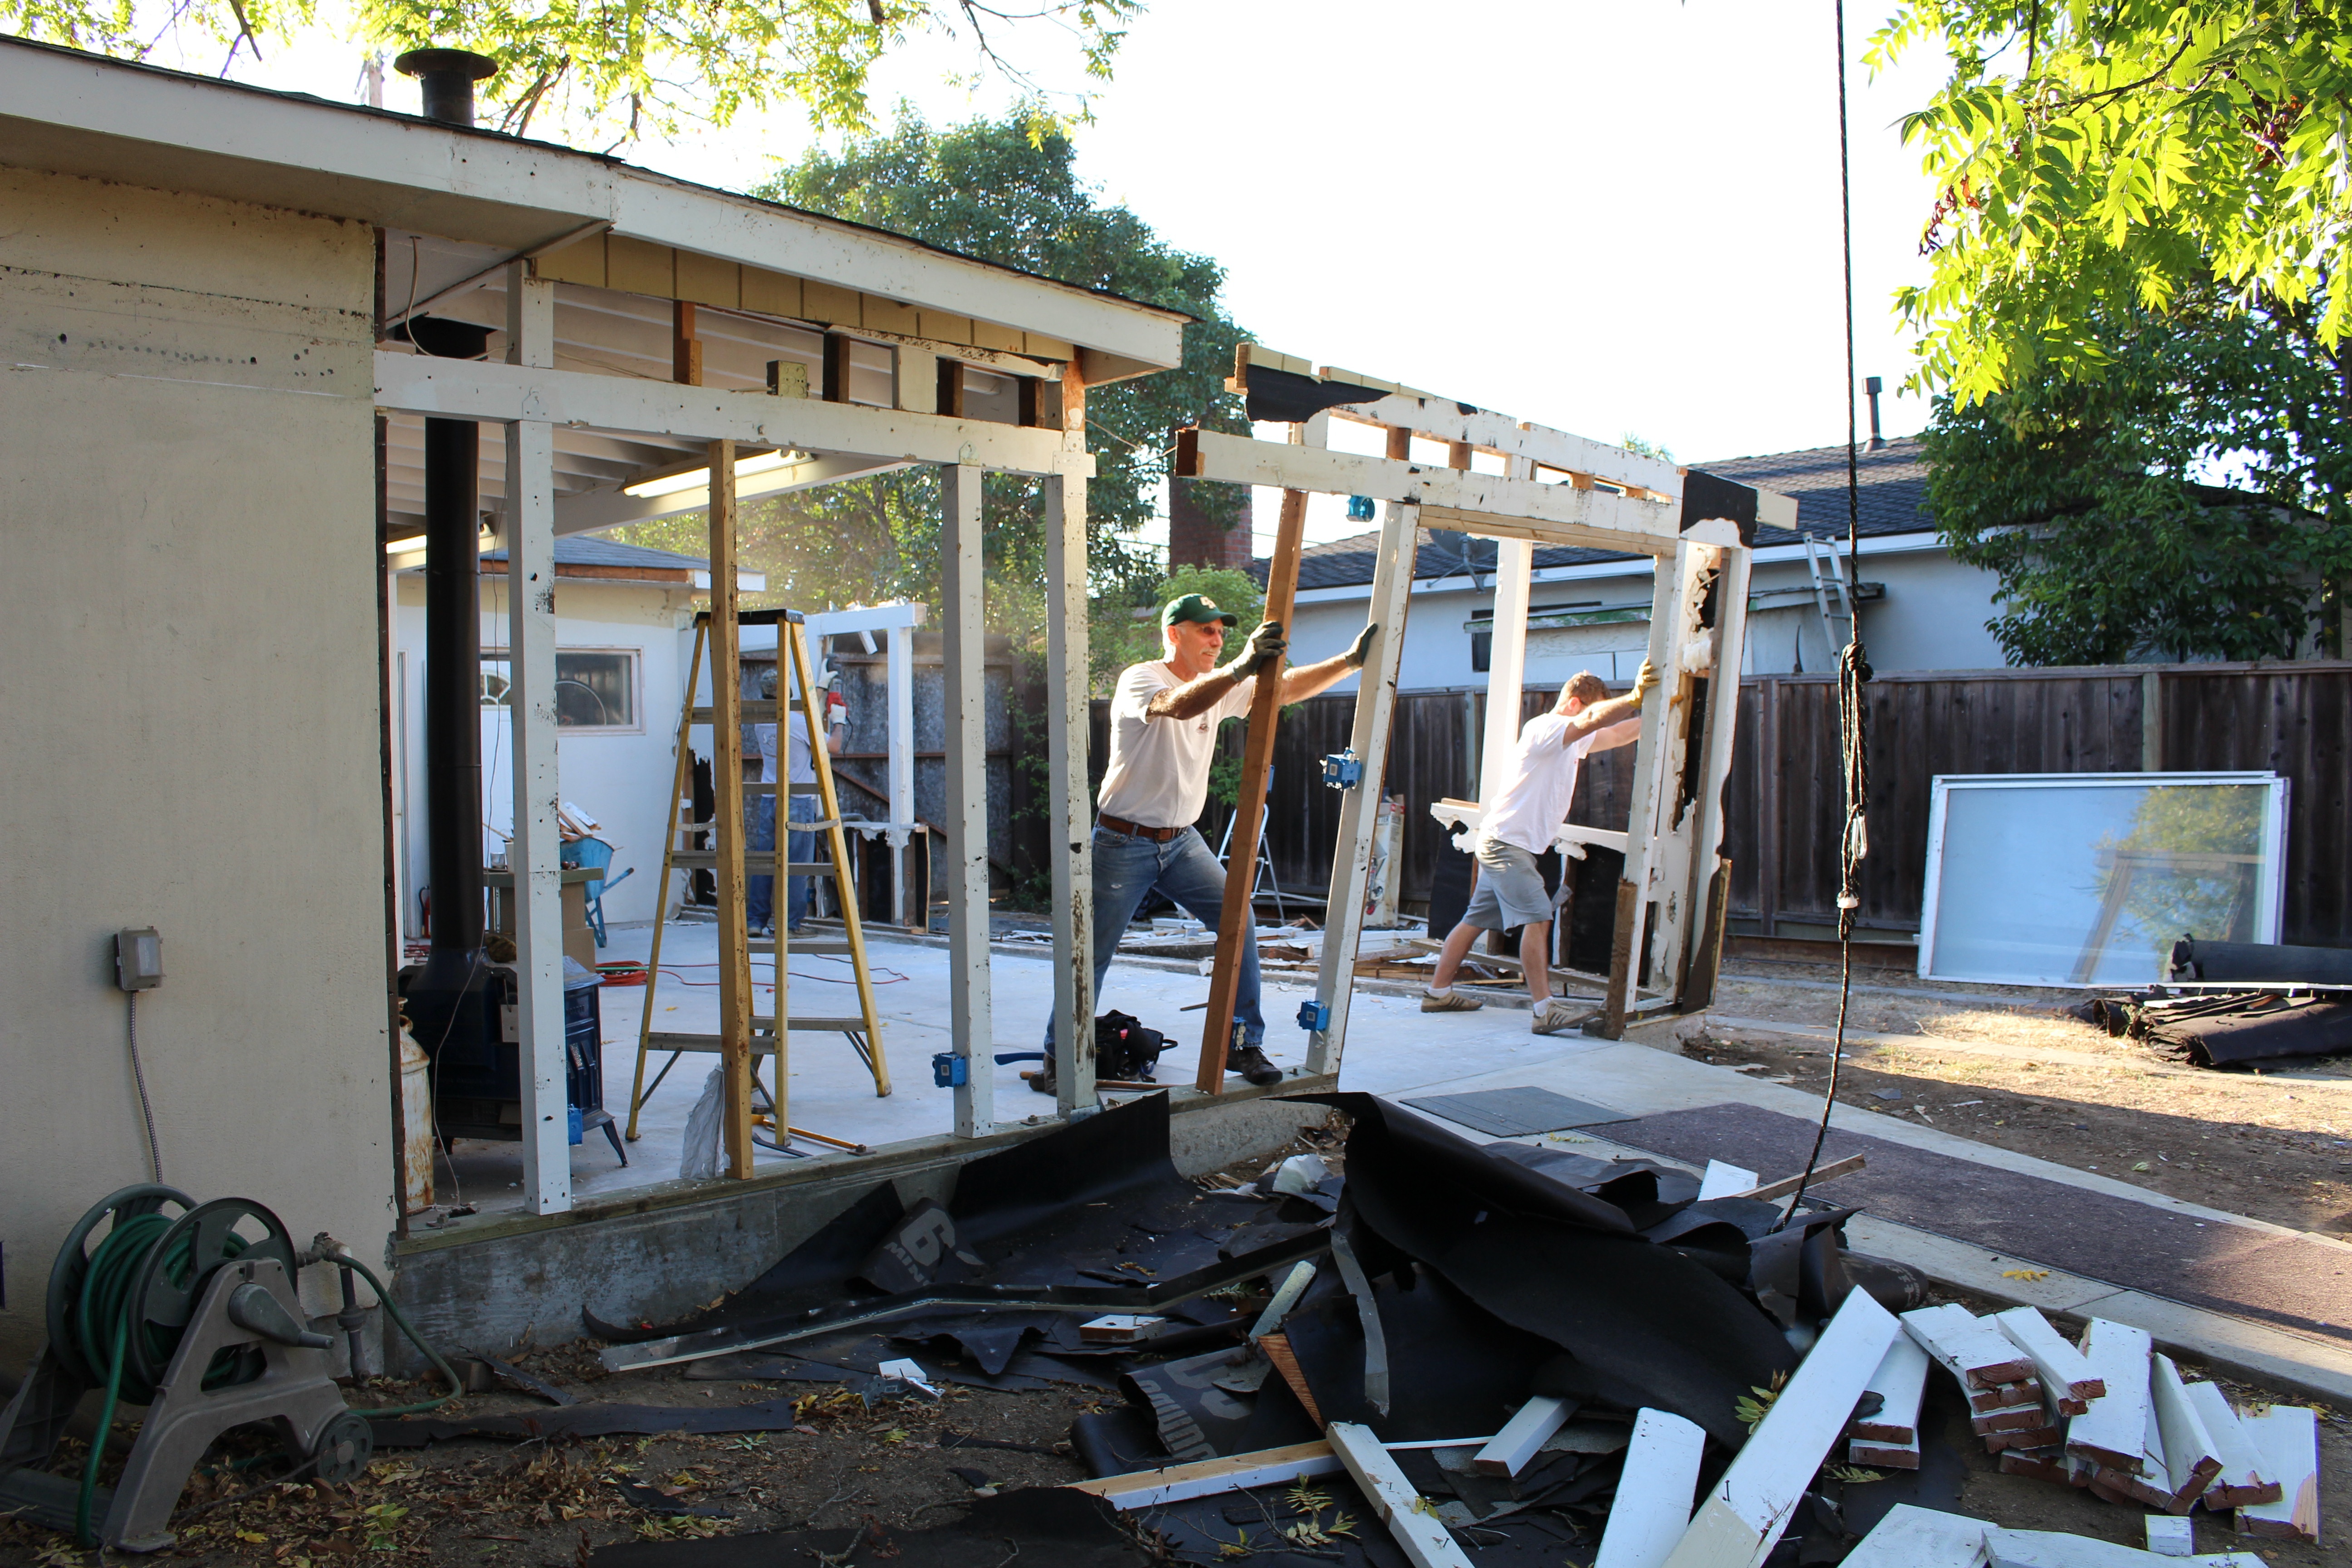
Step 6: Examine handiwork. Reward yourself with a beer. That’s the most fun you’re going to have today: now you have to break up all the demolition debris so it fits into the massive dump truck you borrowed.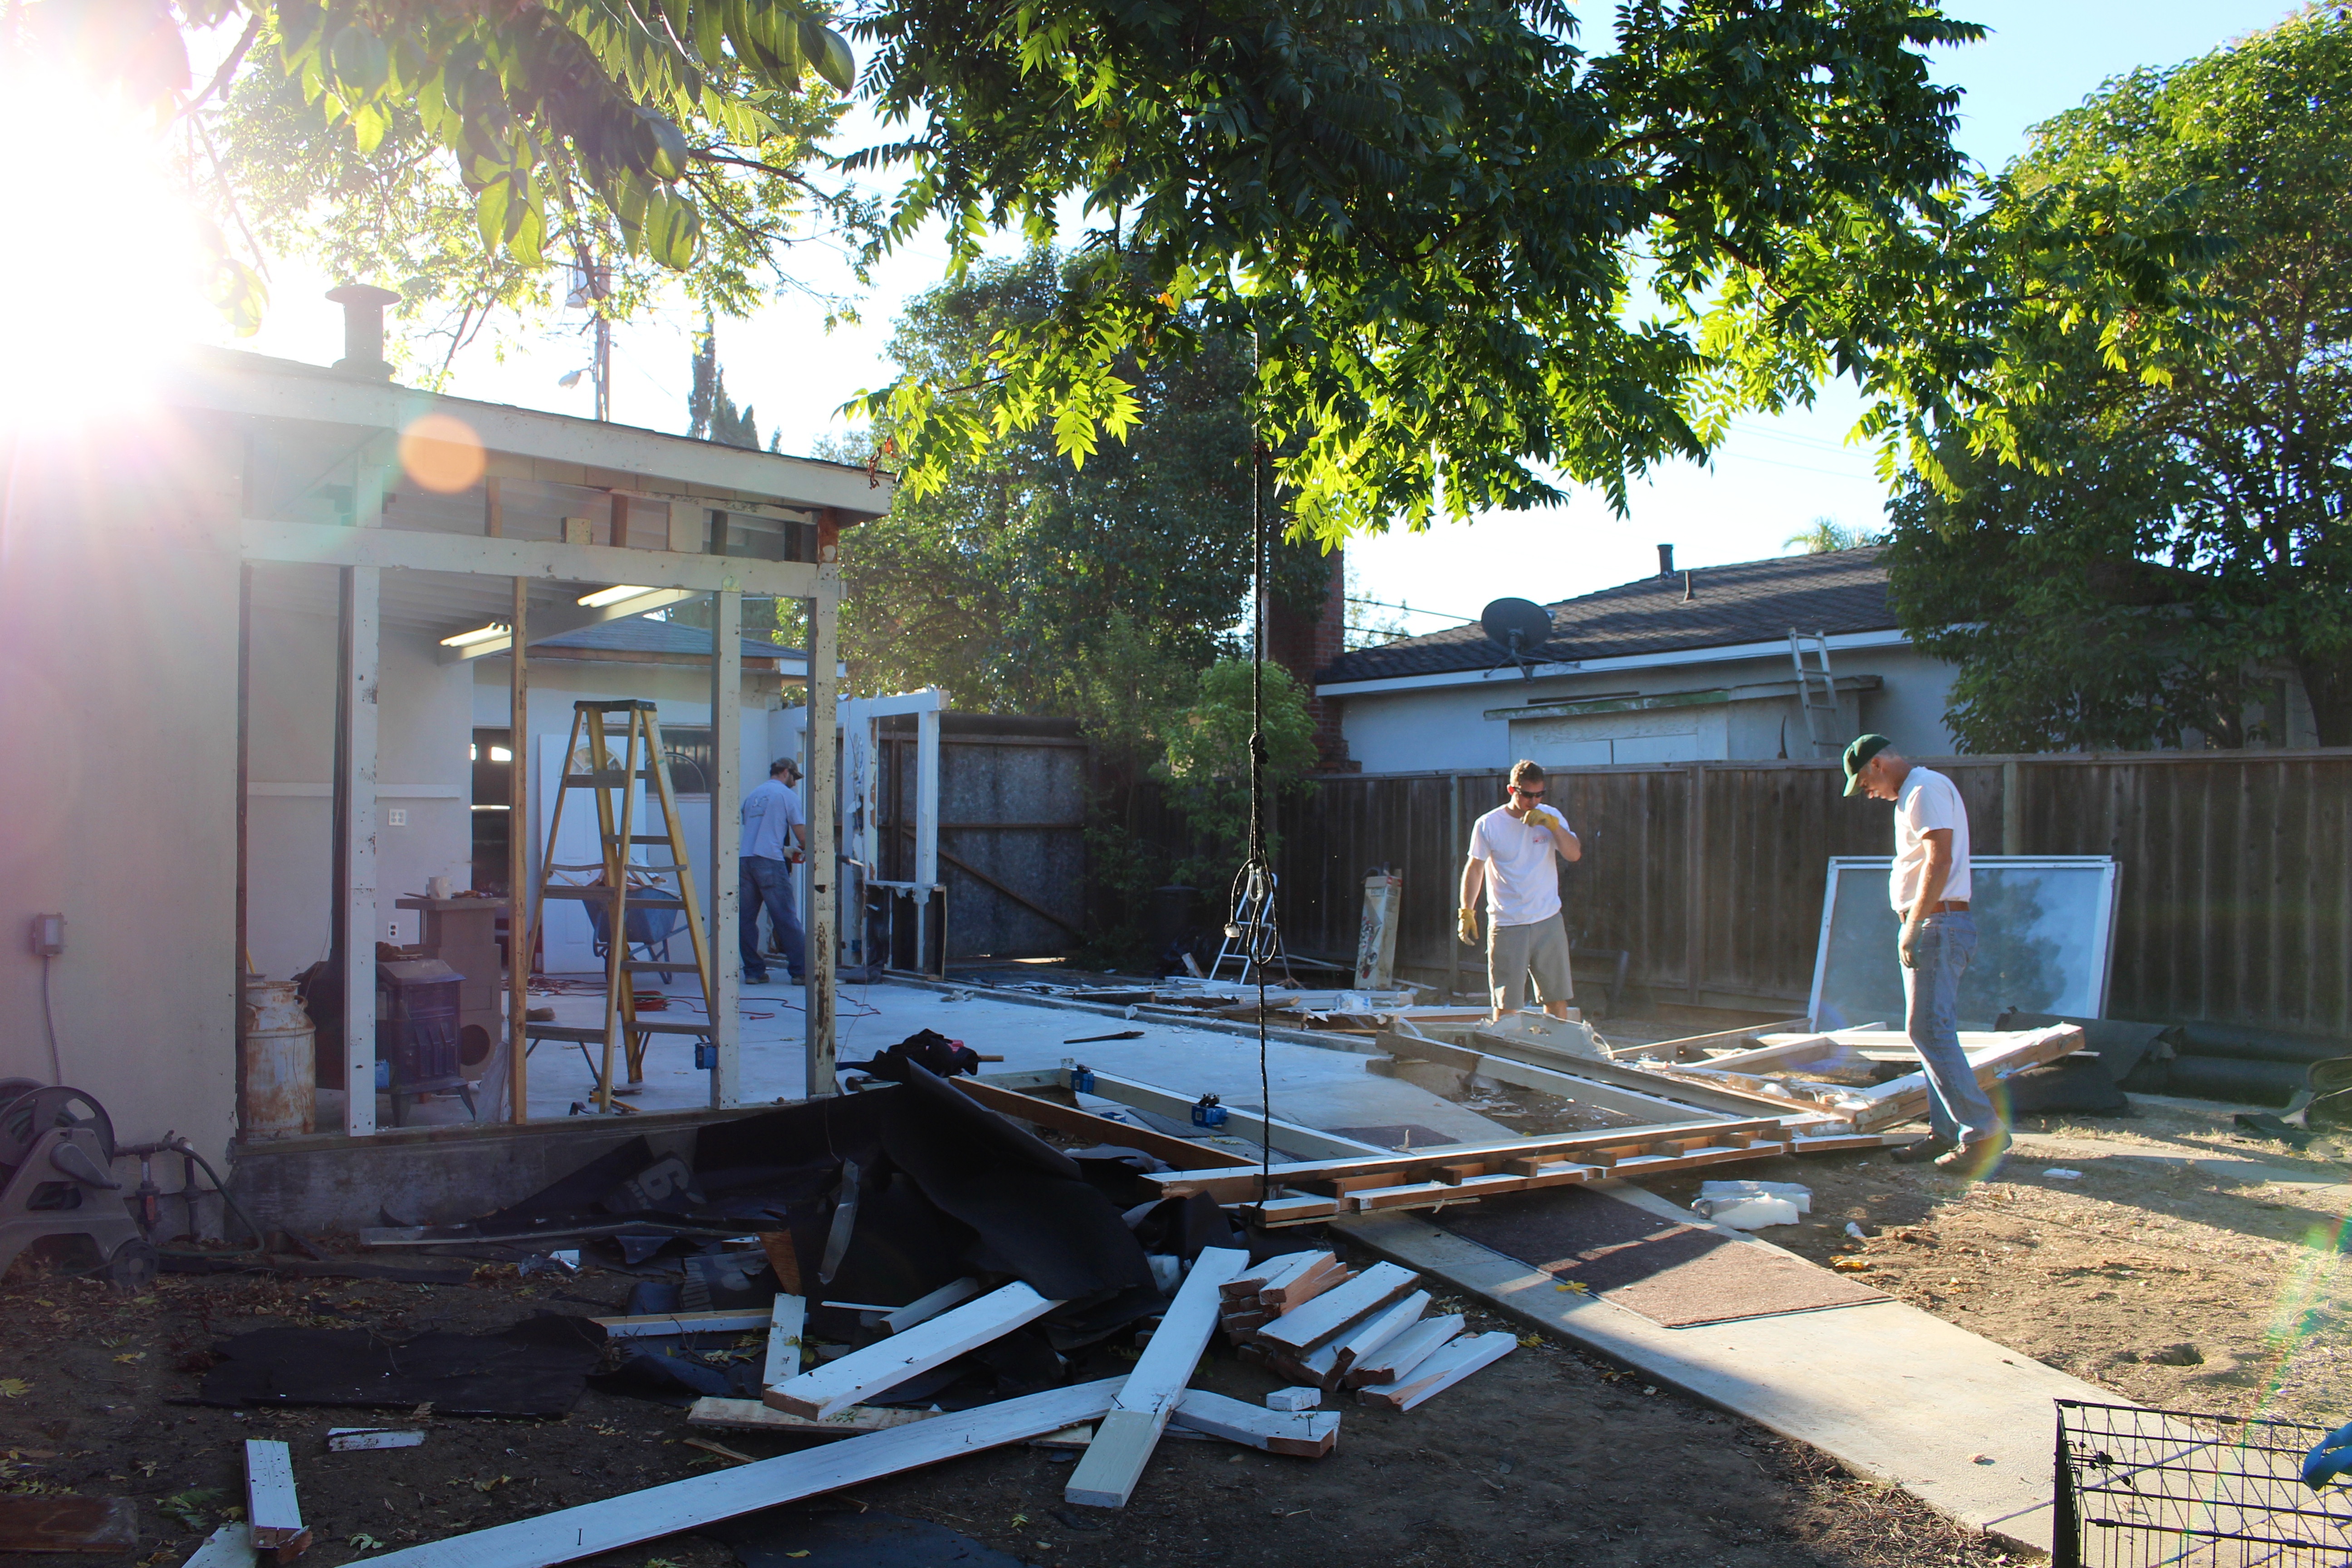
Step 7: Drive massive dump truck to the dump. While you’re driving, you MUST grin like a little kid the whole way. This step is non-negotiable. Step 8: Thoroughly enjoy watching the dump truck do all of the remaining work for you. That’s right: no shovels, no brooms, no clean up; just push the button and watch it all slide out! (Click that link to watch the quick video)
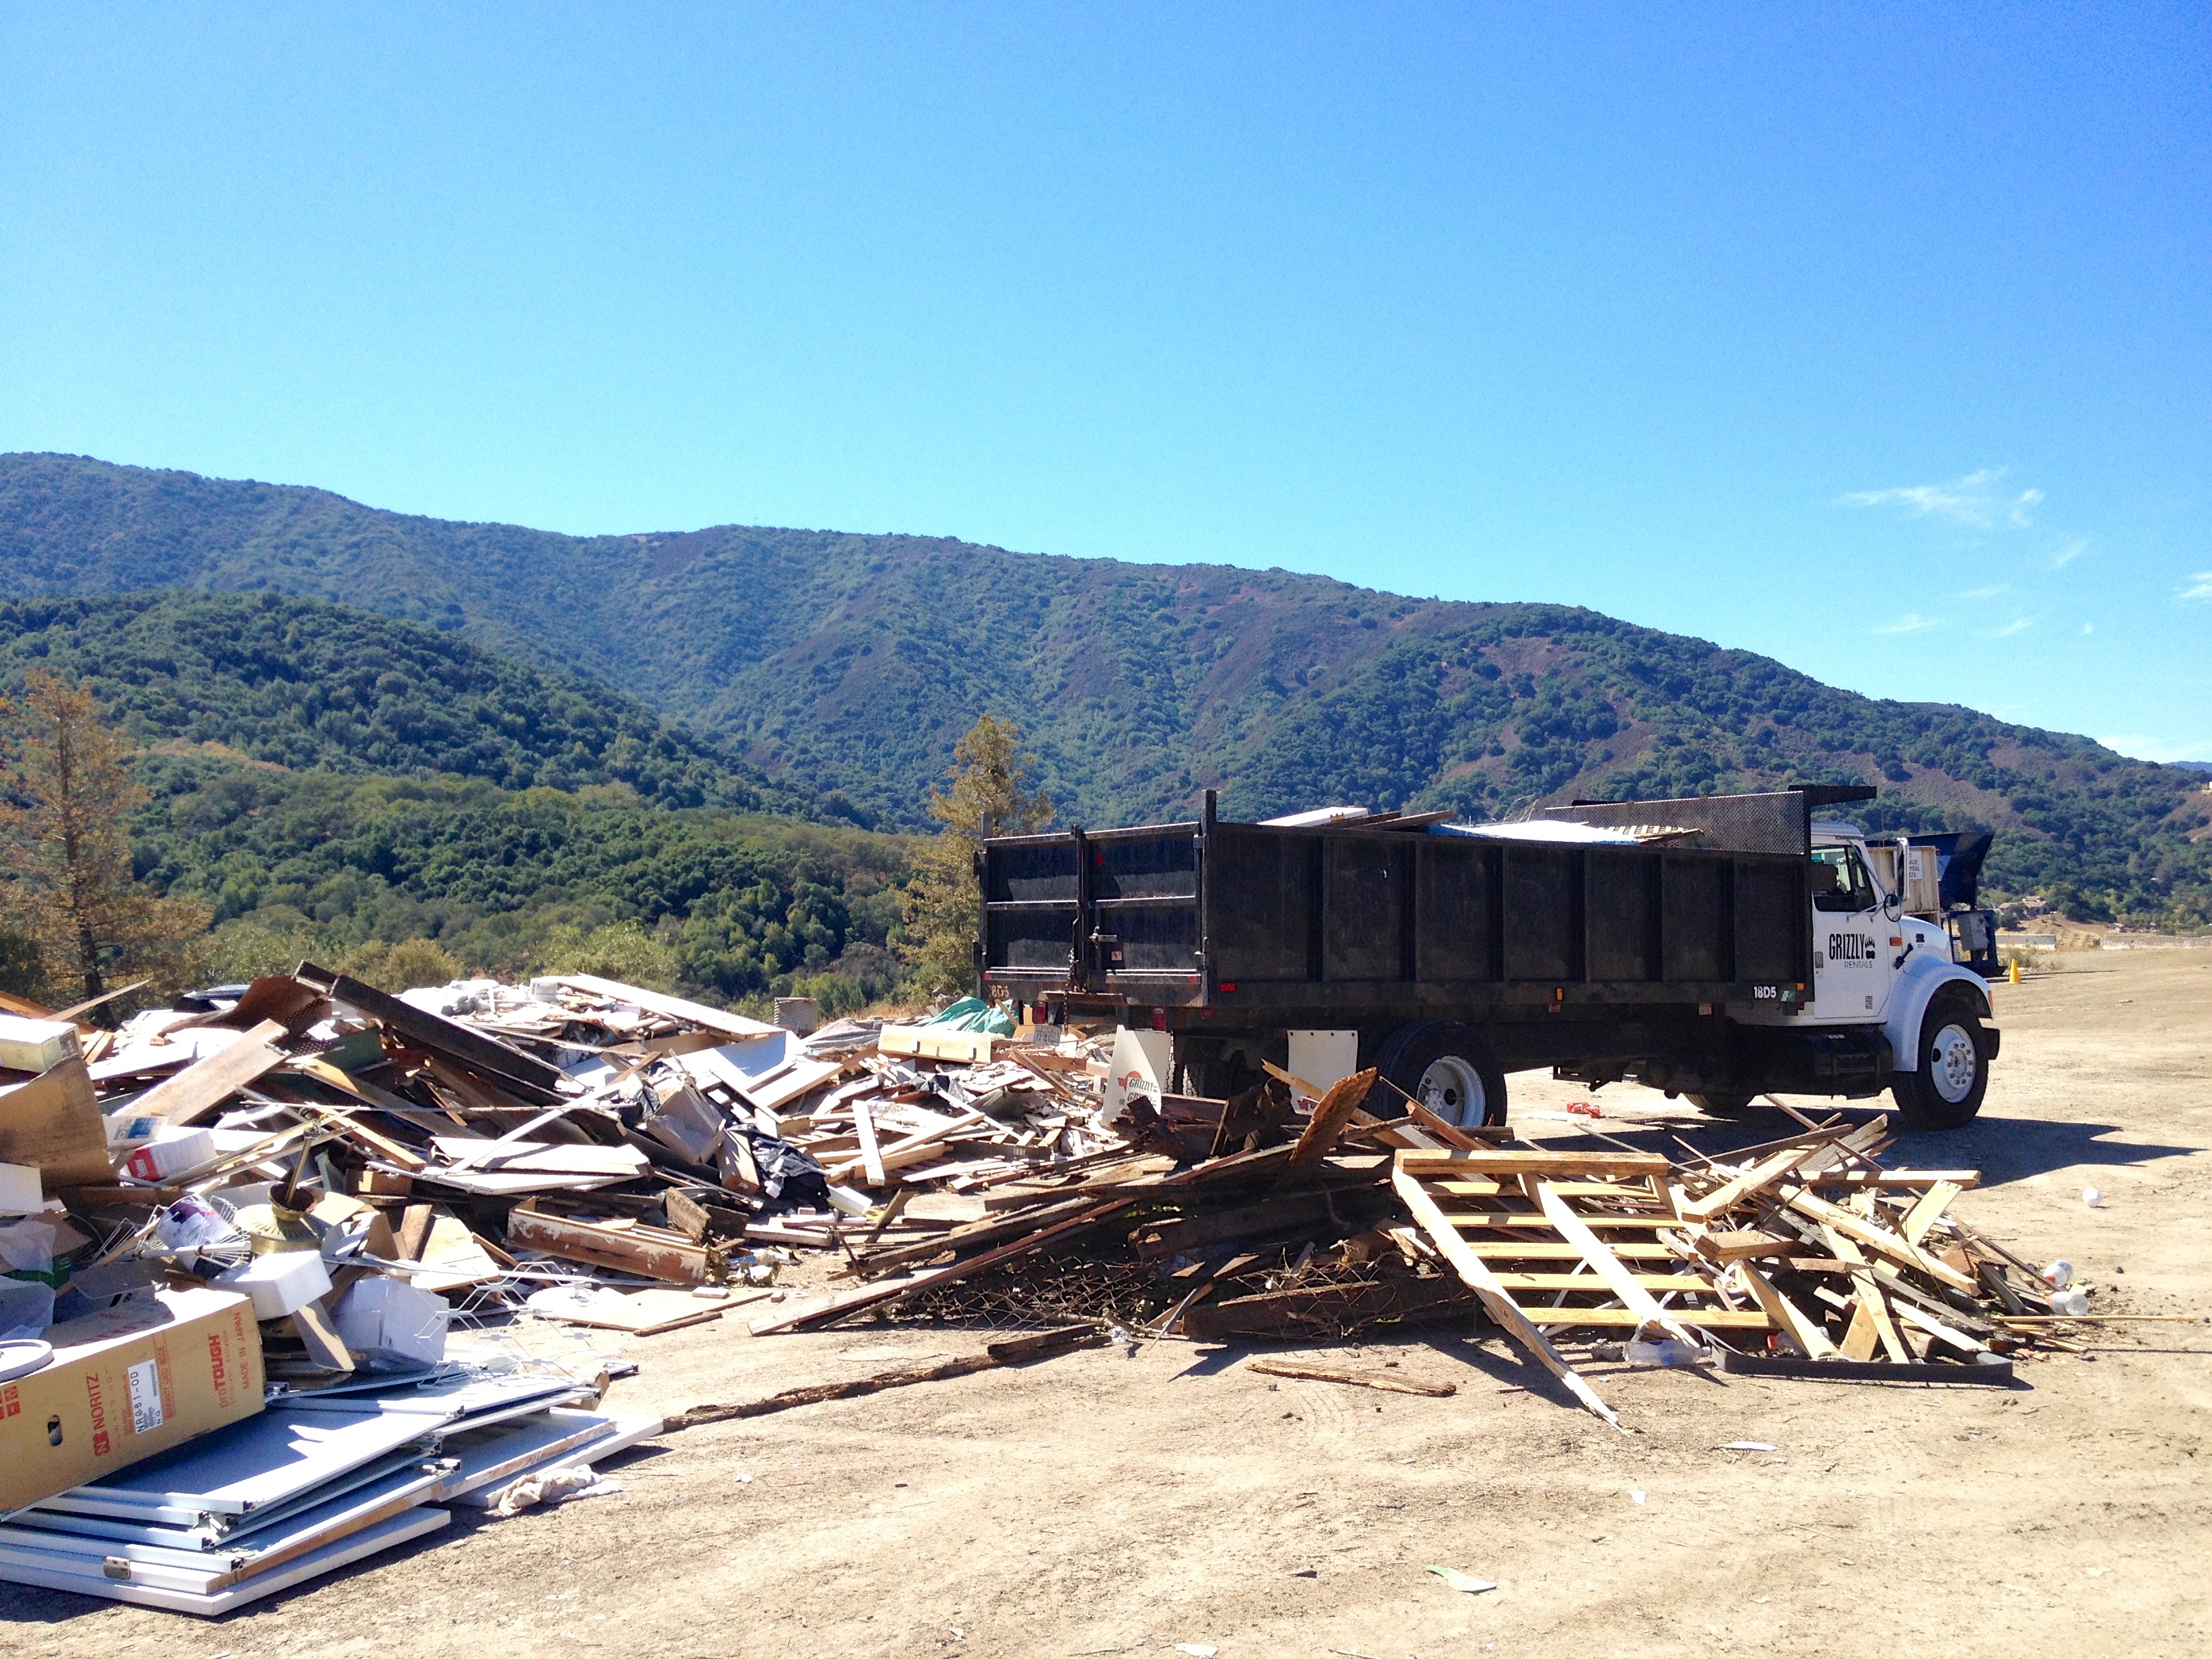
Step 9: Share the glorious before and after photos, and revel in the sunlight now streaming through your kitchen window.
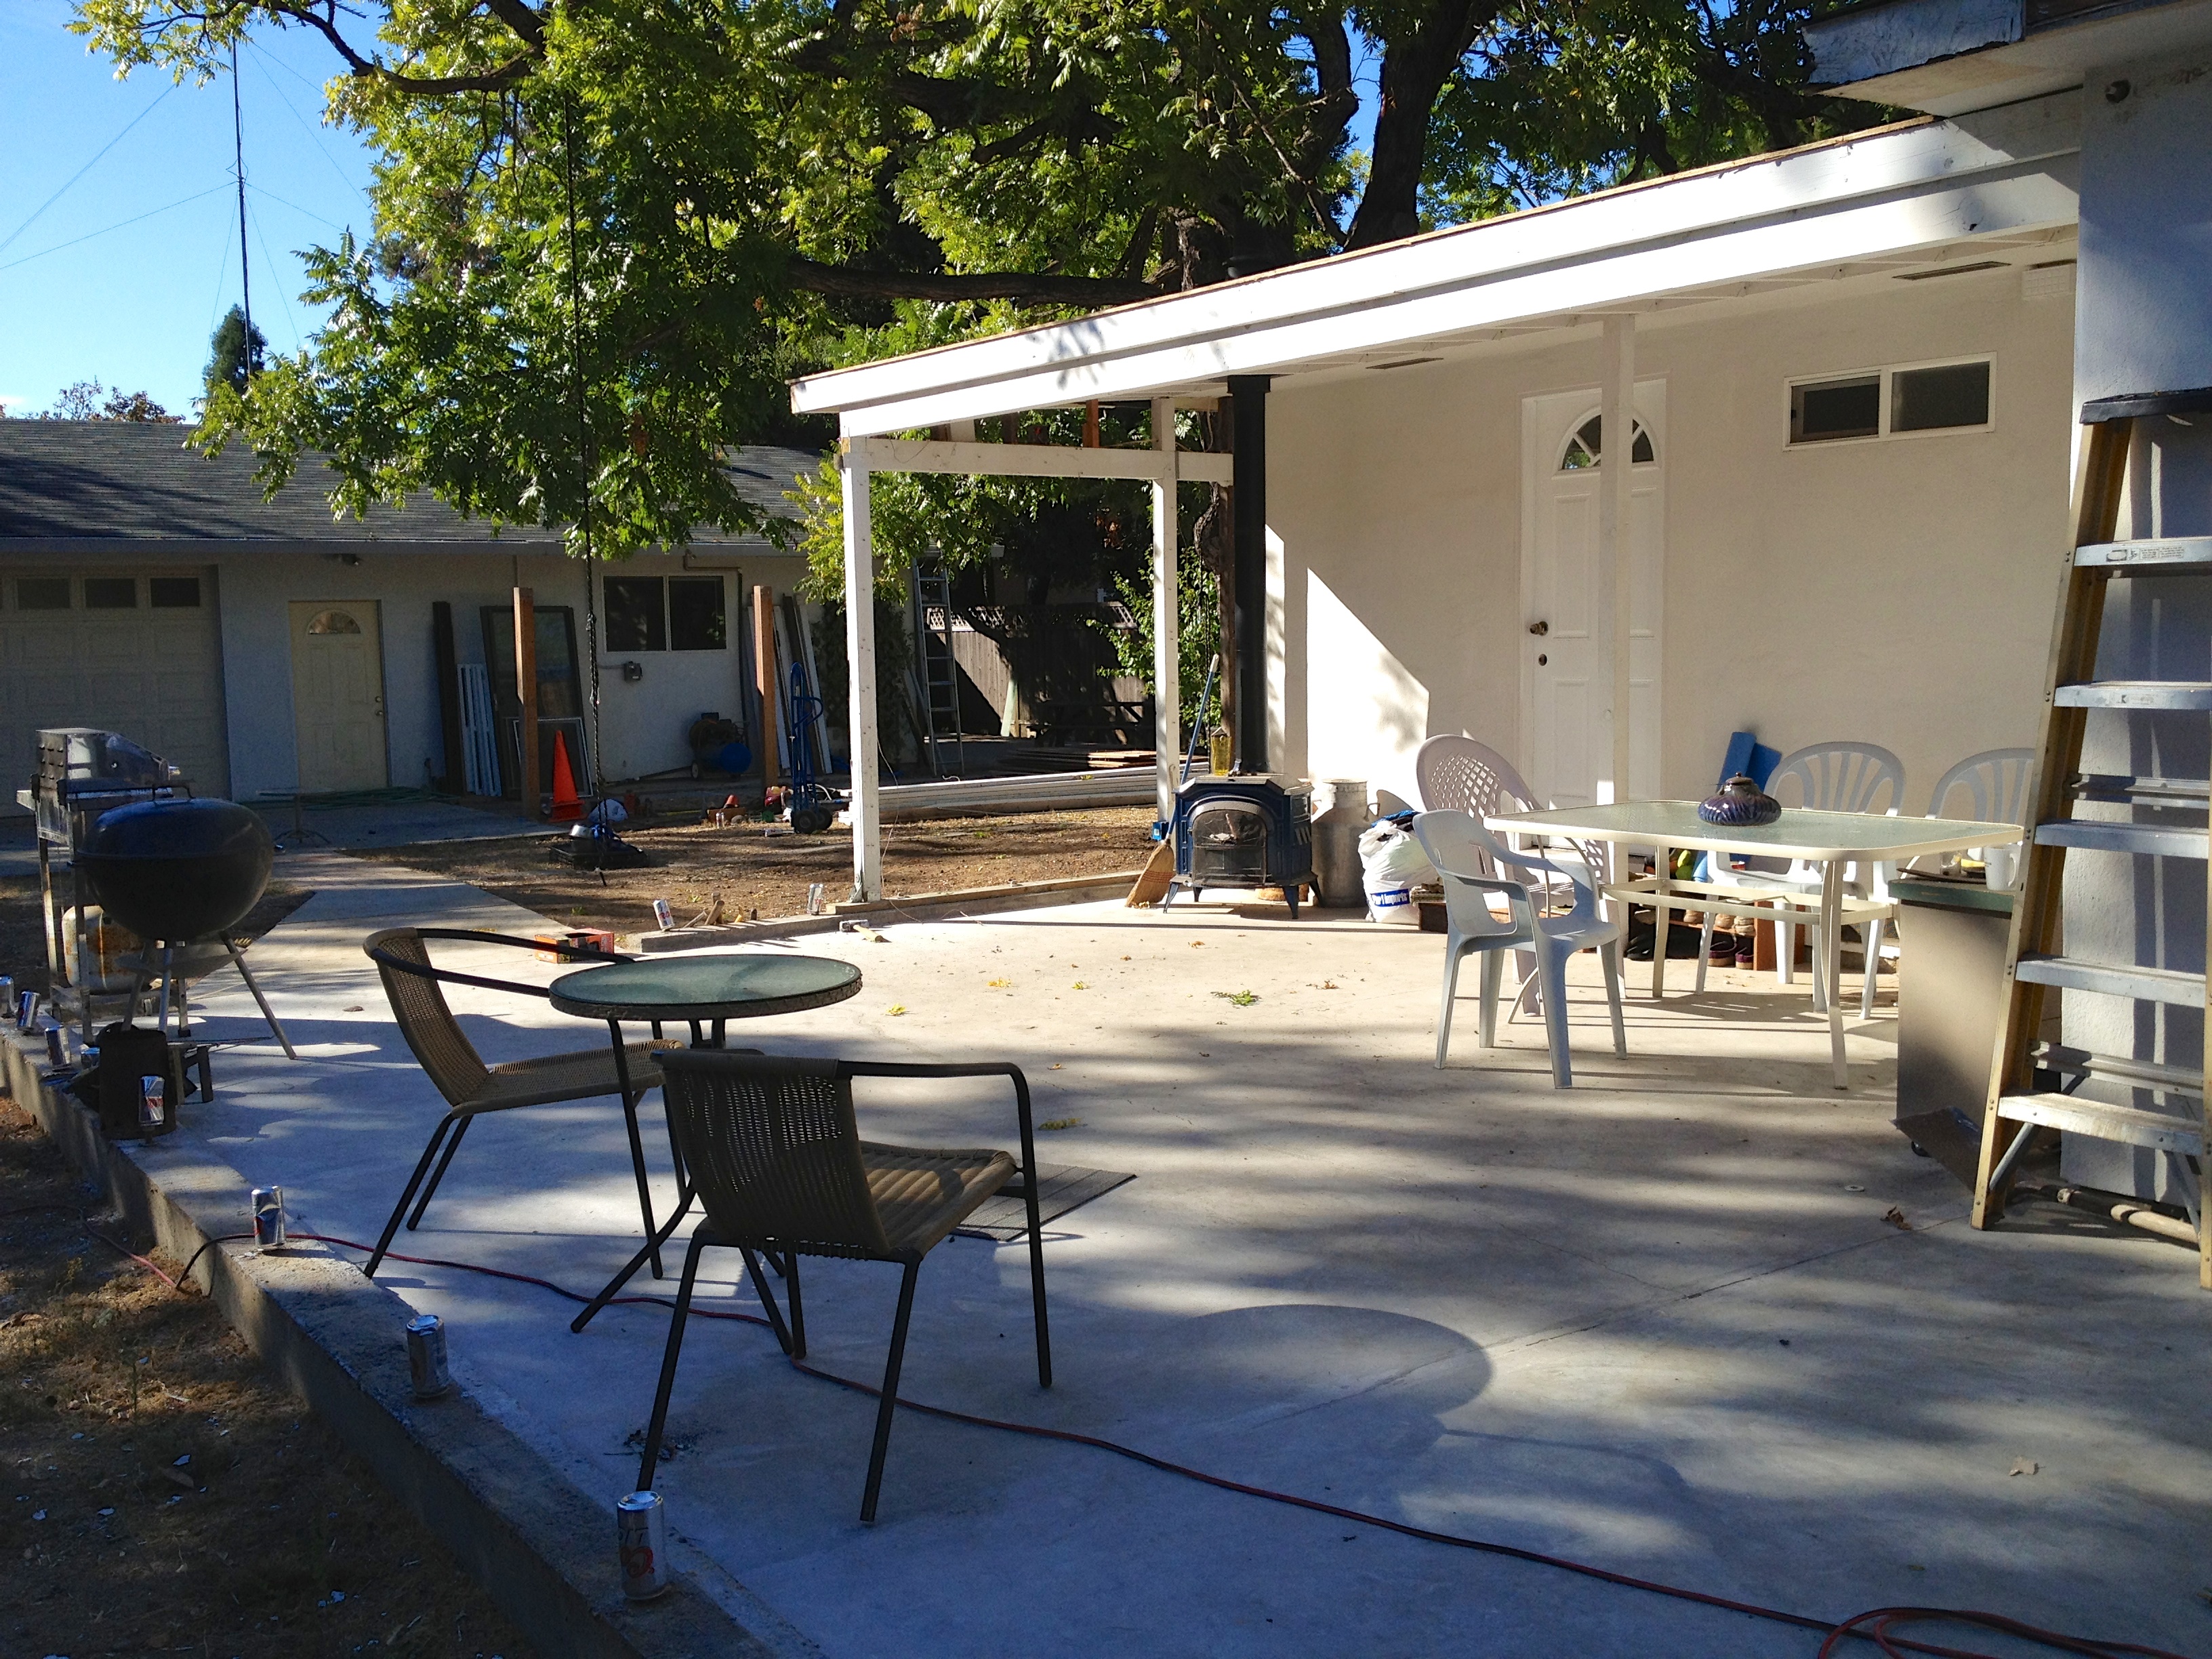
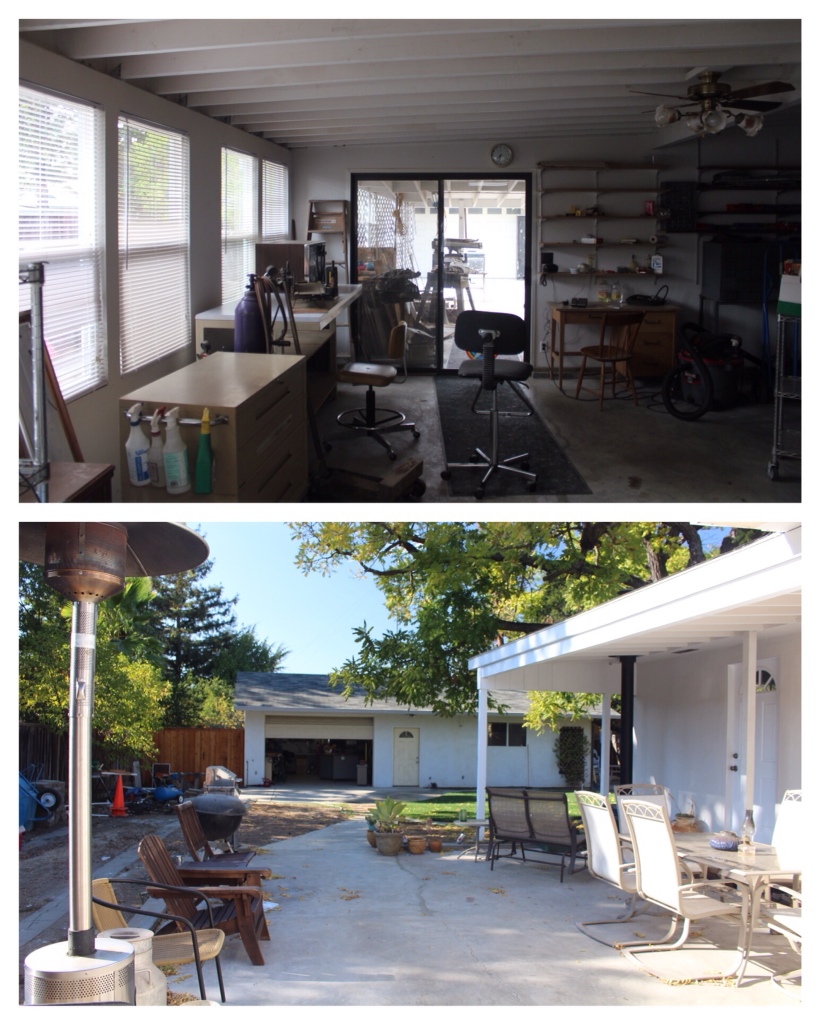
Before and After #1

Before and After #2

Before and After #3
And there you have it. That’s how to demolish the West Wing in 9 steps (give or take, I probably forgot a few in there somewhere). It’s probably also worth mentioning that we went back after demo was done and gave all of the newly exposed wood trim a thick, fresh coat of paint. To, you know, protect it from the elements. Even though there weren’t very many elements to be had this winter in California.
I am happy to report that 6ish months later we love our new, open-air, outdoor patio. The BBQs have moved up to this space now, and we eat a lot of meals out at this table. And now that the warm summer months are fast approaching, we plan to use it even more!


Great fun reading and seeing your progress, Justin and Kaysea!! Keep ’em coming!
Dick and Beth
Sent from my iPhone
>